The Subtle Art of Zone Focus Photography, Simplified
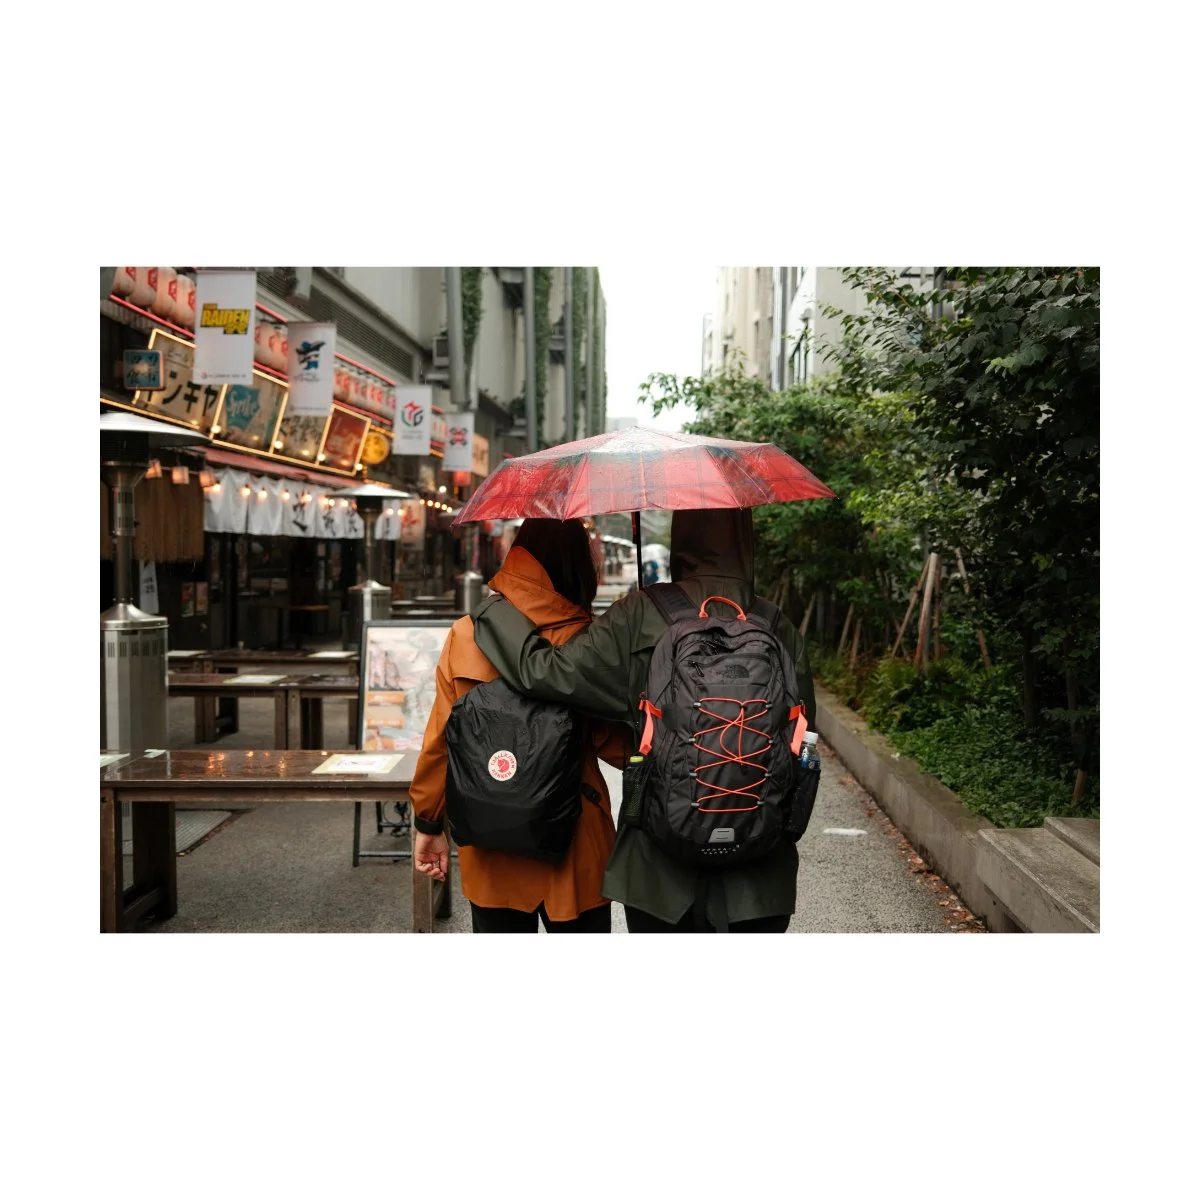
Have you ever struggled to photograph faces of strangers from the front?
Do you find it a bit weird or awkward, because you don’t know them, and it could be a bit intrusive?
Yet at the same time, do your photos feel disconnected, because they’re always the same basic shot from the back, and they don’t capture any emotion?
Well, you’re not alone.
In fact a lot of photographers, myself included, have this problem.
And the one way we can level up our street or travel photography is by getting over this.
One way is to just say “f*ck it”, and be bold with our photos.
Another, is to try a technique like zone focusing, which makes all of those things much easier.
We already covered how to be bolder in another article, so today we’re going to learn all about the subtle art of zone focus photography.
Let’s begin.
Zone Focusing in a Nutshell
Although zone focusing can sound a bit foreign, it’s actually much simpler than you think.
In a nutshell, it’s just manual focus photography, often with a narrow aperture (higher number).
Because we’re manual focusing, we don’t need to rely on the autofocus of our camera, which can take time and may miss focus.
Instead, we have our focus already set to our desired range and distance (our “zone”), and all we have to do is press the shutter.
Therefore, zone focusing allows us to take pictures without fully looking at our camera first, and can save us time and awkwardness when photographing strangers from the front.
To set your camera up for zone focus, switch it to manual focus mode.
Then, change the aperture to something like F8.
You can do wider apertures later as you get better at judging distances but I personally recommend starting at F8.
Think of aperture like your hit box.
Your aperture determines the range of your focus.
A narrow aperture, higher number, means a bigger range and more stuff in focus.
Conversely, a wider aperture or lower number, means a smaller range and less stuff in focus.
Naturally, this will vary depending on your subjects and how close or far they are, but that’s the general rule of thumb.
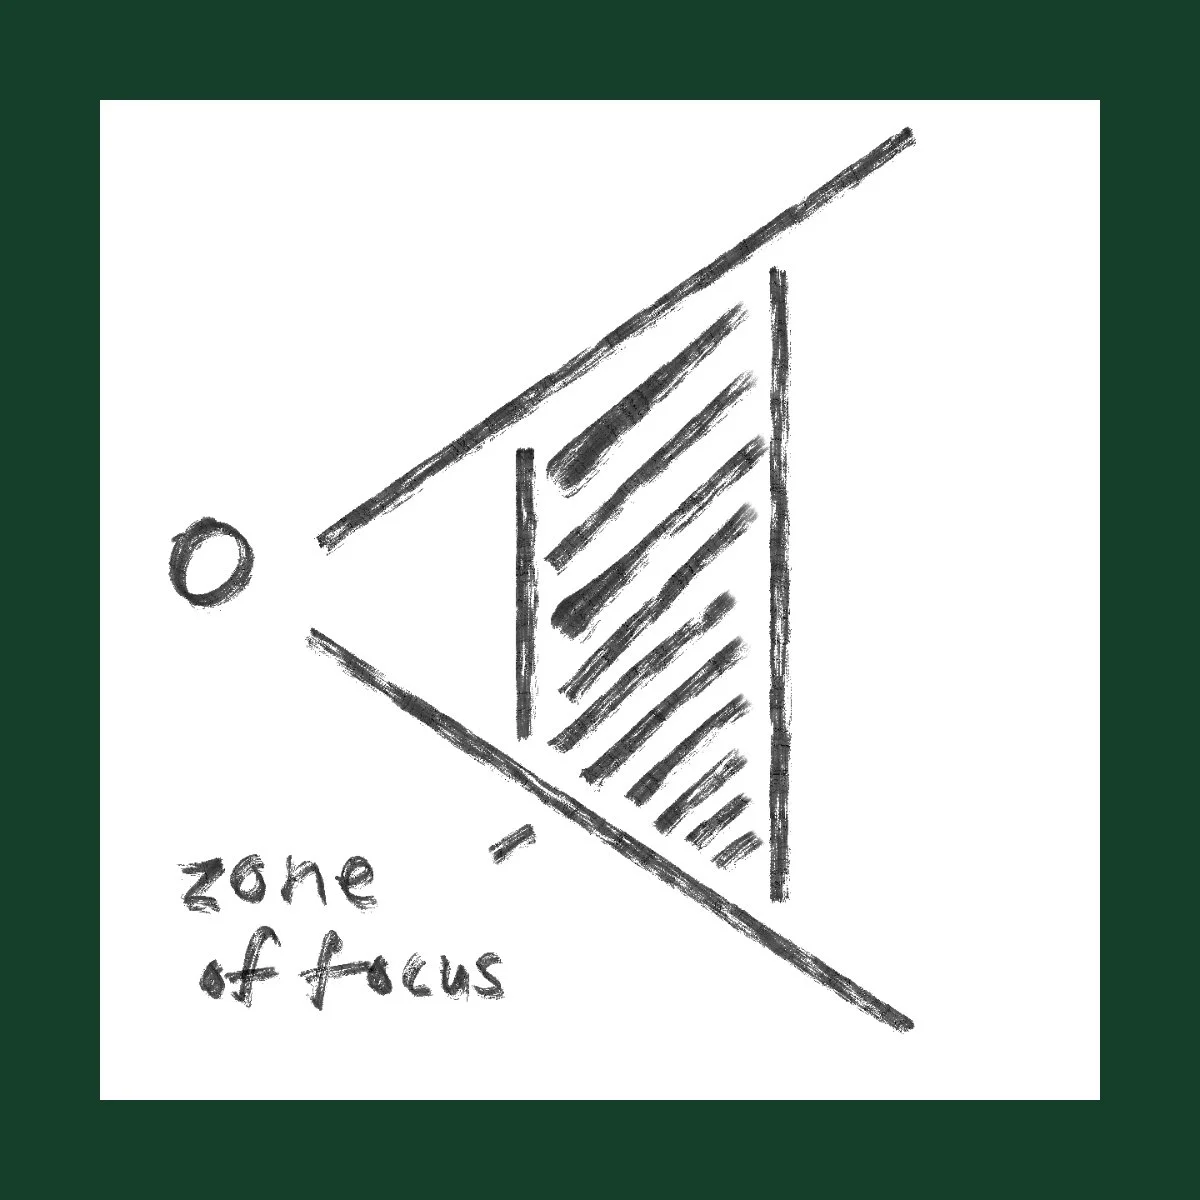
Next, set your focus to the ideal distance you want for your photographs and start taking pictures.
The ideal distance will depend on your preferences and the focal length you shoot at, which may require some troubleshooting.
Something I like to do is to find a subject with the ideal framing first, and then set my manual focus to that.
And then every picture afterwards, I pretend is that subject at that distance.
We’ll talk more about how to judge by distances in a bit, but just keep that in mind for now.
There are two main instances where I find zone focusing to be very effective.
One is when you’re in a dense crowd, the other is when you want to fish.
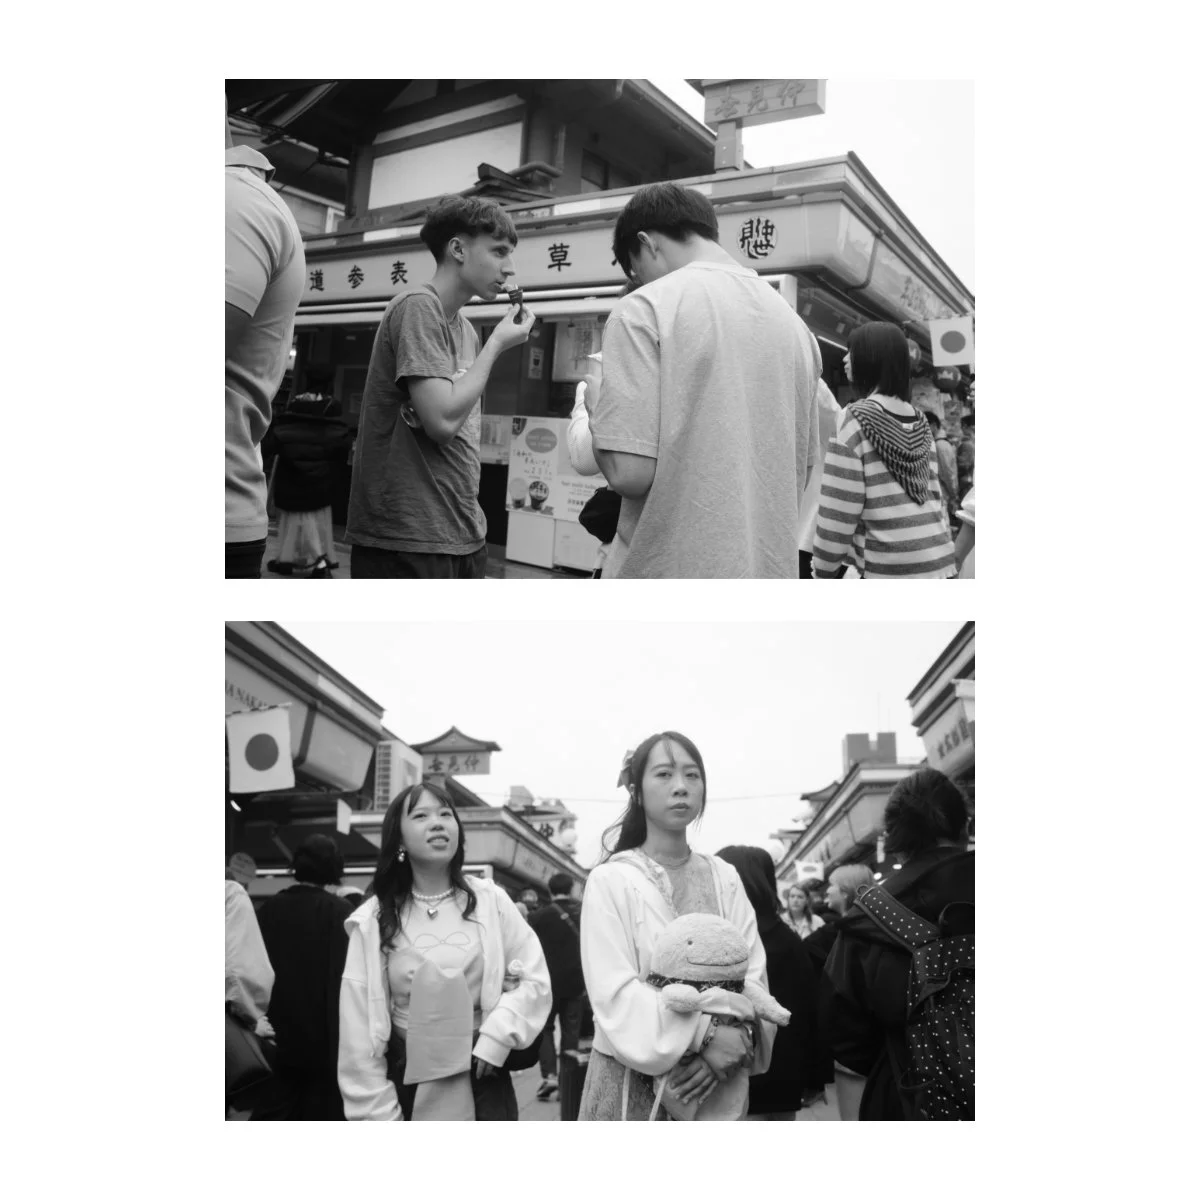
When walking through crowds, there’s a lot going on.
A bunch of people are passing by, everyone’s trying to go somewhere or buy something, and most people are too busy to even notice you.
So it’s a lot easier to blend in and take photos more candidly, without being noticed.
Similarly, zone focusing allows you to walk past people and grab shots without looking at your camera.
It’s kind of like a quick drive-by, and if you get used to it, you can get a lot of good shots quite effortlessly.
What I like to do is keep the camera low, around my waist, and just angle it up.
I have my zone preset and know my frame well so all I have to do is point and shoot.
Plus, holding a camera up to your face stands out way more and gets in the way.
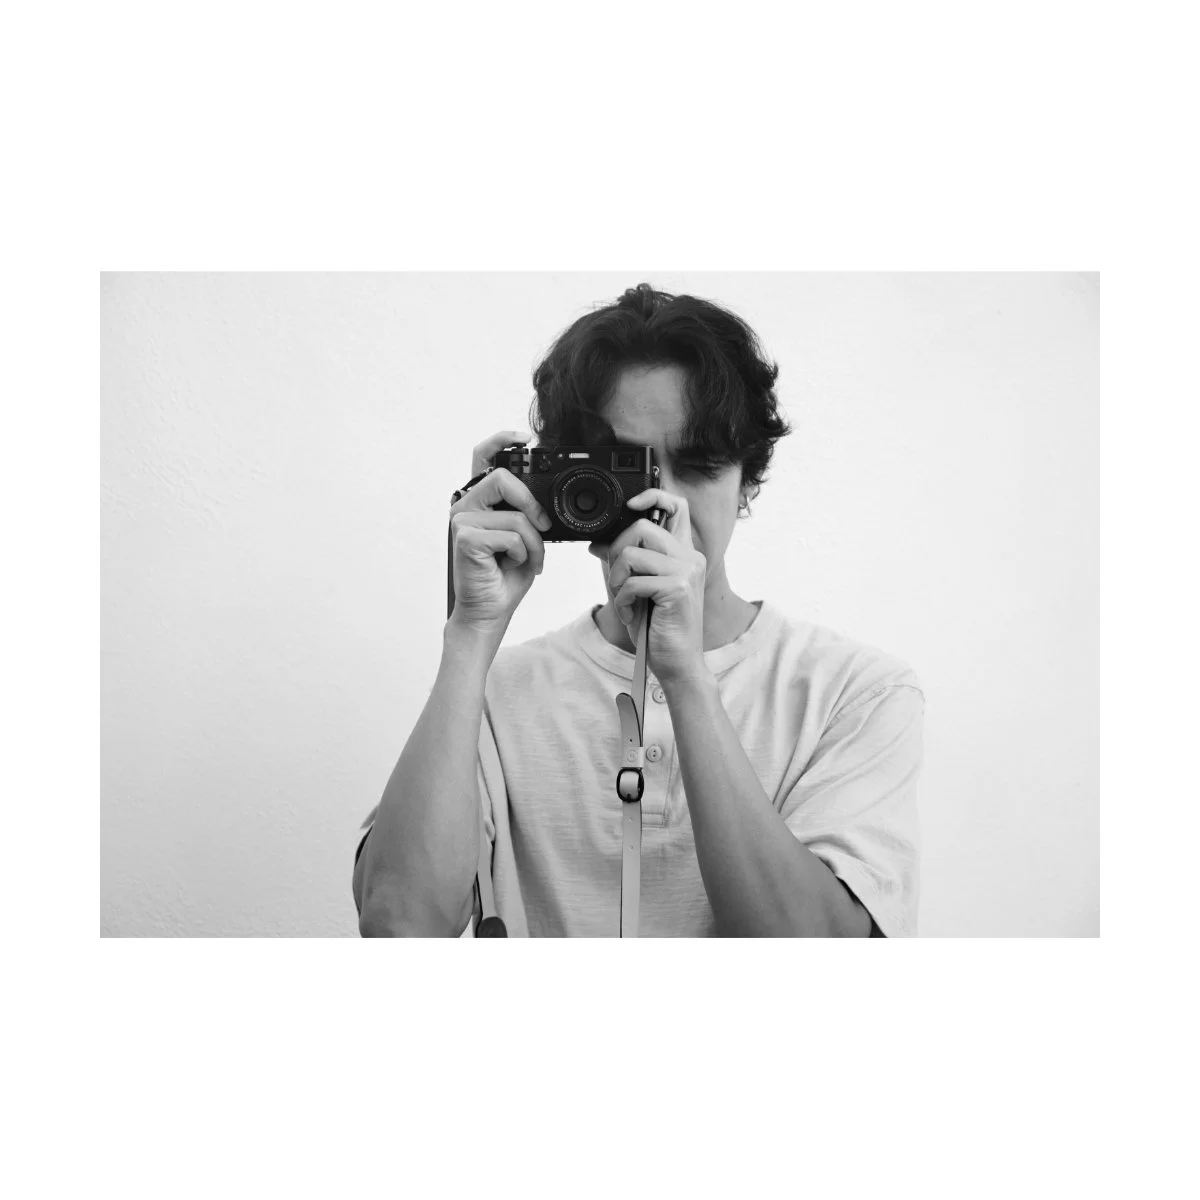
Zone focusing is also great for fishing, where you have a place or shot in mind and just want to wait for the right subjects.
First, find an interesting shot or location, preferably with a small bit of traffic.
Since you’re already in focus, you only need to get the distance and framing right.
Then, just press the shutter at the right moment and you’re done.
Zone focusing when you know what your shot is going to look like is great because it gives you one less thing to worry about.
So that’s all it is, simple.
Zone focusing is just manual focus photography with a specific area in focus.
Next, let’s cover some tips that will make your zone focusing more effective.
Tips to Zone Focus More Effectively
Now that we understand the basics of zone focusing, here are a few tips that will make the whole experience easier.
Start with F8
First off, start with F8.
I know a lot of people like the wider aperture look, myself included, but this can be quite challenging for zone focusing.
Because widening the aperture, lowering the number, decreases our zone focus hit box, a wider aperture makes it harder to get in-focus shots.
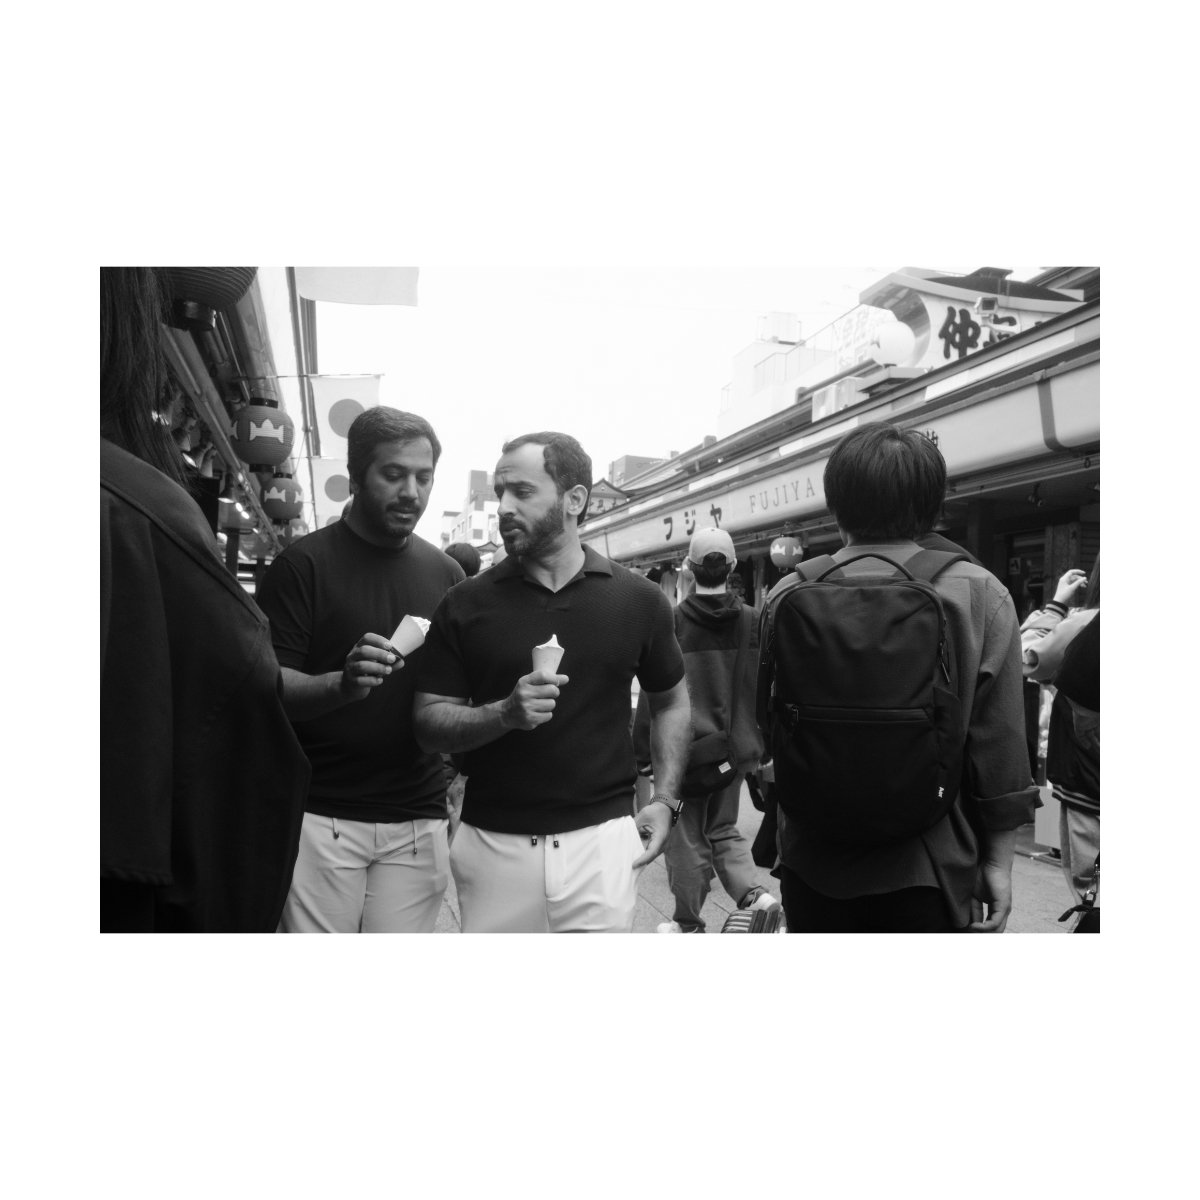
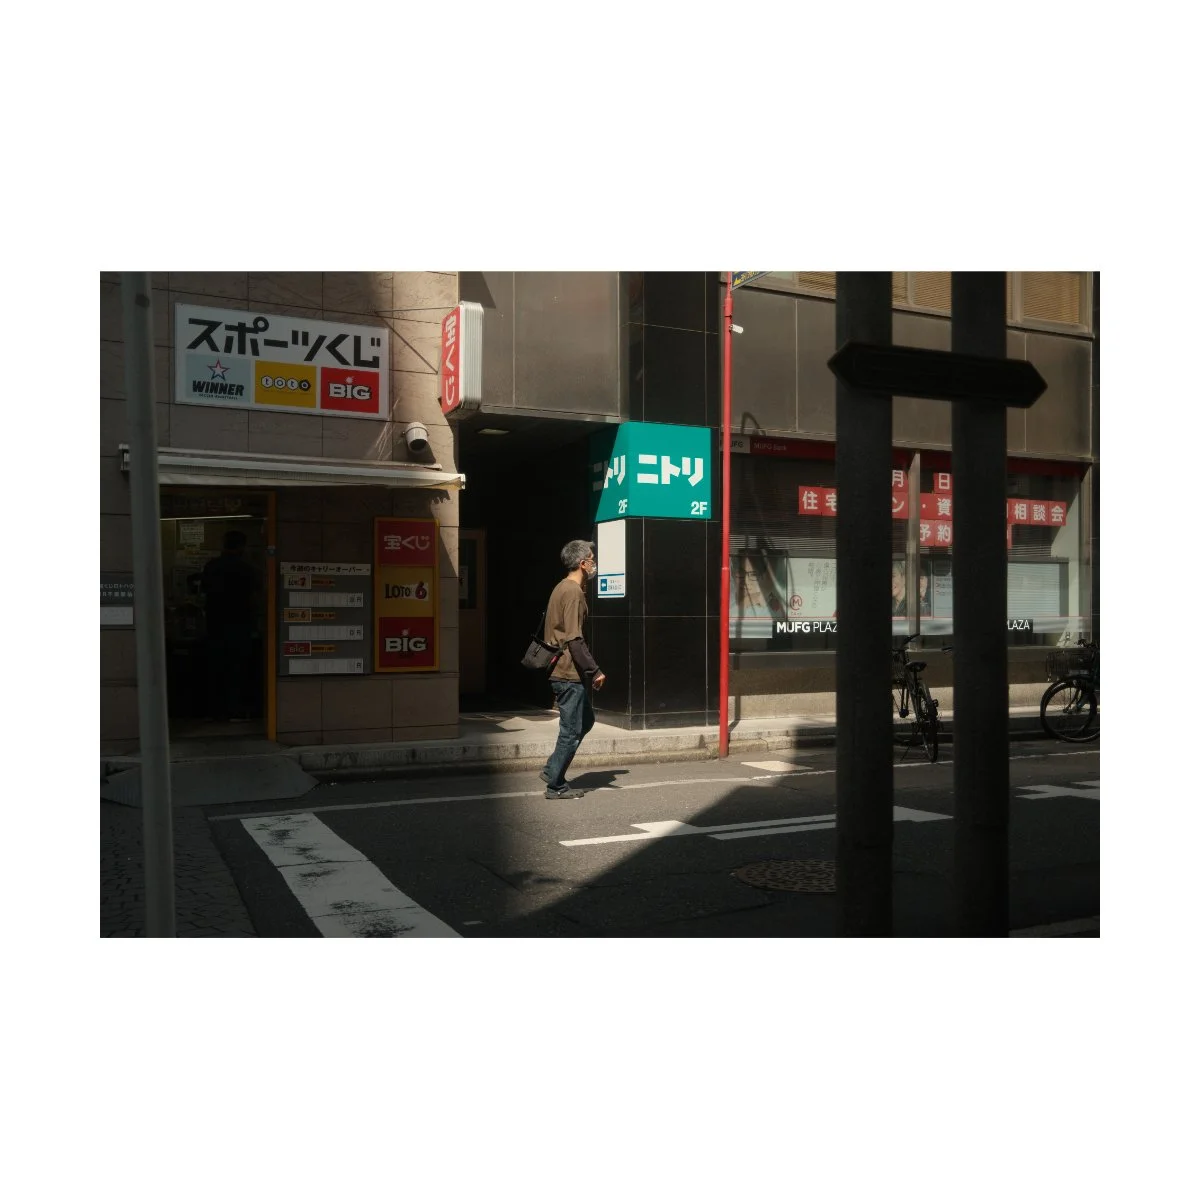
Take a few of these shots I took at the Senso-ji Temple.
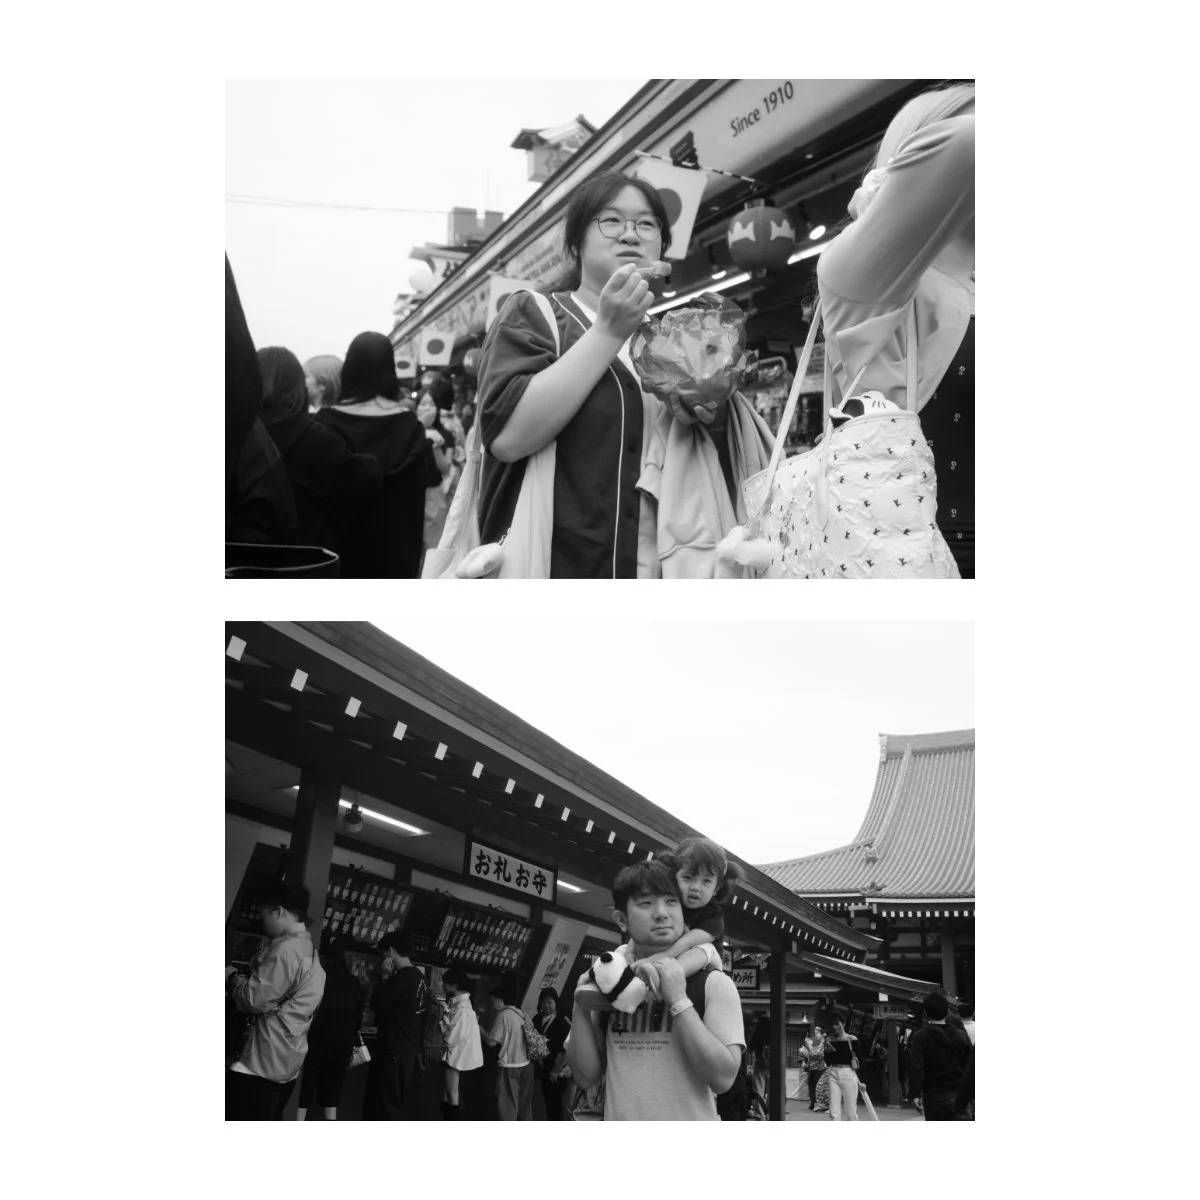
Many of these were shot in F4, and although I was getting some shots with good accuracy, a few of them were out of focus as well.
To be honest, I should have played around more with F8 before lowering my aperture.
Furthermore, F8 doesn’t look all that bad, so it’s not the end of the world like you think it is.
Setting Focus Easily
Second, make use of the AFL/AEL button on the back of your camera.
On the back of many Fujifilm cameras is an AFL/AEL button.
Pressing this in manual focus mode allows you to use the autofocus of your lens to adjust your focus.
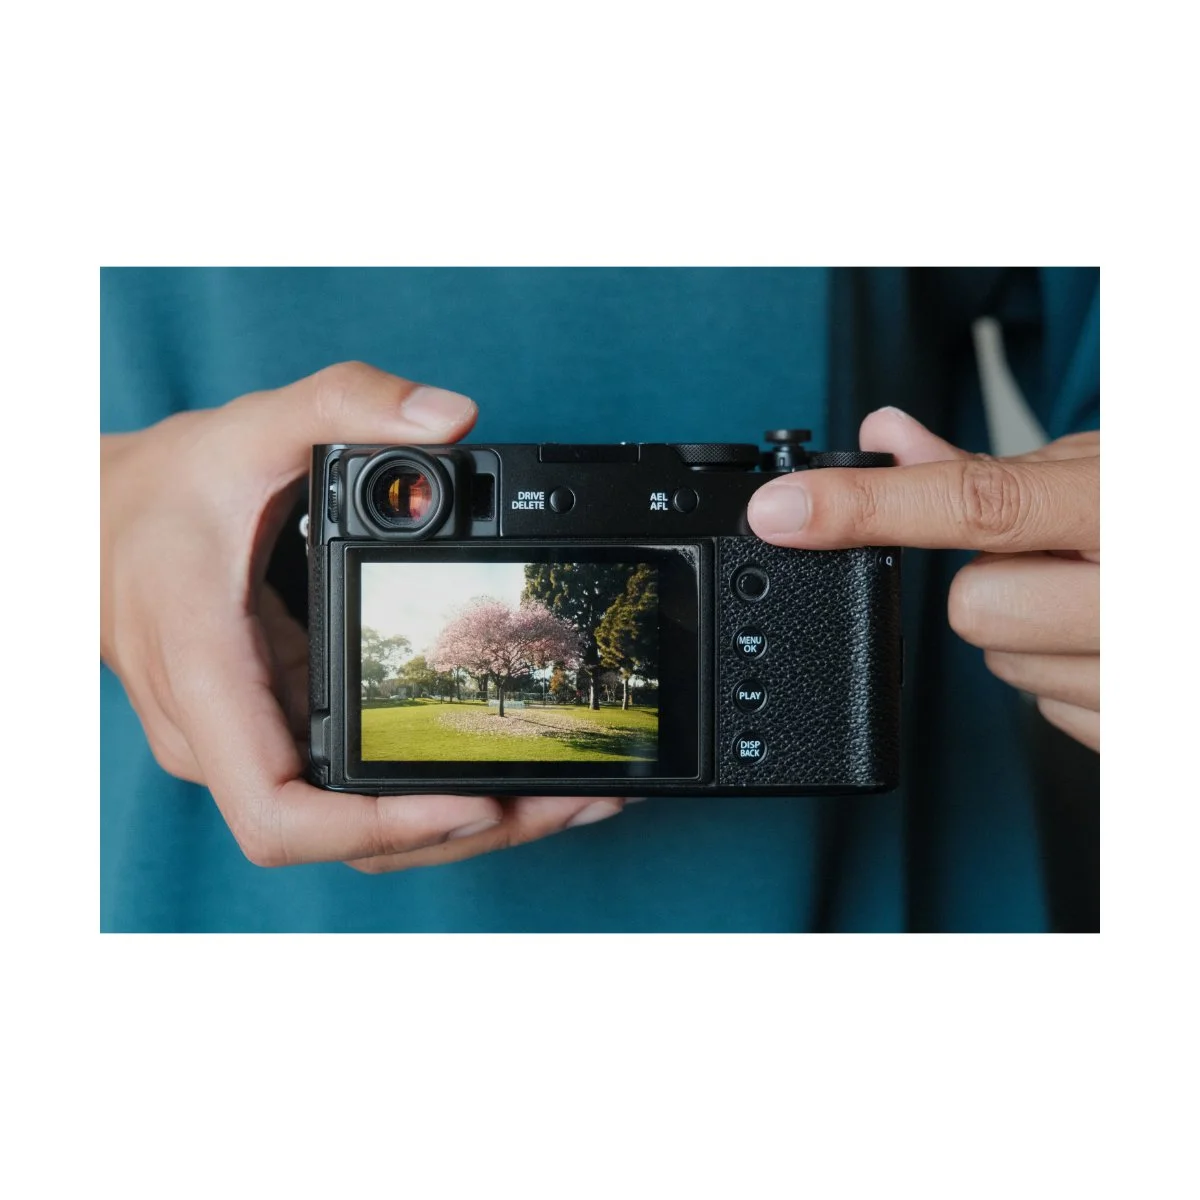
This means you don’t have to turn the manual focus ring on your camera to adjust focus.
Which is great, because on certain cameras like the x100vi, the manual focus ring isn’t the greatest.
If you shoot on something besides Fujifilm, you’ll have to find the appropriate setting or button that will allow you to do the same thing.
But this is a technique that is very useful in the field because it saves you time.
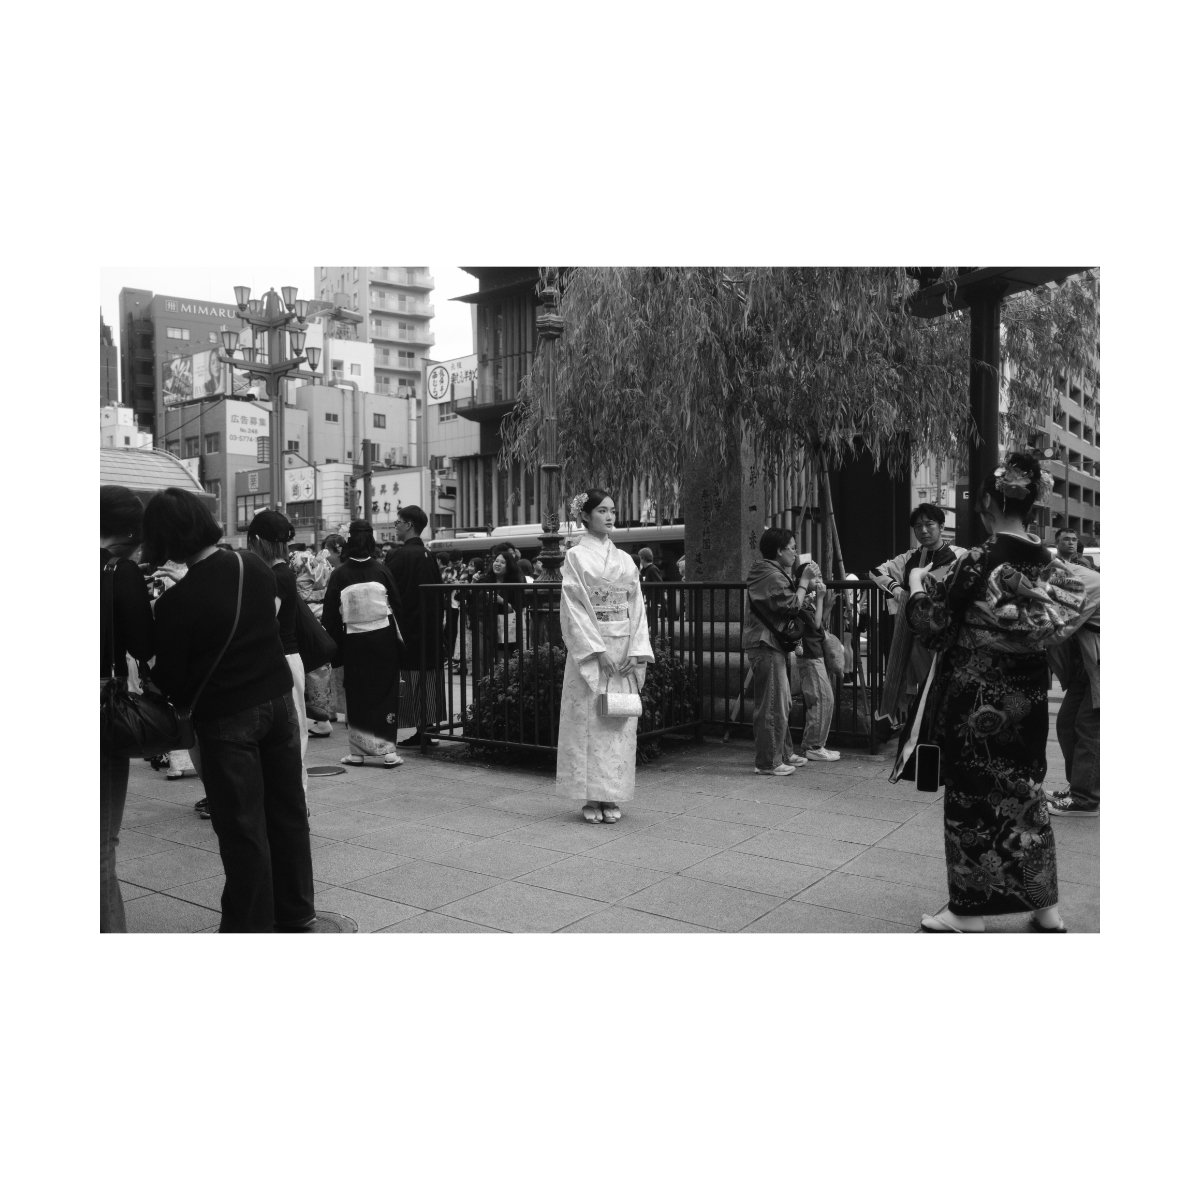
Presetting your manual focus is easy, just find a person or subject at the exact distance you want for your shots, press the AFL button, and then all your pictures will be at that distance.
Then, do what we talked about earlier, walk through crowds and pretend everyone is that subject you focused on earlier.
Hand Positioning
Third is to actually switch up your hand positioning.
Typically when we take photos we’ll hold the camera with our right hand and press the shutter with our index finger.
This is great when you’re lifting the camera up to your face or within your line of view.
However, when zone focusing sometimes you’re not always going to be able to look at the screen.
In fact, many of the times I’m just pointing and shoot with my hand blindly, never actually checking the frame.
This is because sometimes you don’t have the time so getting good at that can actually be a really useful tool.
But the point is, lifting your camera normally while it’s around your waist with the normal hand position is actually awkward and straining for your wrist.
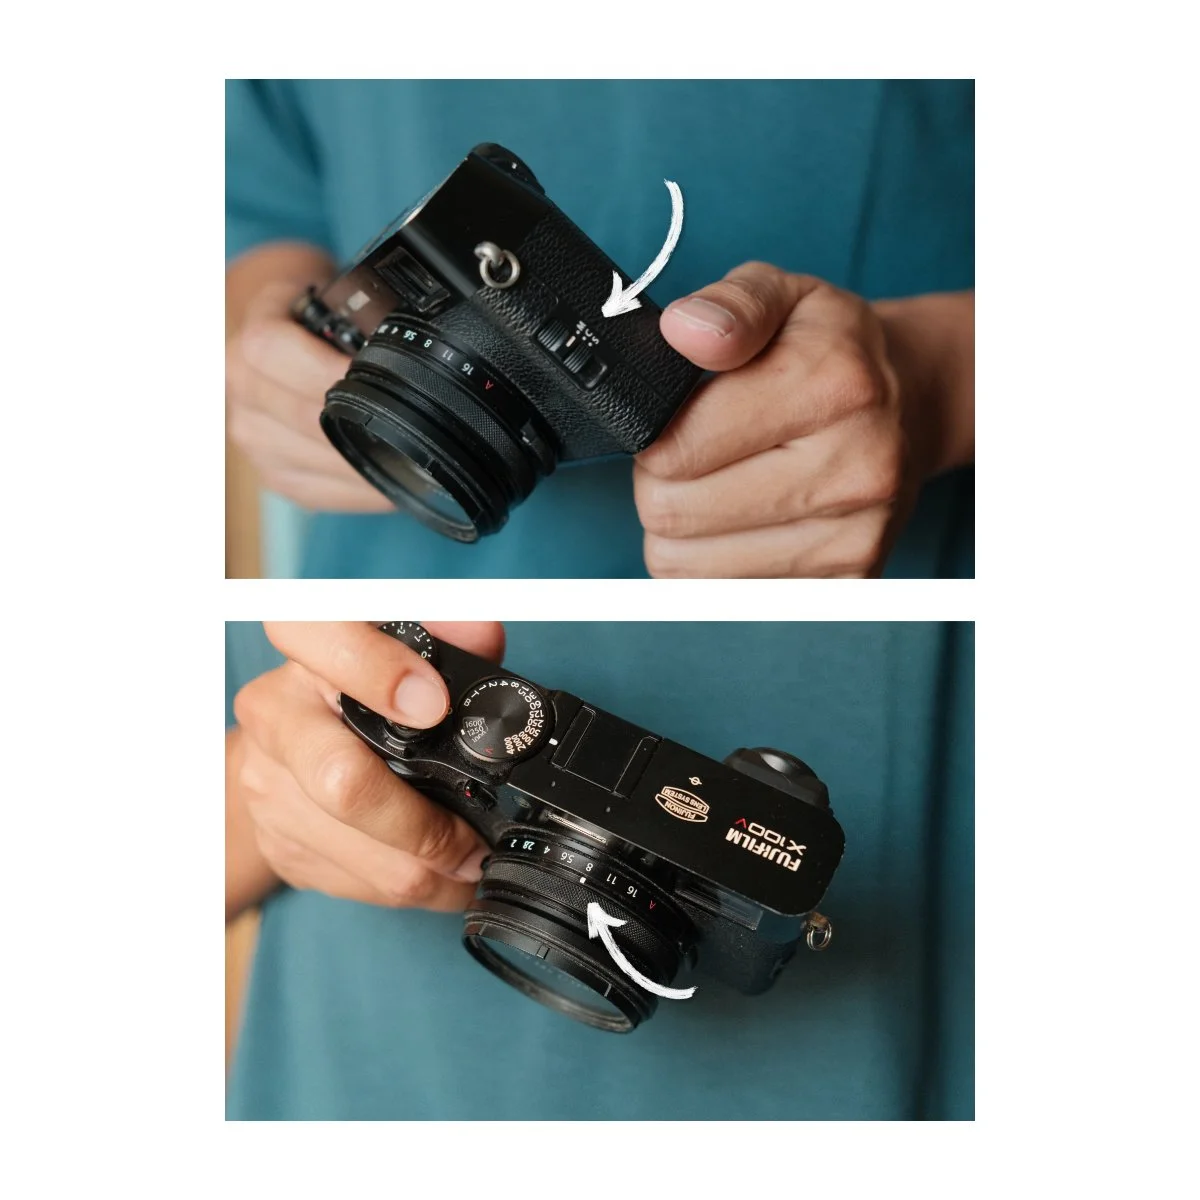
So what I like to do is switch my grip.
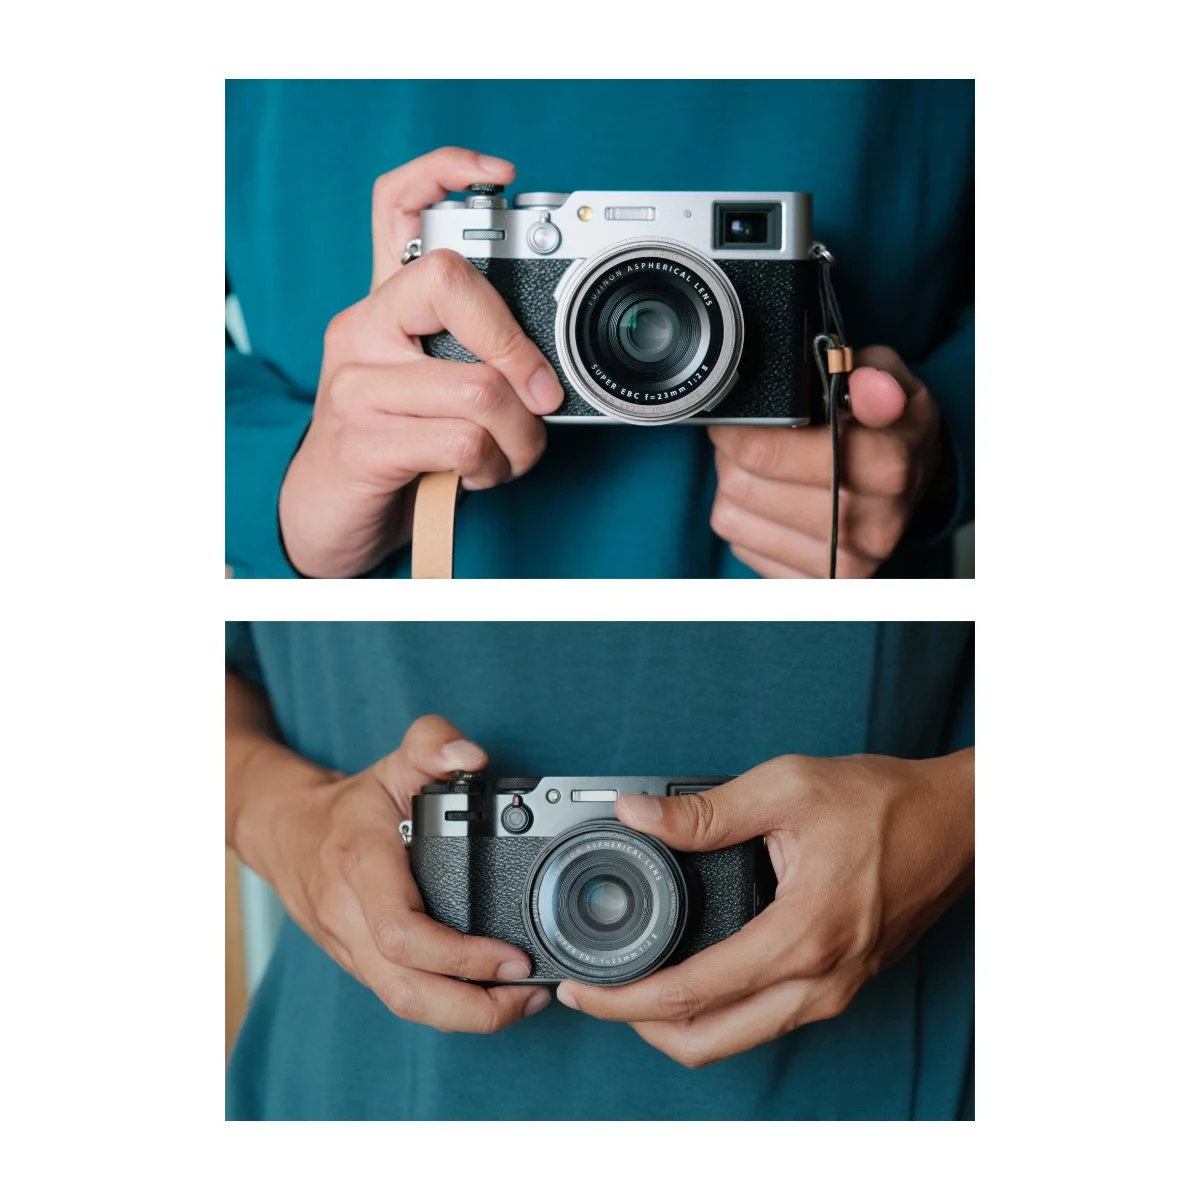
Instead of doing it all with one hand, I’ll hold the lens with my left hand and position my right hand downwards.
Instead of pressing the shutter with my index finger, I’ll use my thumb, and the left hand takes care of all the framing.
This is something I picked up from waist level shooting with the X-Pro3 because some lenses were heavier on my wrists.
I’ve found it to be better, especially for zone focus photography because you don’t have to do it all with one hand.
Judge By Distances
Finally, the best thing you can do to get better shots zone focusing is to learn to judge by distance.
Unfortunately, although there are many tools at our disposal like a waist level screen and red outlines for manual focus, in my experience I’ve found that looking at the screen to see if everything’s right can take too long, especially in crowded situations.
So if you’re in a situation where zone focusing makes sense, often times you won’t have the time to make sure everything’s right.
So, like we mentioned earlier, learning how to fire blindly can be a really useful technique instead of waiting and staring at the screen to make sure everything’s in frame or in focus.
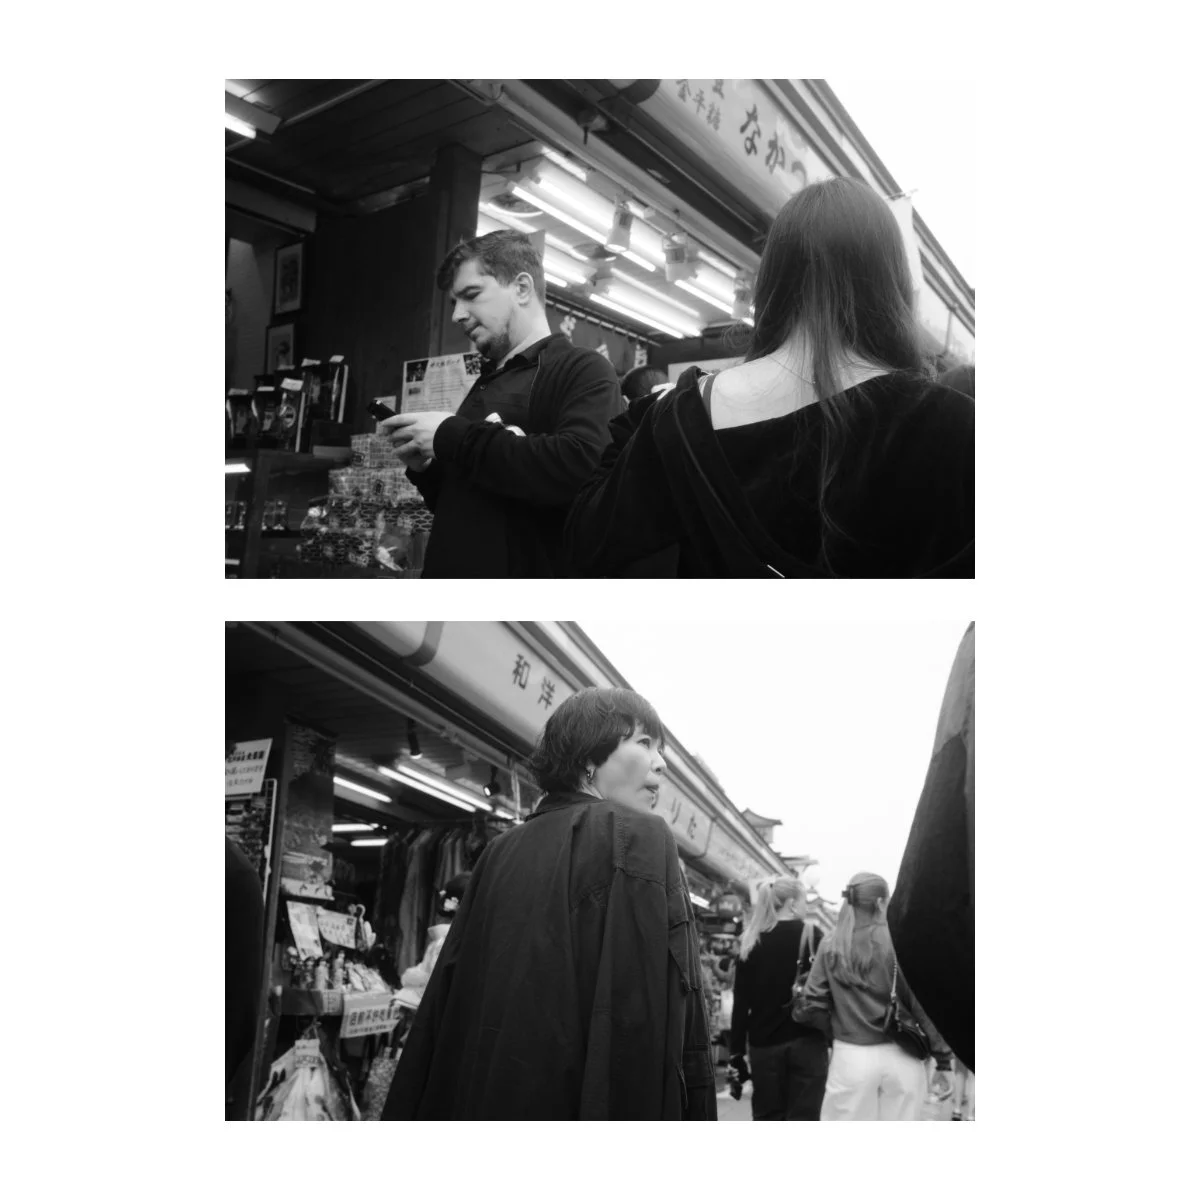
How we do this is by getting good at judging by distances.
What do I mean by this?
I mean that in street photography there’s an ideal distance between you and the subject, that will get you a good shot.
This distance is determined by your focal length and your range of focus.
The focal length we use is more or less determined by the lens we’re using.
And the range of focus we can adjust accordingly with the manual focus dial or by AFLing like we talked about earlier.
So, start with an image in your mind of the kind of frame you want to get based on the focal length you’re using.
Then, find a subject within that frame or distance and set your focus to them.
That way, we only have to check our screen once.
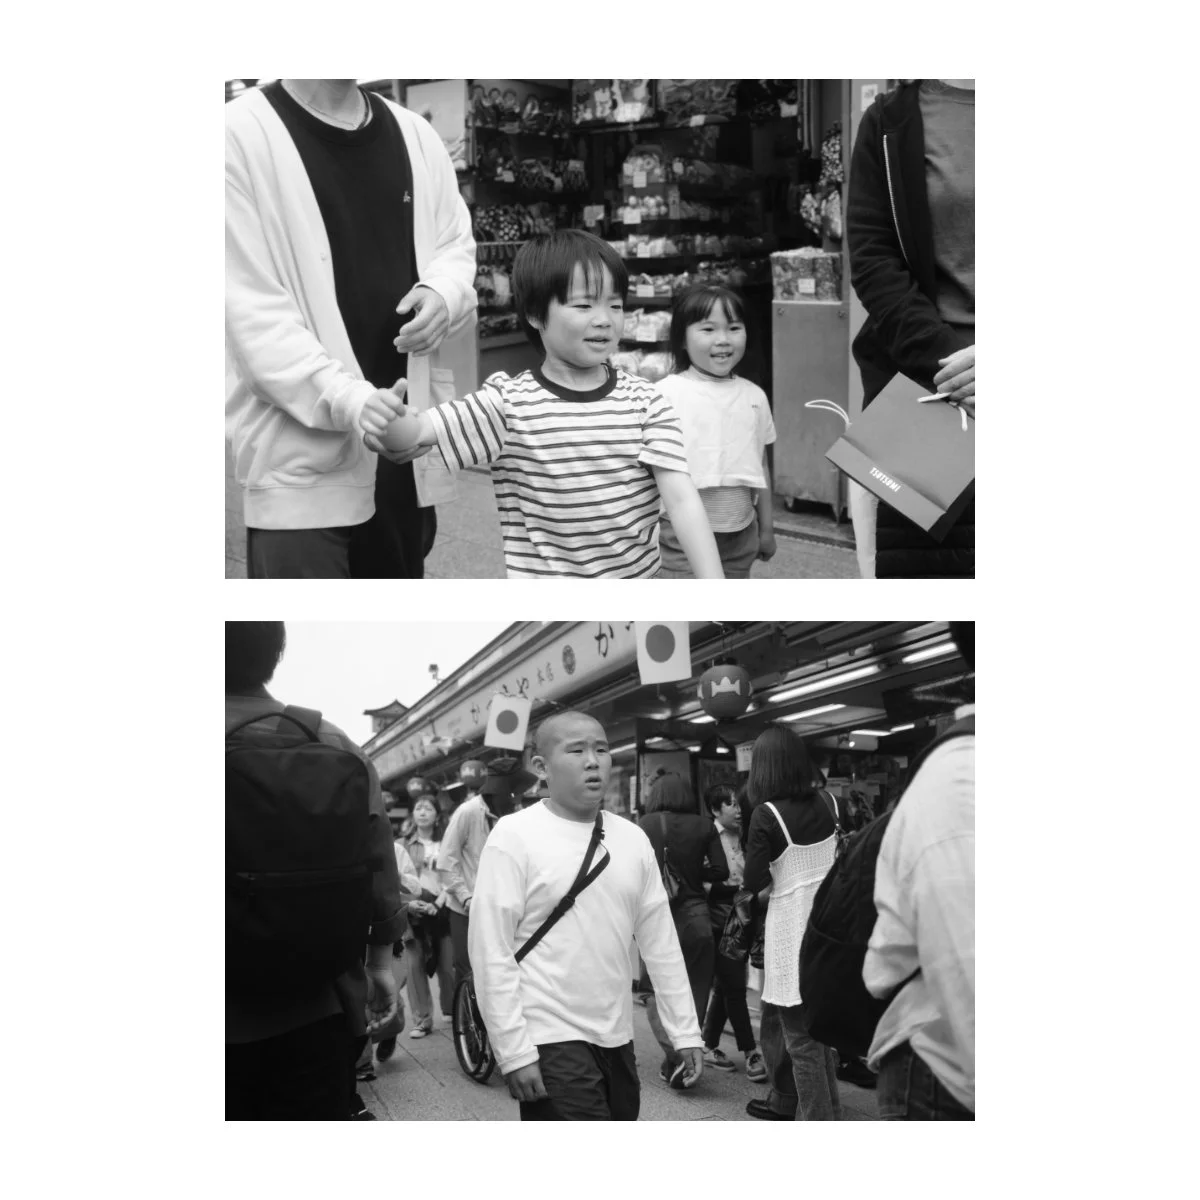
From here on out, it’s just walking through crowds and pressing the shutter whenever something enters the perfect frame at the perfect distance.
With this method and understanding, we no longer need to look at our screen to see if things are in frame or in focus.
Because we know that given how far this person is from me, I’ll have a pretty good shot at getting it right.
It can take a good amount of practice, but if you get good at zone focusing by judging distances you can save a lot of time by not needing to stare at the screen, which will also make you more subtle, and get you more candid shots.
Understanding where you are in relation to your subject or scene can make figuring out where you need to be easier.
Which can greatly improve your photography when you go back to autofocus and take photos normally.
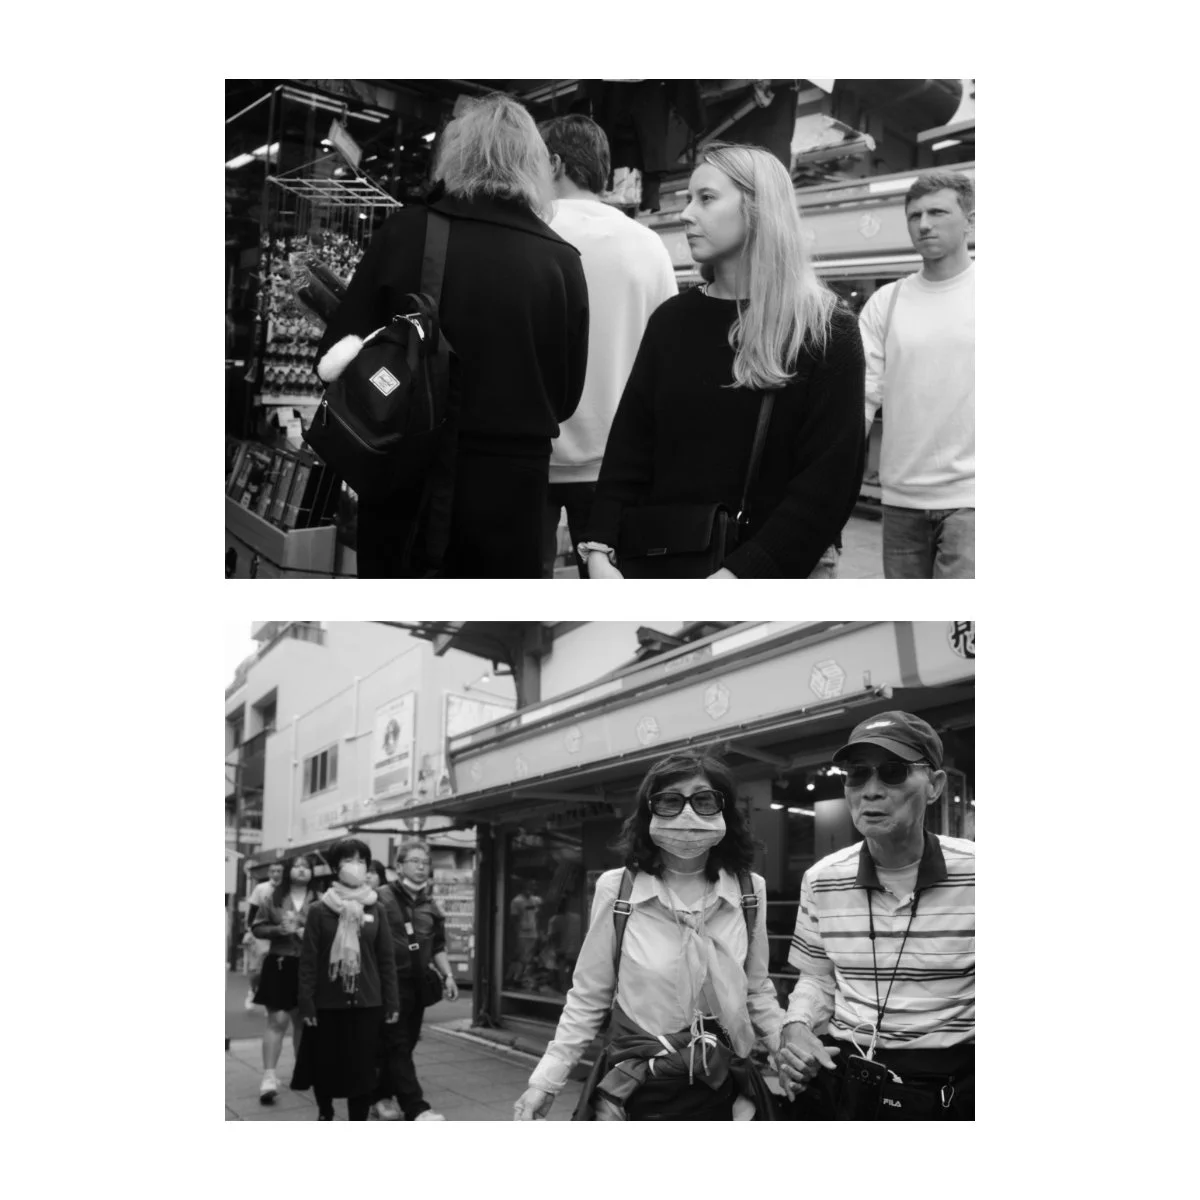
So that’s the subtle art of zone focus photography.
I’d recommend trying it out especially if you find photographing faces or crowd photography challenging.
It’s not something I personally use all the time, but does have it’s moments where it’s really useful.
It also makes a lot more sense when you start trying it.
So hopefully you enjoyed this article, if you did, share it with a friend who’s also looking to learn zone focus photography.
If you want to build a solid foundation with photography, check out Photography Essentials - it’s free.
If you want to learn all about building systems to improve your photography, go to Photography Systems.
Thanks for reading, happy shooting.