Laid-Back Tokyo Street Photography w/the Fujifilm x100vi
Recently I spent 2 weeks photographing and exploring Tokyo. (yes, again).
Although it may seem like I was just there, it’s actually been more than a year and a half since my last visit - so I was due for another trip.
As you can tell, I really enjoy Japan, both as a place to visit and photograph.
But instead of the many different places you can see, today we’ll focus on street and travel photography itself, the things I sought to capture, and the many lessons I learned.
So without further ado, let’s begin.
Simple Streets and Perspectives
If you travel to a different country there are countless things you can choose to photograph.
You can focus on the people, the scenery, the food, etc.
But strangely enough, one of the things I found most interesting was looking down basic normal streets.

I think Japan itself is one of the most visually aesthetic places, where even just a side alley can be appealing.
Locals that live there may find it strange, because to them, it’s just something they see every day.
I can relate to this feeling, because back at home there is plenty of beauty around me, that I’m sure I overlook because it’s always there.
But being an outsider in Japan, having that different perspective, gives you another angle to look at things with.

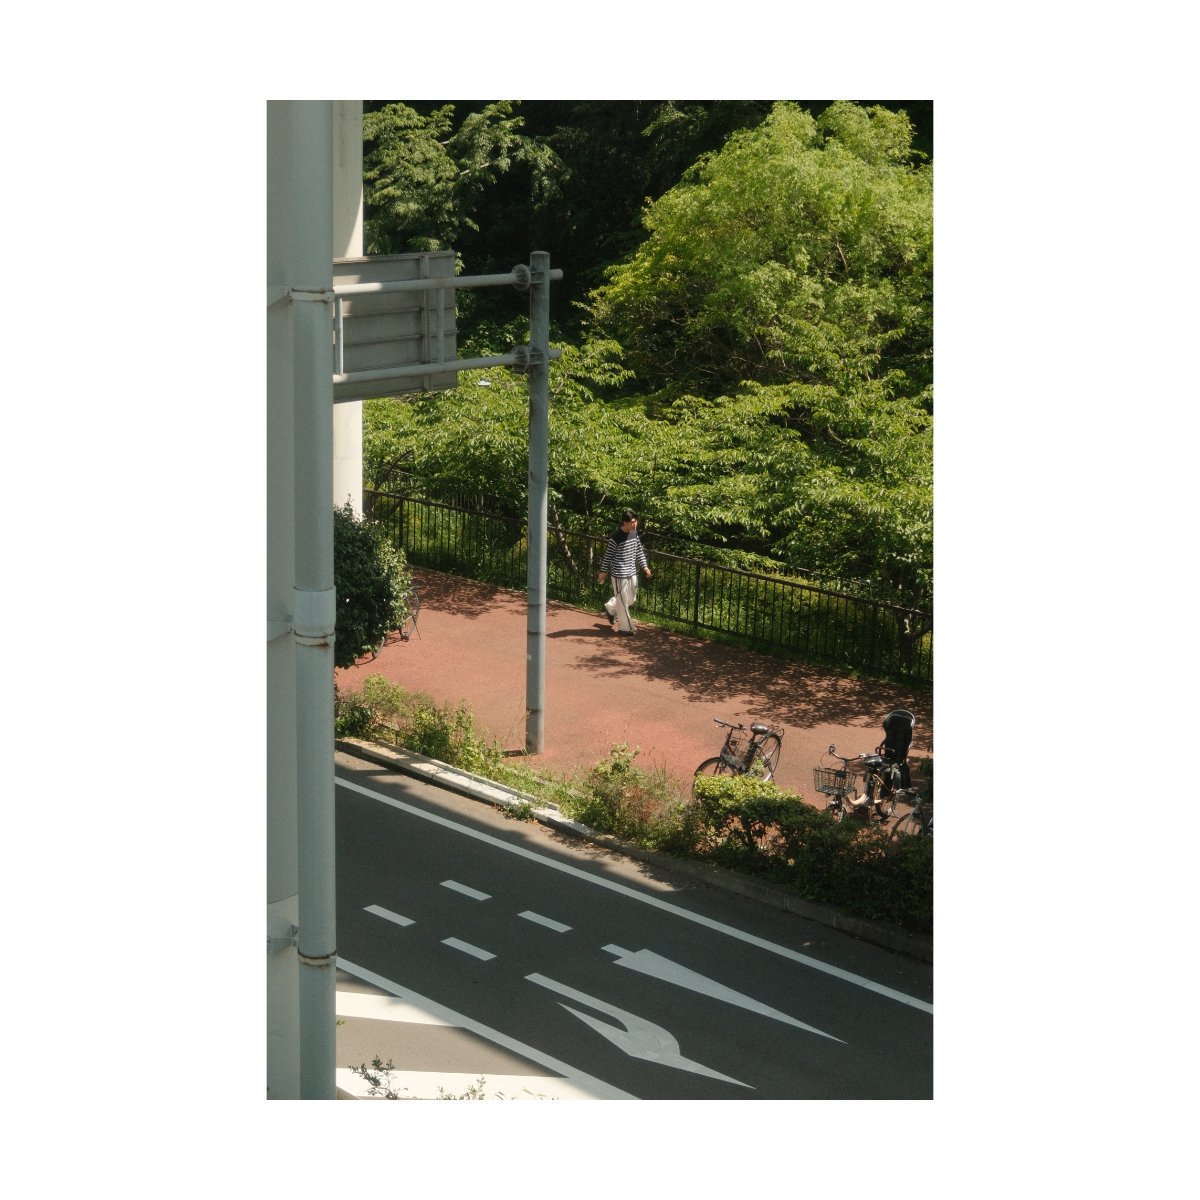
Ordinary pathways, bikes and plants, cables and wires hanging in the sky.
So many little things that add to a scene I found pretty, and took pictures of.
Often times it was nothing fancy, just simple perspectives, straight down, with the same 35mm over and over again.
But I thought it would be cool to compile a bunch and compare them side by side.
Each one is roughly the same shot, with a similar feeling but with an appeal of it’s own, for different reasons.
I’m happy with the results of this little side quest but let me know what you think in the YouTube comments.

It’s funny because sometimes as a photographer you’ll be taken by something, and almost want to scream, “Is no one seeing this right now??”
But you also don’t want to freak out because, dude it’s just a sunset, or a bike, or whatever.
So you take your silly little picture and move on.
But that’s both a funny and underrated aspect about photography that probably doesn’t get highlighted enough.

The visual appreciation for what’s happening, whether it’s a magnificent moment or a small ordinary one sucks you back into the present.
Because while everyone else is bothered by what problem they’re worried about, the thing they have to do next, the last bad thing that happened to them, you are enthralled by the beauty of the world.
That appreciation itself can pull you out of this fake game of life you were playing, and back to enjoy things again.
Of course, that’s easier said than done when you’re on vacation and not on autopilot in normal life, but maybe a mixture of the two could make for an overall happier existence.

Ikebukuro
One of the many areas in Tokyo that doesn’t get enough love is a district called Ikebukuro.
Where places like Shinjuku is the hub for nightlife and drinking, Akibahara for hobbyists, and Shibuya for shopping, Ikebukuro is kind of like a blend of all three - in a good way.
I didn’t go there at night so I can’t speak too much about the nightlife, but shopping there was a good experience.
I could readily find more things I couldn’t find at other places and for better prices.
It was crowded, but not terrible and there’s a little more for everyone there.

As for photography, anywhere in Tokyo is great, honestly.
But in Ikebukuro I found myself most focused on pockets of light.
It’s a simple street photography technique, but if you’re in an area with many buildings, you’ll occasionally get streams of light shining through the gaps.
Those areas of light, you can use to light your subjects, and fish as they walk through, making for some easy street photography compositions.

I got a few shots here and there, but there were way too many people to get just one subject highlighted.
In fact I got better results with the same technique another day in Chiba, which was less crowded.
I also really had to use the bathroom…so I just got whatever I could and went on my way.
But if you’re patient, you can actually get a lot of good results with this method.

Zone Focusing
In street photography, one of my biggest struggles is taking pictures of people from the front.
It’s a bit intimidating and feels intrusive to stick a camera at the face of a stranger.
I don’t want to bother them and yet I want to get the shot without them knowing I’m there; because there’s something captivating about this moment and them seeing me would ruin that.

Similarly, walking up and asking for permission isn’t exactly my cup of tea.
There’s nothing wrong with it, but it changes what I consider street photography into portrait photography or street portraits - and that’s just not what I’m trying to capture.
So many of my shots end up being behind the subject, and I’ve been trying to get away from that.
This year I’ve found some techniques that work for me (that we may cover more in another article), one of them being photographing without looking.

When you raise the camera to your face it sometimes takes too much time and is too noticeable.
So in many occasions, like when there are lots of people, you’ll actually get better results by simply spraying and praying in the direction of your subject.
Similarly you can pretend like you’re looking somewhere else so people don’t think you’re taking a picture of them.
This is something I picked up unintentionally and it’s funny how well it works.

You do have to get used to the general field of view of your lens so you can press the shutter at the right moment, as well as the angle of the lens so you know how high or low to point your camera.
But once you figure that out it’s as simple as walking by and firing away.
Personally, I recommend to use your thumb to press the shutter instead of your index finger.
That way is much easier on your wrist.
You can also use your left hand to help point the lens and aim.
Now technically, you can use a waist level screen to help you see, but I think it’s still a bit obvious, so take that into account.

An issue you might run into with this method is focus.
Sometimes the distances, the moving subjects, and not looking at your screen can make it hard for your camera to grab focus accurately.
I ran into this problem a lot because my camera would often focus on the background instead.
It’s a little annoying because you’re shooting blindly so you can’t adjust and tell your camera what to focus on, even if you know what to focus on.

The only workaround I’ve found was to switch my camera to manual focus, raise the aperture, and start zone focusing.
And ironically, this method worked way better than I thought it would.
I found myself catching subjects in focus much easier and all I had to worry about was the framing and the distance between me and them.

If you’re not sure what zone focusing is, it’s essentially presetting your focus to a range based on your aperture and distance, and then taking pictures within that range, ignoring everything else.
It has it’s limitations when you need to switch your focus, but for this style of walkthrough, it works very well.
What most people will do is set their cameras to f8, which has a wide range of focus, so your hit box is higher.
Personally, I like the look of a wide aperture (lower number), so I went with f4, and one day (when I get better), might be inclined to shoot at f2.
I did find the wider aperture made some parts of my images out of focus, so I’ll have to be more careful with that in the future.

If you’re confused about where to set your aperture, understand this:
The higher your aperture, the bigger your zone of focus, and therefore the less accurate you need to be with your distance, and the less shots you’ll miss.
So start with f8 if you’re unsure.
Also, there’s a bit of trial and error when zone focusing so don’t get too deterred if you mess up.

Something else that helps is to preset your distance by pressing the AEL/AFL button on the back of the camera.
This button varies by camera, but for Fujifilm it allows you to autofocus while you’re in manual mode, so you don’t have to use the ring.
Typically I’ll AFL a subject that’s at the ideal distance for the pictures I want.
Then I’ll mentally store that distance, and whenever a subject’s in range, I’ll take the photo.
If I need to change my zone of focus, I’ll recalibrate it by pressing AFL on another subject.
Pretty easy and effective.

So zone focusing ended up working a lot better than the blind autofocus shooting and I think I got a lot of decent shots from it.
It makes it much easier to shoot from the hip and avoid awkward street photography if you’re like me and struggle with photographing faces.
It’s especially effective when you’re moving through large crowds.
It takes some time to get used to, but when mastered, can make street photography much easier.
Chiba Monorail
During this trip, I didn’t have much on my bucket list when it came to photography spots.
If you kept up with my previous Japan videos, you’ll know - I already photographed many of the things I wanted to see, like the famous Uonami Fish Bar, the Hijiri Bridge, Kamakura, Mt. Fuji, as well as other spots.
So this trip was more lax and “live in the moment”, type of deal.
However, there was one spot in the Tokyo area I missed on my last trip.
That was the Chiba Monorail.
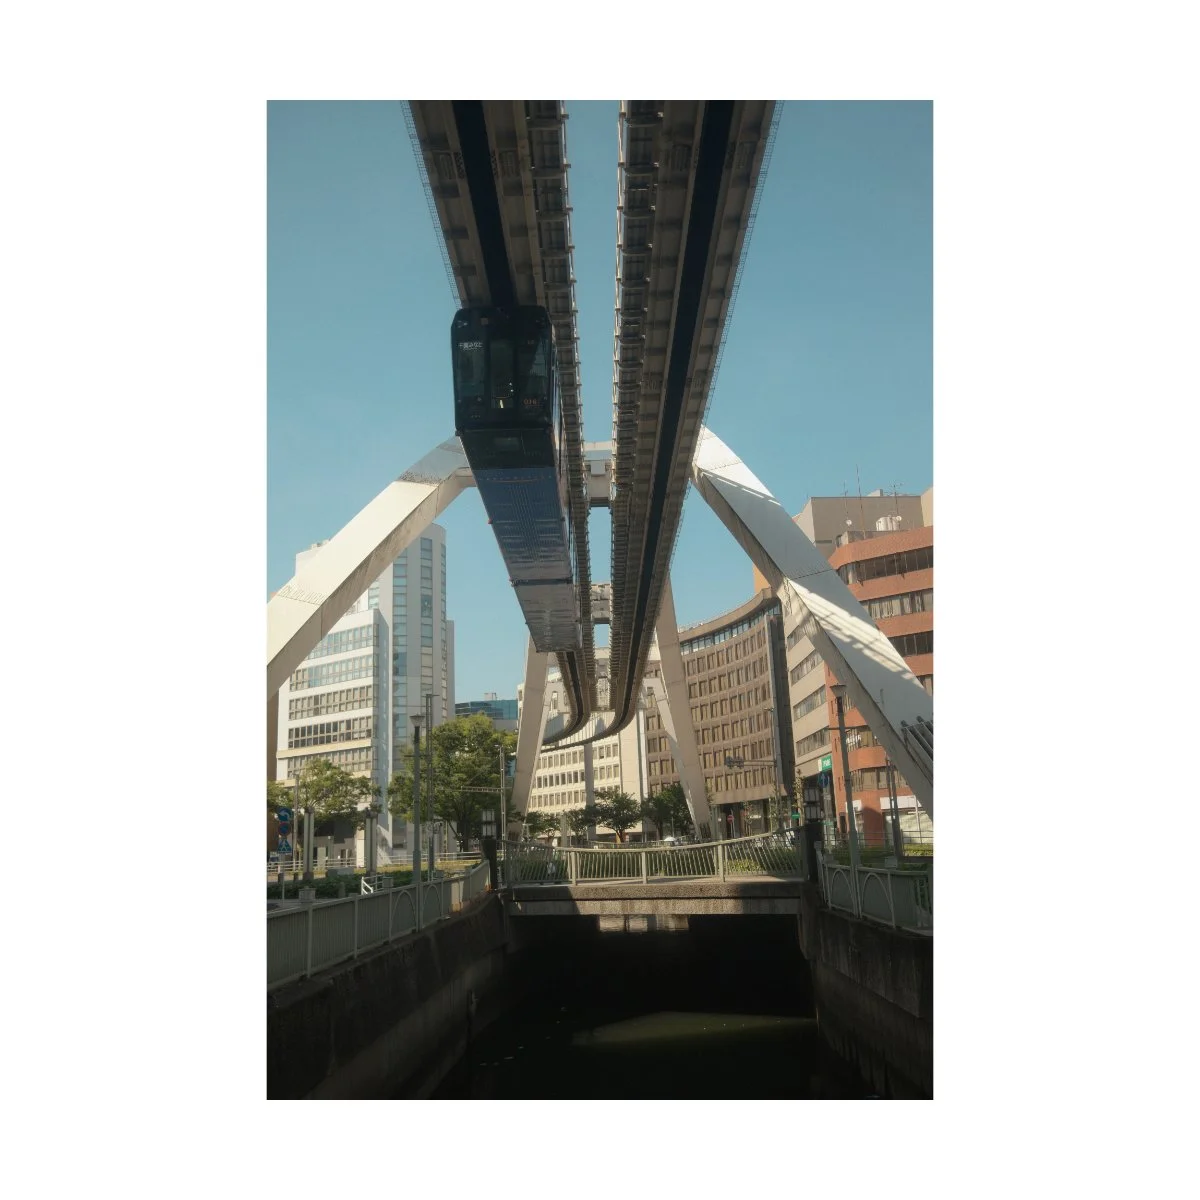
In Chiba City lies one of the more unique trains in Japan: a monorail that rides through the sky and passes above the city.
Personally, I thought this was one of the coolest things and figured it would make for some great street photography scenes.
It was just a bit out of the way, almost an hour and a half east of the Tokyo city center, so that made it hard to visit.
But I muscled up the energy and traveled there, just to get a few shots of the monorail (and ride it of course).
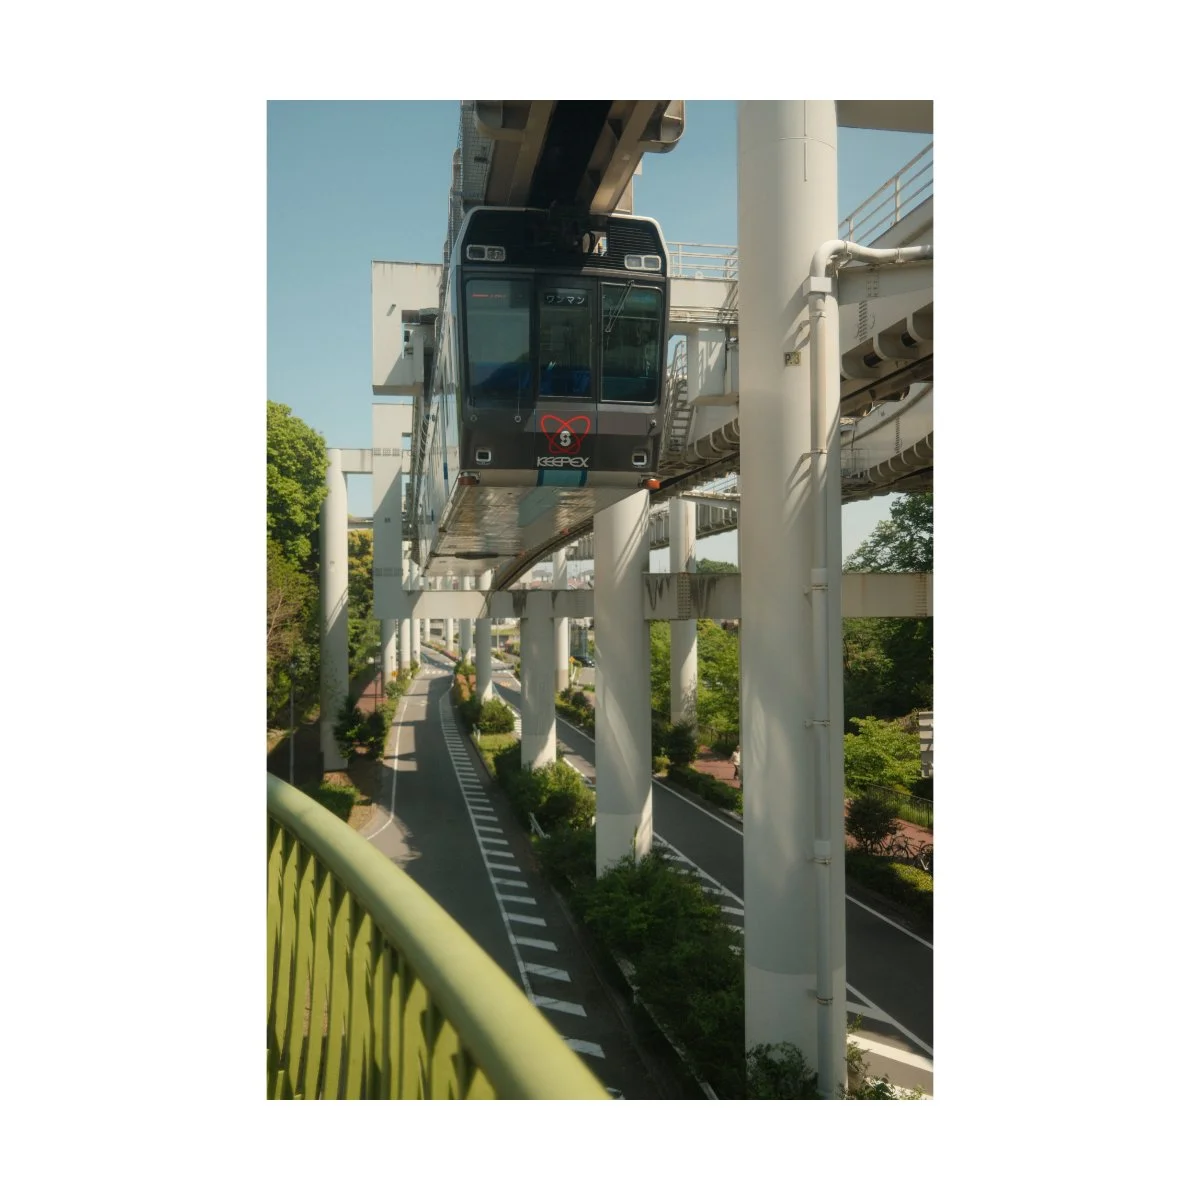
There were two main photospots I captured, one near the Chiba Zoological Park, and the other overpassing the river near the Chiba Station.
I’m sure if I spent more time exploring I could have found more but, I only cared for a quick visit.
The monorail also doesn’t come by as often as you’d think so you gotta make your shots count.
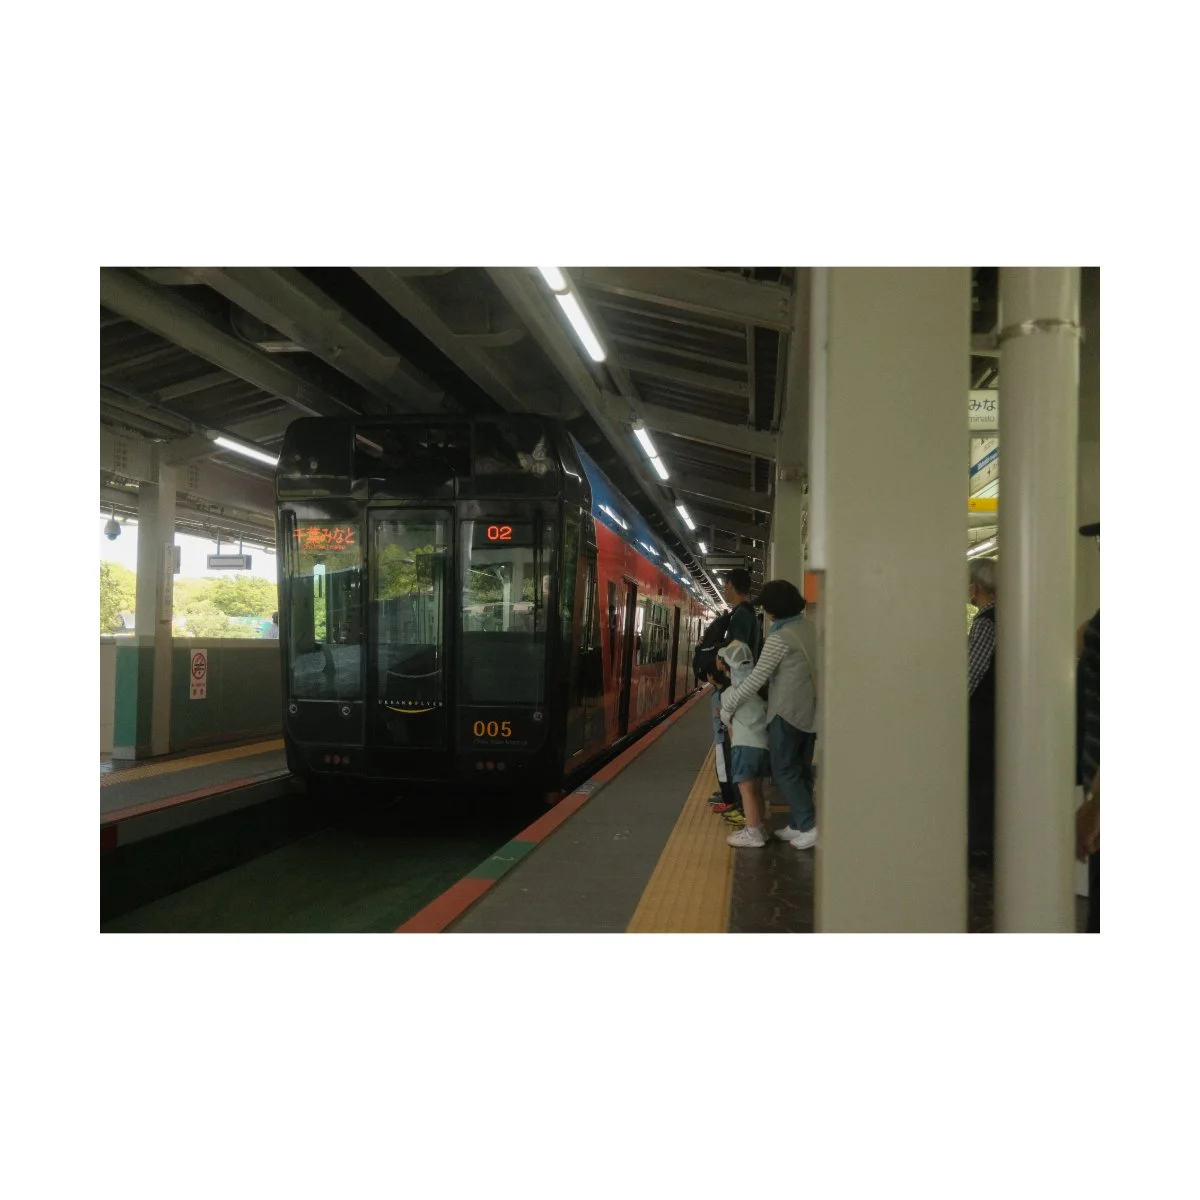
If you find yourself stuck waiting for the monorail, just take pictures of other stuff in the meantime.
That’s what happened to me, so I just walked around and took pictures of the surrounding station and greenery.
Which ended up being some of my favorite pictures, simply because the lighting and colors looked so good.
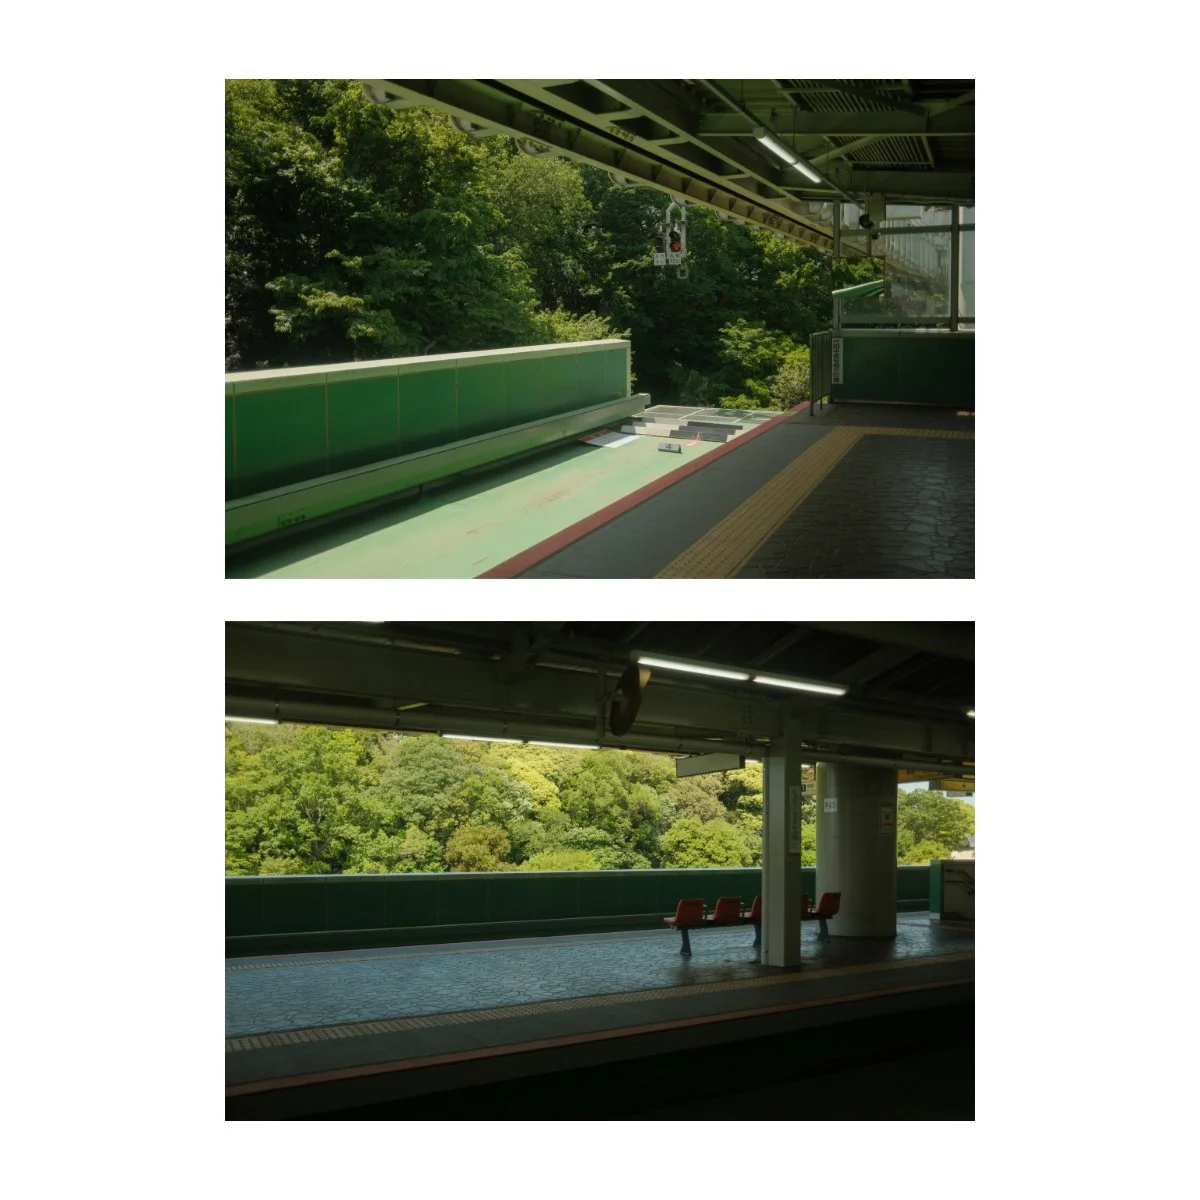
If I had to be honest, the lighting was a bit harsh that day, and the monorail photos looked better in my imagination than reality, but I’m still glad I went.
Riding the monorail was fun in itself and I’m pretty happy with some of these photos I took at the station as well as perspectives inside the monorail.
Plus it was fun to just ride a train above the city.

Lessons About Street Photography
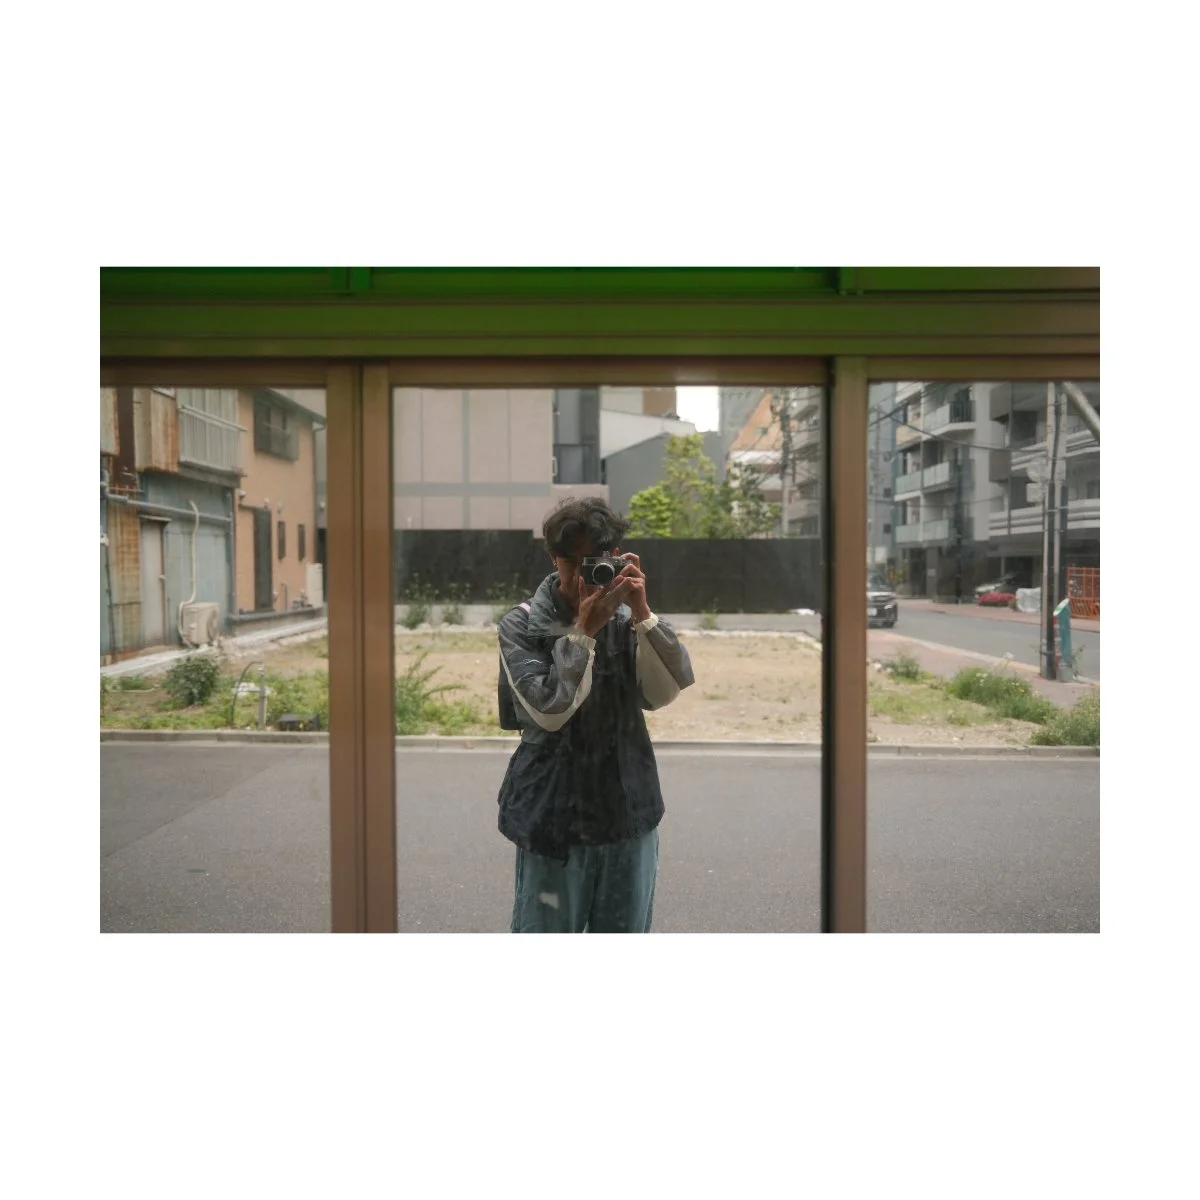
So overall, my trip with the Fujifilm x100vi in Tokyo went much more smoothly this time around.
With me, I also brought the X-T4, the 18-55, and the 33mm f1.4, but didn’t touch them once.
It was just too convenient to use something like the VI.
Of course, context of the trip matters.
If I had visited more viewpoints or scenic spots, I’m sure I would have used the X-T4.

But to this day, I think a point and shoot camera is probably best for most casual photography enthusiasts.
Bigger lenses and bigger bodies might get you better results but they’re a pain in the ass to travel with as well as less discreet.
Furthermore, being more serious about photography can sometimes give you a more stressful travel experience.
So if you’re like me, and want to enjoy both, it’s hard to go wrong with a point and shoot.

I surprised myself with how many good shots I was able to get by not trying so hard and just blending in.
Where street photography before used to take more effort and intentionality, street photography lately, feels more like an interlay between living and acting.
I know most of what I have to do and sometimes my body moves even before my mind does.
I’m not taken from the moment, and I feel like I enjoy it just as much, if not more than others.
Thinking and trying, versus just riding the flow state.
Both have worked at different times, so knowing how and when to use each is probably the best.
And that comes from experience.

Similarly, I’ve learned more about embracing the type of photography I want to do.
For example, if I really wanted to, I could stand right in the middle of a busy walkway and point my camera at everyone who passes by, and get decent results that way.
But then, what am I really looking at and what am I taking pictures of?
It’d be false to say it’s the person - because I don’t know that person and I’m not trying to get to know that person.
It’d also be false to say it’s the story - because better stories can be found elsewhere.

For my style of photography, which is quite often impersonal (and that’s not a bad thing), I’ve learned that my eye really loves the scene.
Some may call that low level, low effort, basic street photography, but it’s the thing I keep on coming back to.
At the end of the day, we as photographers, capture what we are captured by.
And if that’s what captures me most, I’ll continue to capture it.
Everything else, doubts or insecuritys, judgement or expectations, can all go away.
That - security in what I do, has truly become solidified within me on this trip.

If you enjoyed this article, share this with a friend and stay tuned for more.
If you want to learn more about improving your photography, shoot more and stress less, check out Photography Systems.
It’s there we learn about the process and psychology of getting better.
I think you’ll find it useful.
Anyways thanks for reading, happy shooting.