After editing my own photos for roughly seven years, there’s one big lesson I’ve learned:
There is no right way to edit.
There may be “wrong” ways to edit, things that don’t look good or make the image look worse, but every photographer has a different preferences, and there are many paths to a good edit.
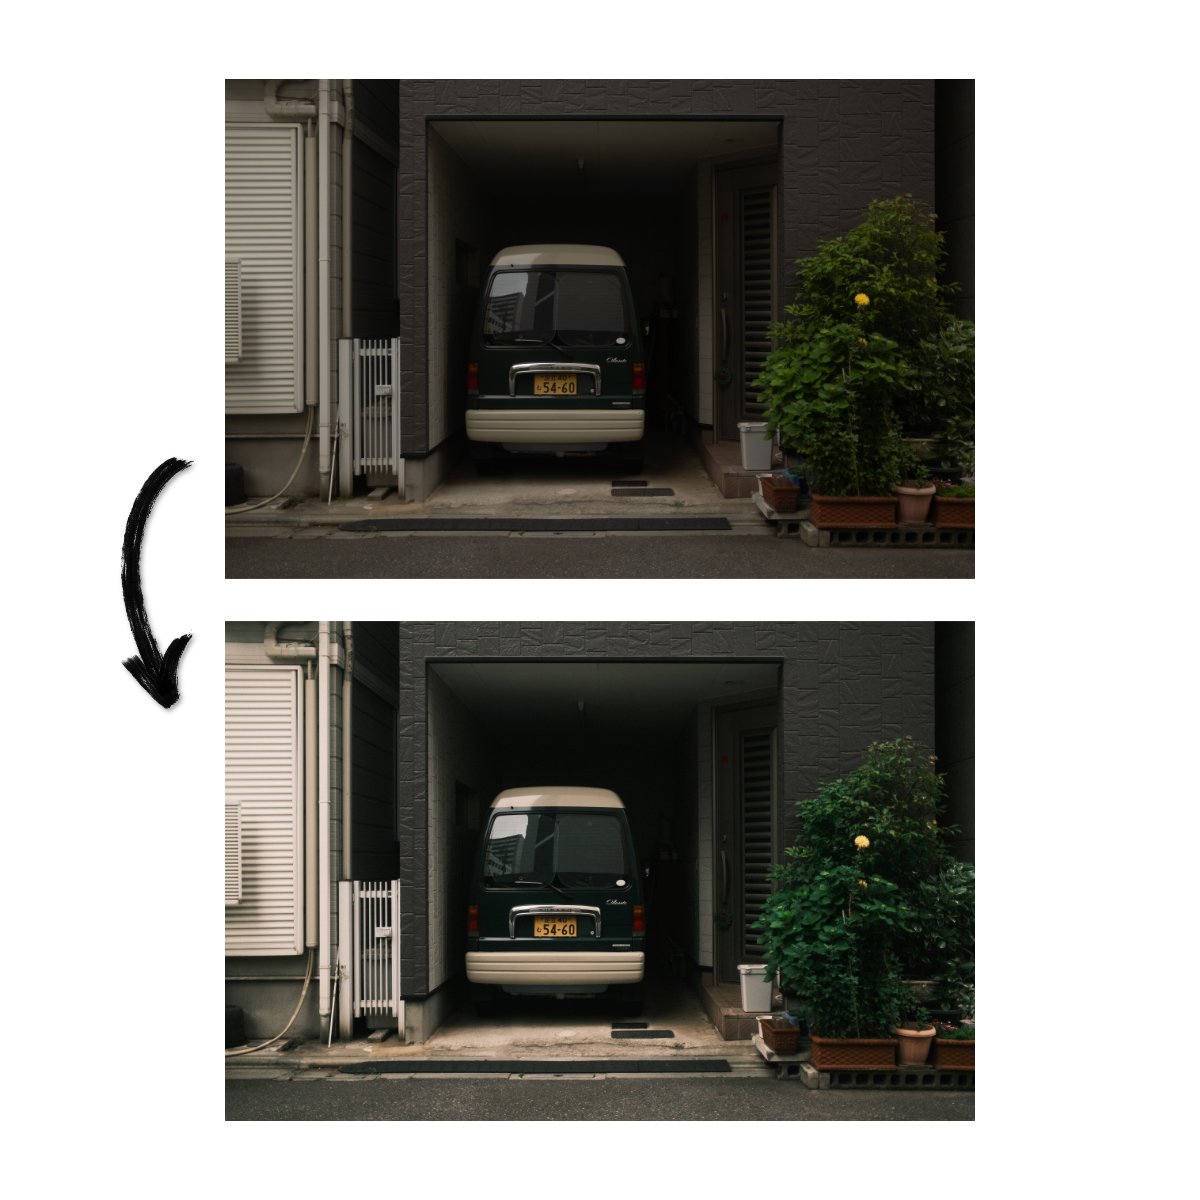
Even with programs, I’ve used various different software like Lightroom, Capture One, and the AI ones like Luminar.
And ironically, although people in the forums or comment sections will say one is better the other, I haven’t necessarily found that to be true.
Certain software are better at certain things, but there are pros and cons to both.
Lately I’ve been using a lot of Lightroom, so today we’ll dive into how I edit my photos (side by side) after using the program for 7+ years.
And you might be surprised by how basic it is.
For the full side-by-side editing, watch the video below:
So that’s how I edit my photos in Lightroom after 7 years.
It’s a lot less complicated than you expected, right?
In fact, I often find that less is more, especially for photo editing.
It’s not necessarily about the tools you use, but how you use them.
And using basic stuff right can still get you a good result, when used well.
I’m not saying you can’t use other tools.
If you find other things you like, like masking, split toning, etc, use them.
But there are multiple ways to achieve a similar or good result.
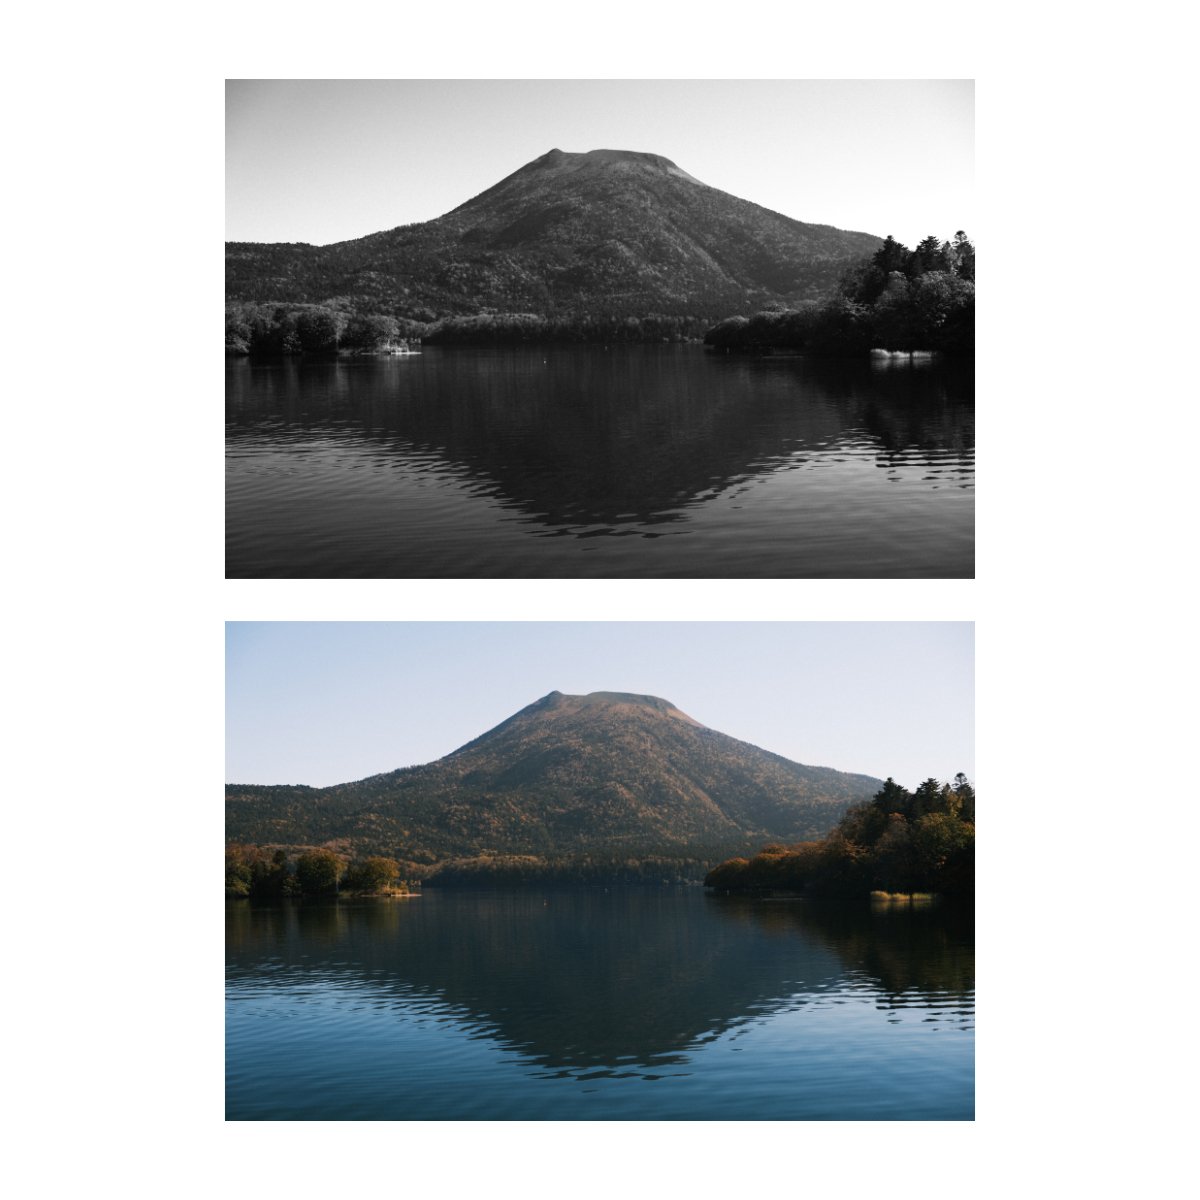
So don’t be deterred if you don’t know or use everything in Lightroom - you don’t have to.
Admittedly in reality, I’m just too lazy to go into that level of detail editing for an ordinary photo, so my editing process reflects that…
But I do think the better a photo is, the more naturally easier it’ll be to edit, and vice versa.
So if your edit is taking all these handstands and flips just to get it looking decent, you probably messed up somewhere earlier, when you were taking that photo.
Anyways, I hope this was helpful.
If you’d like to learn more on different frameworks I use to keep my editing focused and simple, check out some of the earlier articles I’ve made on photo editing like this.
If you want to learn the foundation and basics of what each tool does, we break that down in Photography Essentials (it’s free).
If you want to level up, break through the intermediate stage, and reframe how you approach the craft, you can do so through Photography Systems - check it out.
Thanks as always for reading, happy editing.