Tips to Learn & Use Fujifilm Film Simulations (for better photography)
Film simulations, when used right, can be a powerful asset for our photography.
They’re not simply a fun little filter to put over our images - but rather a gateway to understand visual looks and also our own photography preferences.
Today, I’ll share with you a few steps to understanding and utilizing film simulations.
This will help give you a path forward, in terms of how to learn them, and if you stick with it, should improve your photography.
If you’re looking for a deeper more qualitative breakdown of each film simulation, check out “Your Complete Guide to Every Fujifilm Film Simulation (2025)”, or the older “Fujifilm Film Simulations I Use On A Daily Basis”.
Let’s get started.
Workshop Each One
Perhaps the most straightforward and obvious way to understand each film simulation is to workshop each one.
Meaning, take some time, maybe a week each, and shoot with one until you feel like you understand it.
Pay attention to the different qualities and characteristics and how they alter your images.
Make mental notes to which ones you like or prefer.
Then rotate and switch between the other film simulations and you’ll get a soft understanding of how they compare to one another.
Plus, you’ll begin to understand when it’s best to use each one.
This “experience” takes time and you’ll have to build it for yourself, since I can’t do for you.
It may take some effort, but it’s honestly the actual thing that works.

I remember when I first started using film simulations, my path wasn’t so clear cut.
I kind of jumped left and right and switched simulations randomly, never giving myself a chance to get accustomed to one look.
I also avoided many simulations which I didn’t think looked good.
That wasn’t bad persay, but I could have been more open minded, since I did eventually find out where certain non-preferred looks, like Velvia, had their uses.
Now, it wasn’t until I stuck myself to one film simulation per photo session, photo season, or trip, that things began to click.
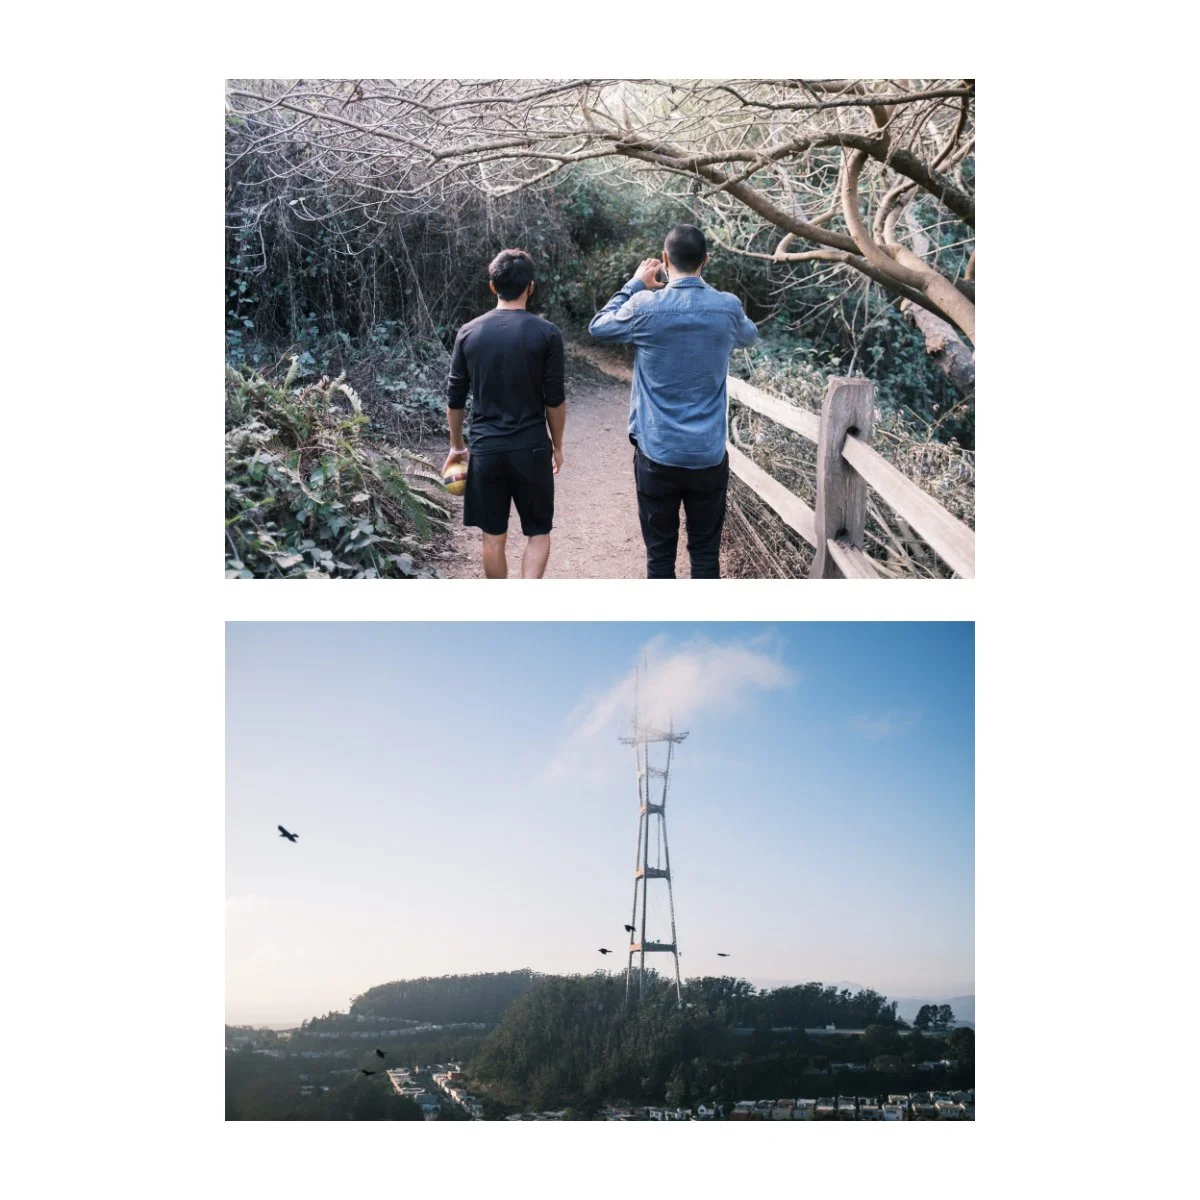
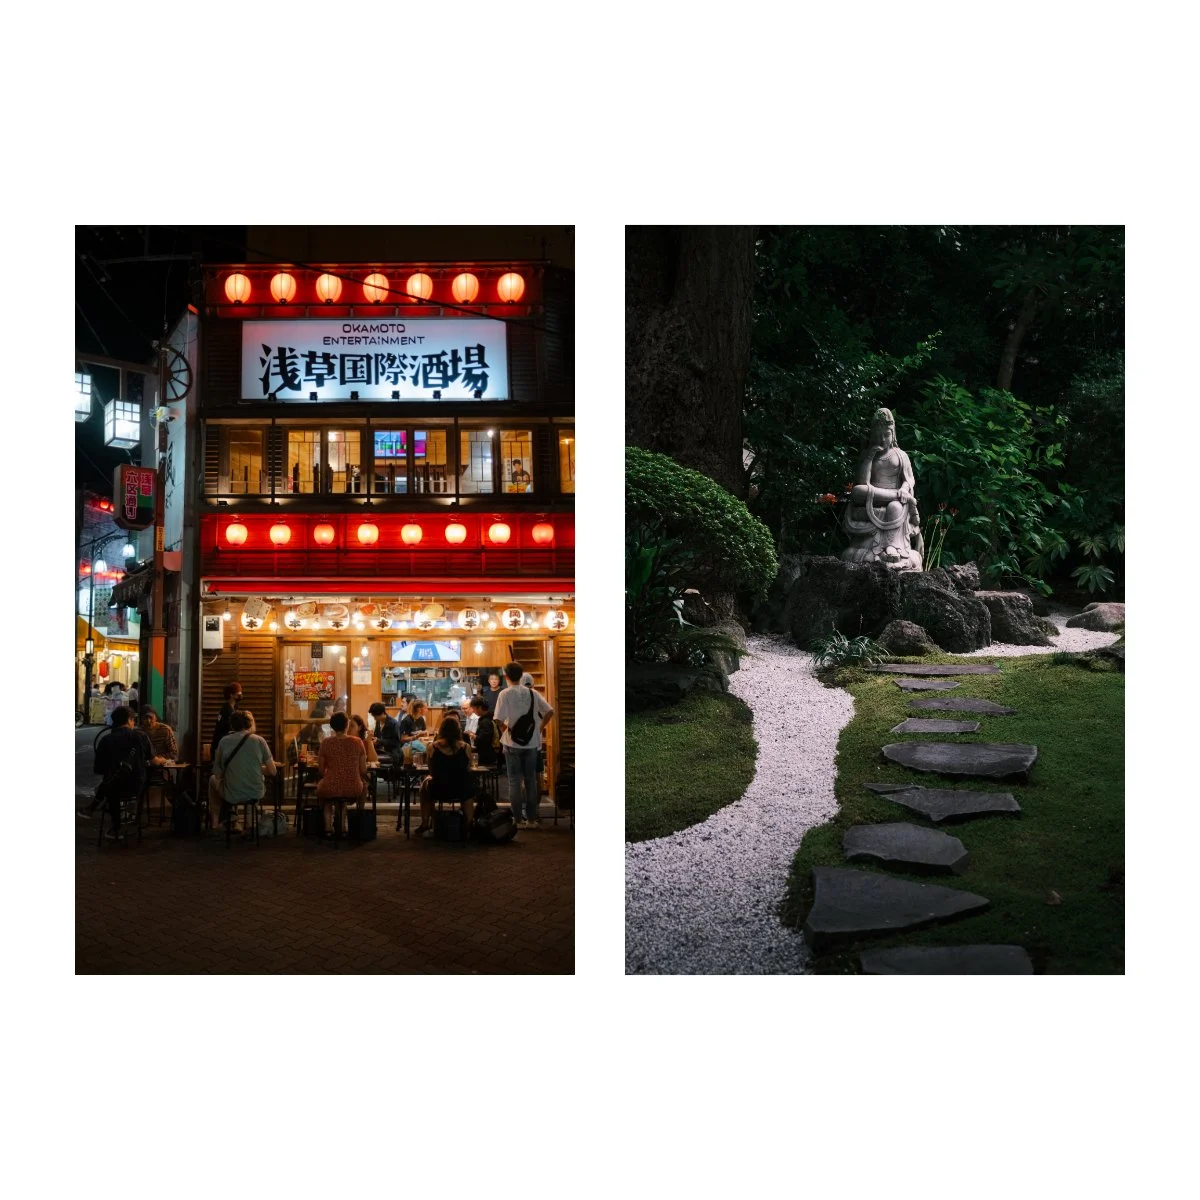
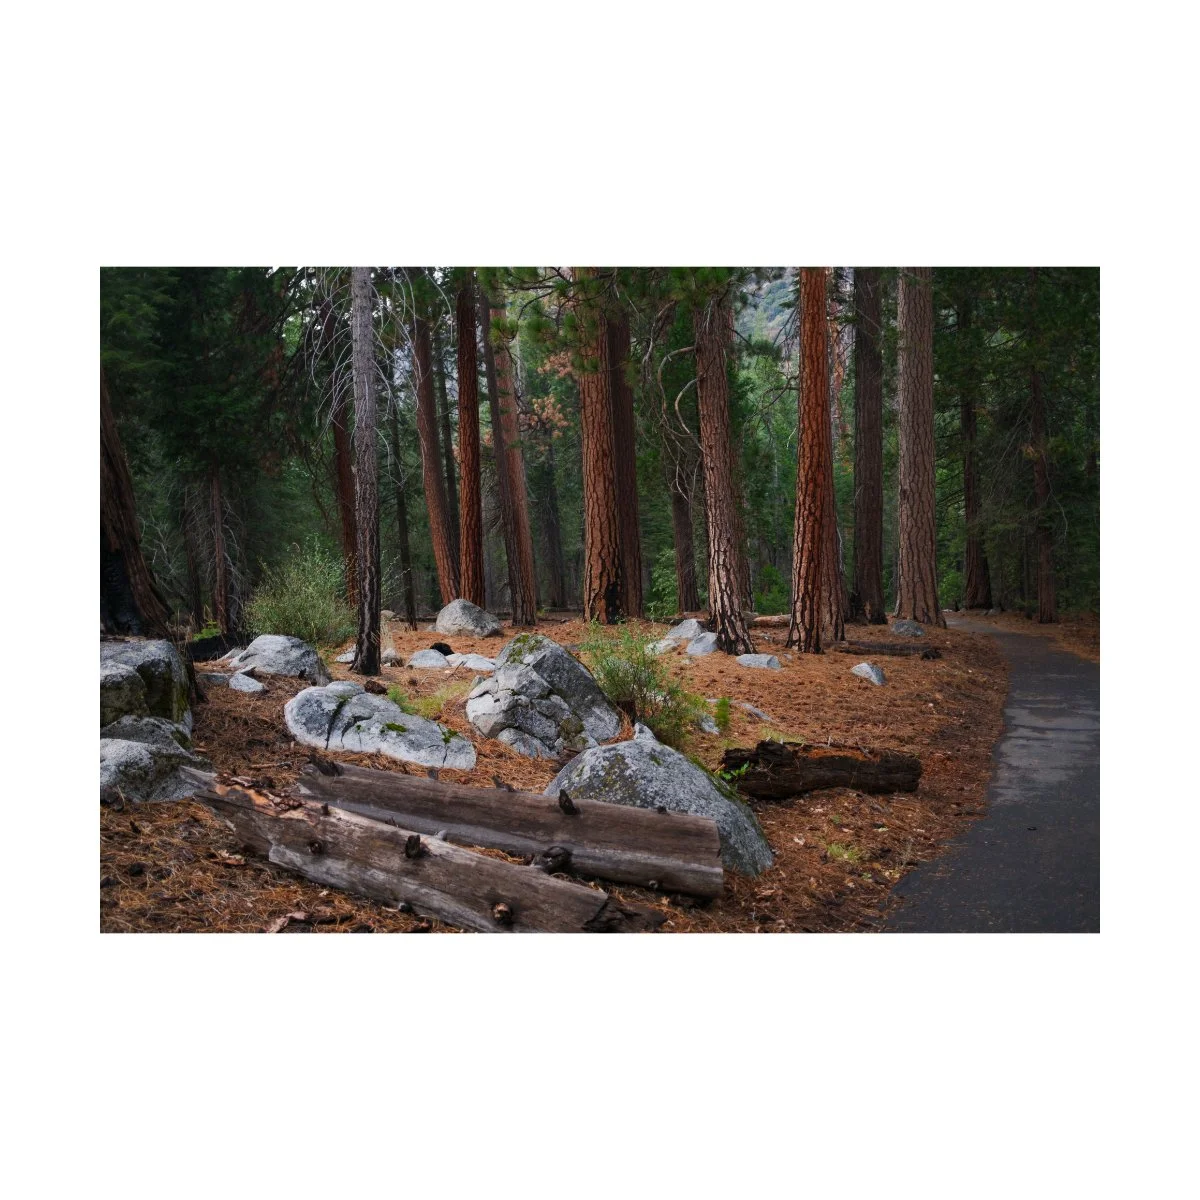
For example, way back in 2020, me and a few friends took a trip up to The Bay.
For that trip, I only took photos in Classic Negative.
Before that, I was shooting in mainly Classic Chrome, so this was a big change.
But it was an important one, since doing so helped me understand Classic Neg better.
Exploring local neighborhoods, beaches, and hikes, shooting different subjects in different lighting conditions, and playing around started this process of learning.
I found that the tones and colors were different than Classic Chrome, and there was a particular intensity and pop to Classic Neg.
Obviously, I understand the simulation even more now, might edit some of these shots differently, and could probably flip flop between looks within trips, but dedicating myself to just Classic Negative for a time worked.

This is in part because our brains require some sort of memory linkage to learn.
We learn better through stories, so when we associate a trip, memory, or place with a certain film simulation, those qualities will be easier for us to remember.
And trying to shoot in too many different looks at once will just confuse your brain.
In essence, if you really want to understand film simulations, workshop each one.
Say, “this is my Reala Ace week, month, or trip” - and then only shoot in that.
If you find out you hate the look, you can cut the workshop short and switch to another one.
But it’s still worth trying because you’ll come out on the other end better, since now you know whether you like it or not and why.
The Editing/Reviewing Phase
For any photographer looking to improve their understanding of visual patterns, color, or photography in general, the editing phase is key.
Now if you don’t edit your photos and just shoot SOOC, you can call this your “reviewing phase”.
Editing and reviewing is important because it gives us feedback: what we did right and what we did wrong.
And when it comes to film simulations, looks can change based on not only exposure but also how you edit.
For example, I learned early on that some film simulations look better SOOC when I overexposed the shot by an ISO tick or two.
Others, the colors rendered better when things were spot on.
These are things I learned in the editing phase when I went back to see what I did wrong.
Some of this happens subconsciously as we scroll through our photos, but I’d recommend allocating some time for it every single day.
If you can make a habit of going back and forth between trying something new and seeing if it worked, you can build the foundation of learning through experimentation and iteration.
This is important for not only understanding different film simulations, but improving in any creative field as a whole.
You do something, see what worked or didn’t work, and either do what worked again or try something new.
Doing this, expanded over the long term, will give you that expertise to utilize film simulations as you wish.

Connect It to Your Photography
Once you’ve allocated proper time to workshop and review, you’re ready for the next step.
By now you’ve probably got some decent understanding of each film simulation and how they function.
And you probably have a couple you like or prefer.
Now it’s time to pay attention to patterns and capitalize on the film simulations that suit you best.
You see, your photography encompasses certain characteristics.
There’s the particular style of shooting you have, the subject matter, and things you like.
And much of it is dictated by your lifestyle and places you go.
Because of this, you’ll find that certain looks and styles are better suited for your photography.
Which means: finding the best film simulations for you is really just finding the right one that suits your photography best.
For example, my photography is characterized by a few different genres.
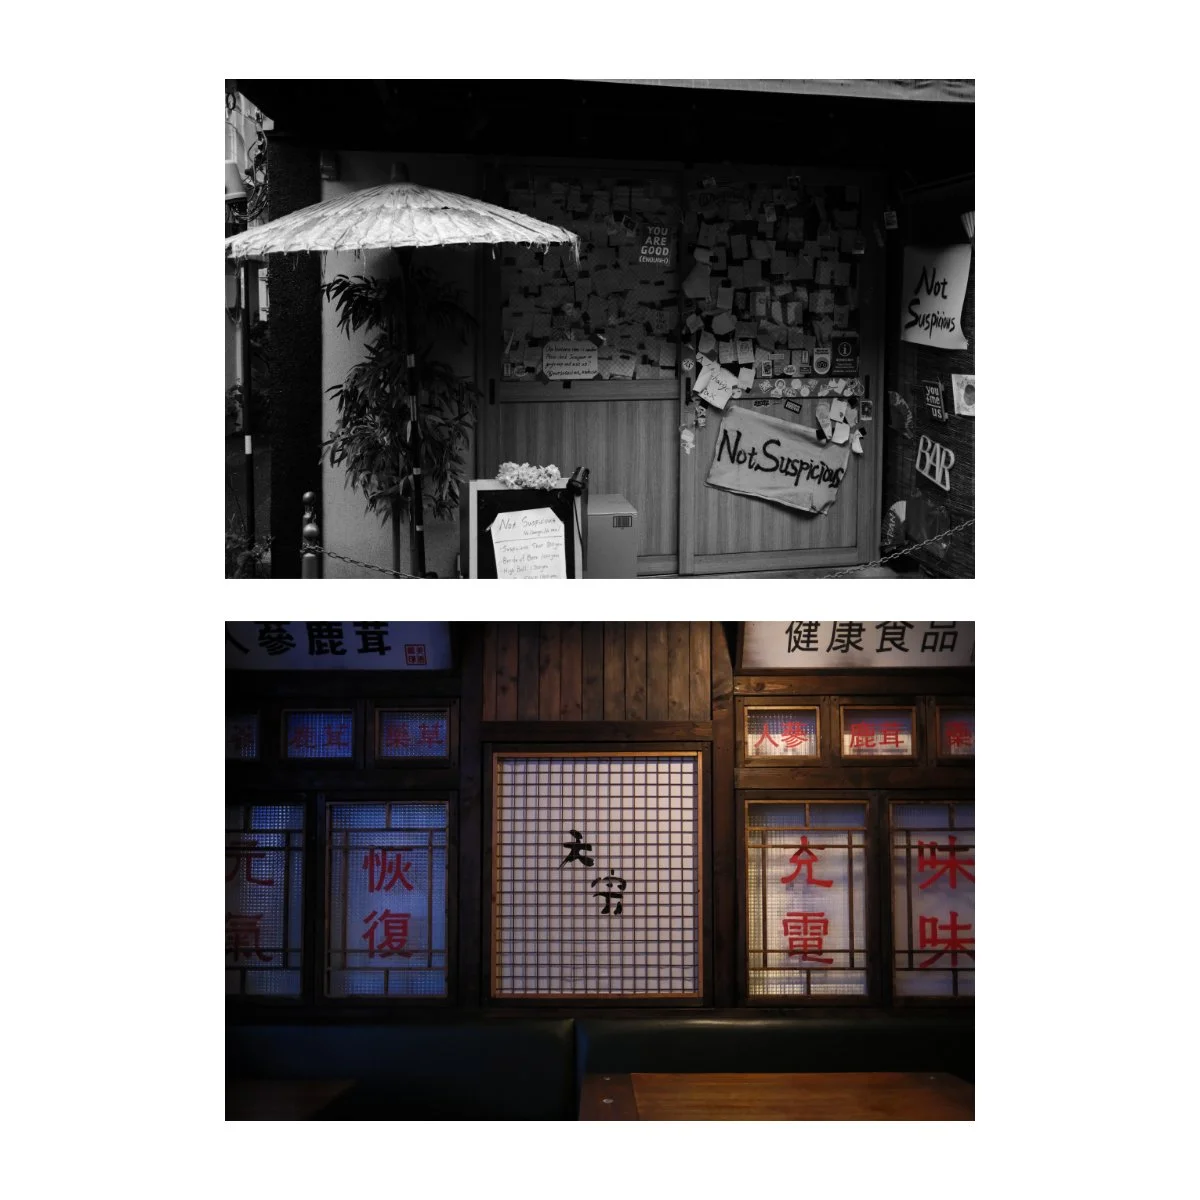
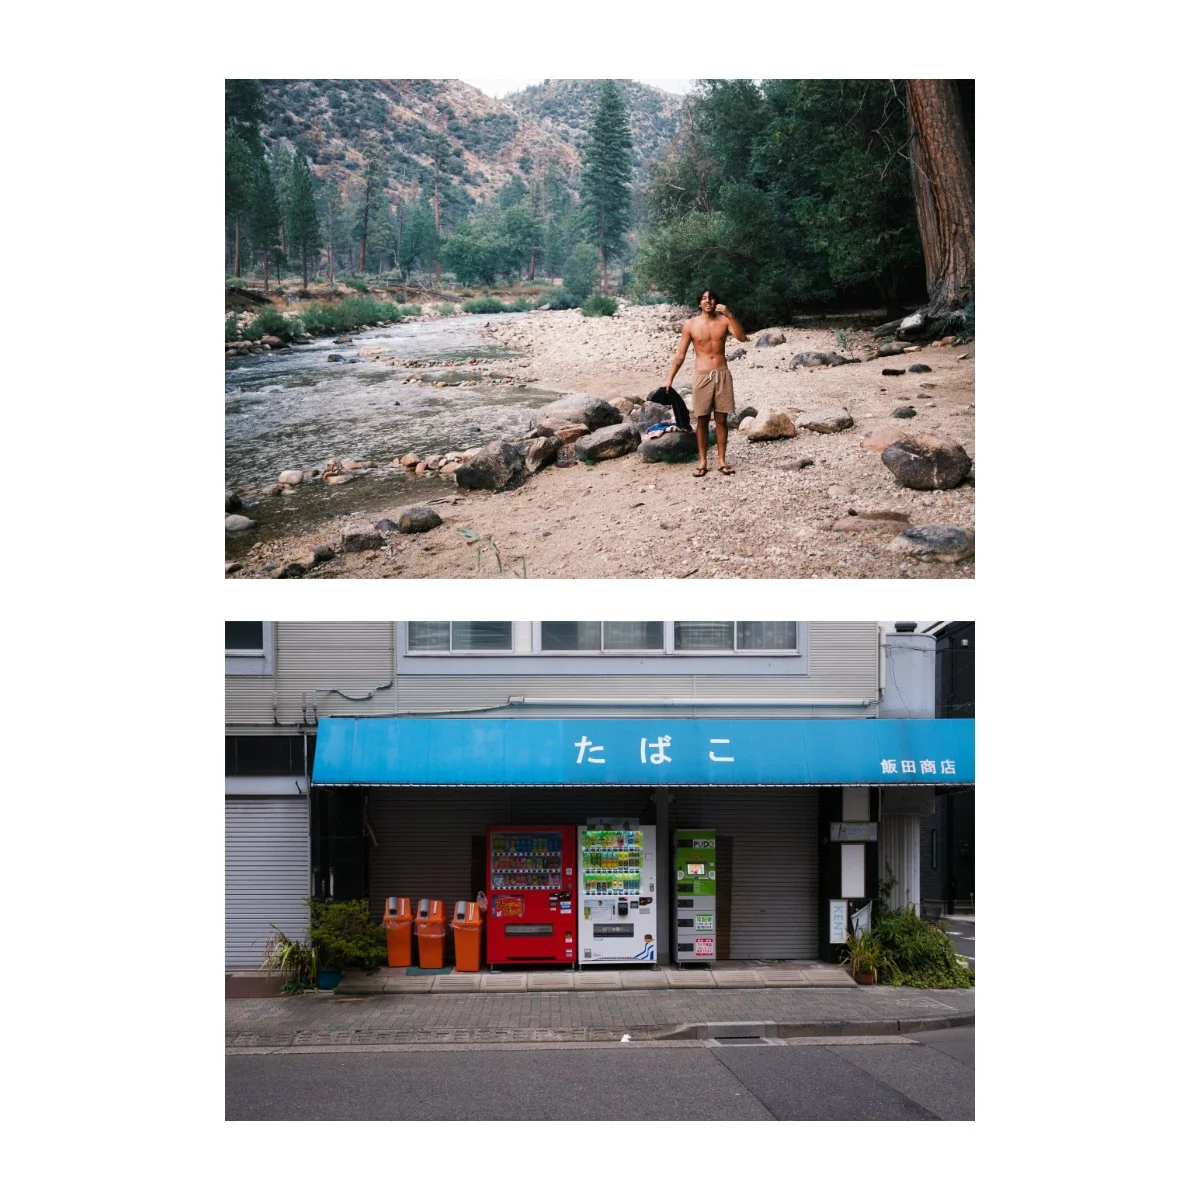
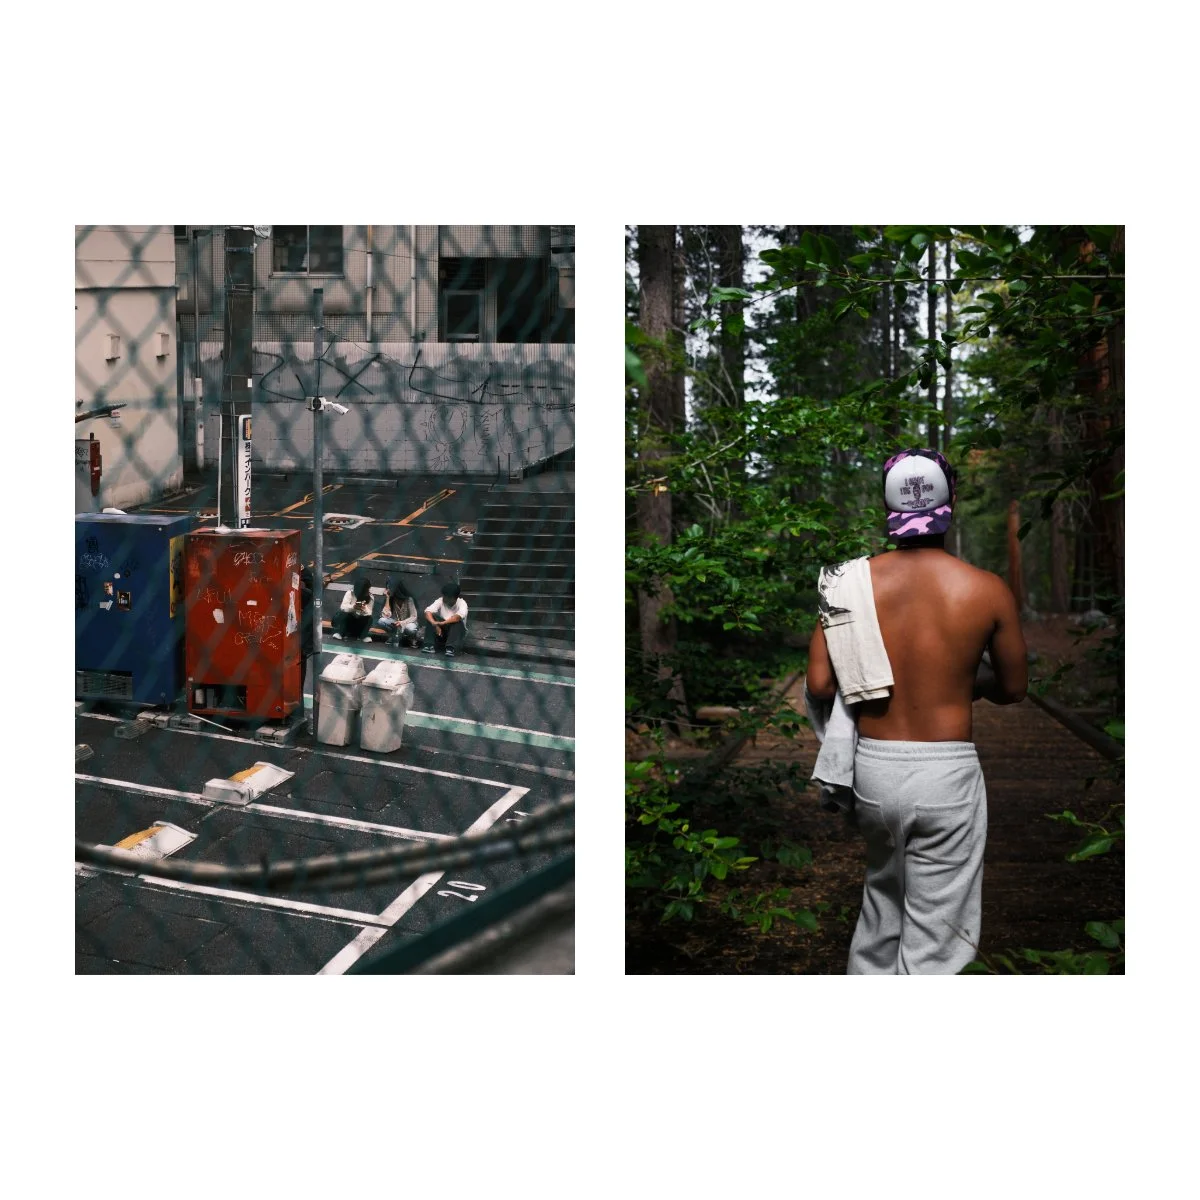
I photograph street scenes of anything that catches my eye when I’m out in the world.
I document candids of friends and family as we live life and have fun.
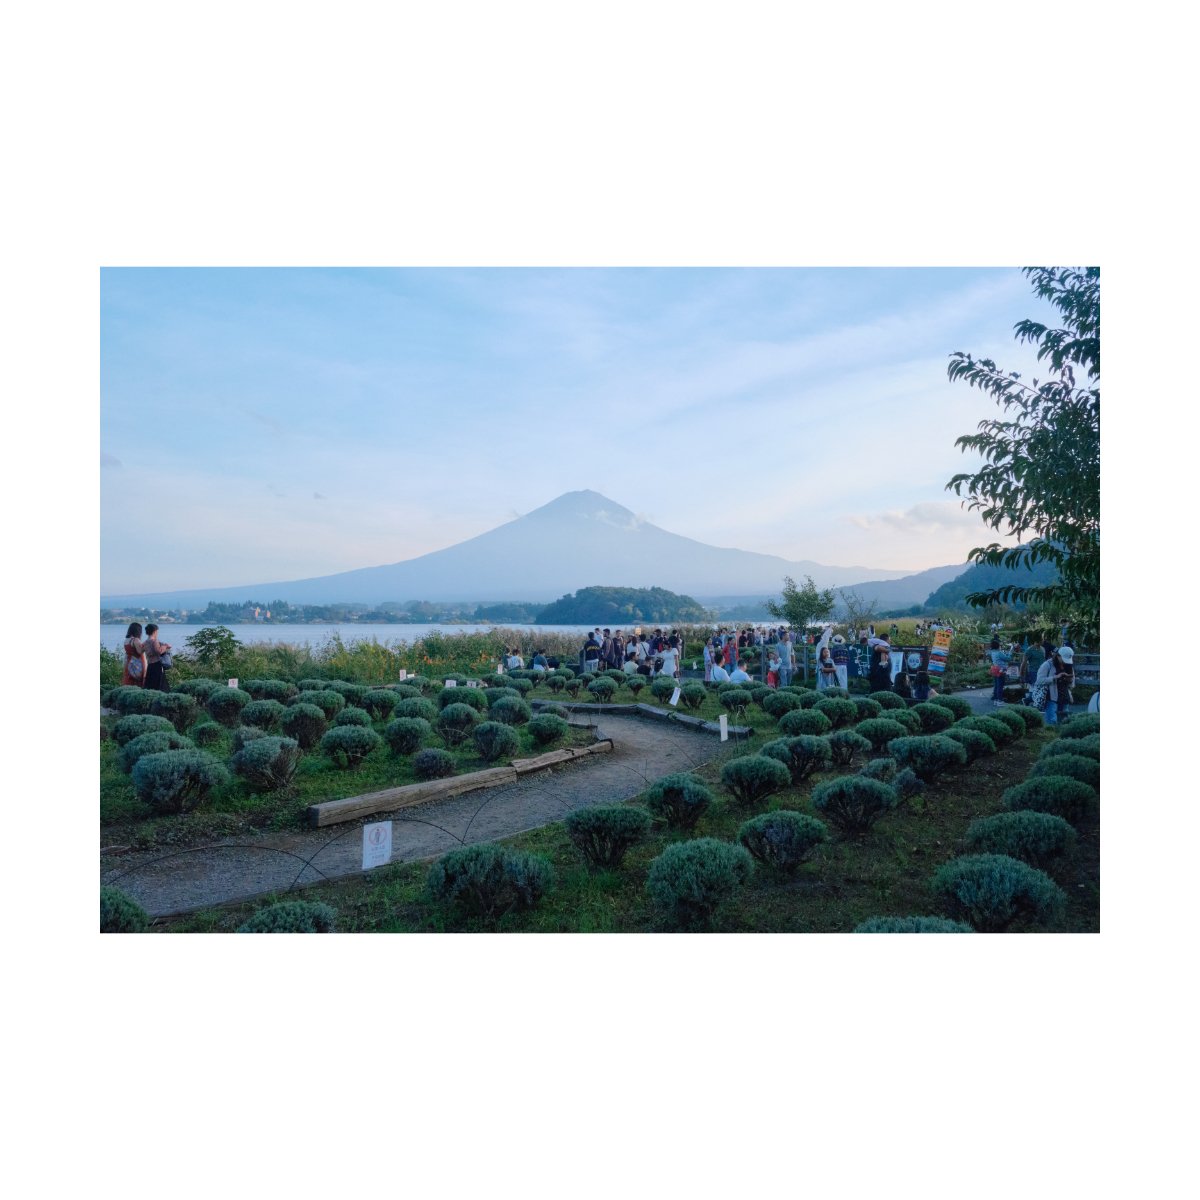
I create wall art, either using travel photos of well known viewpoints or scenery.
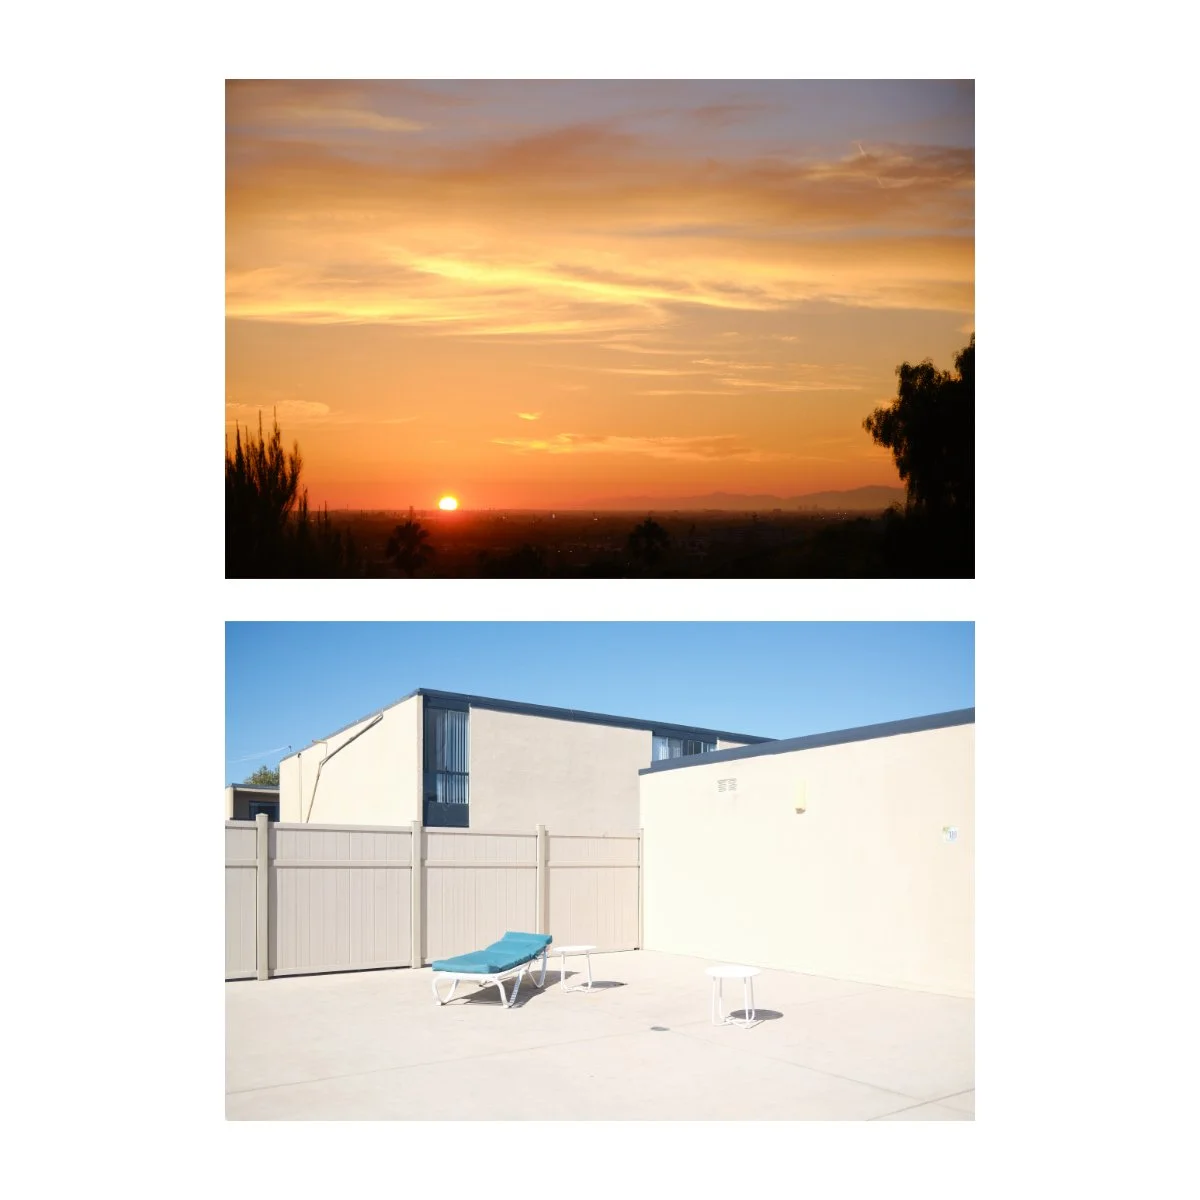
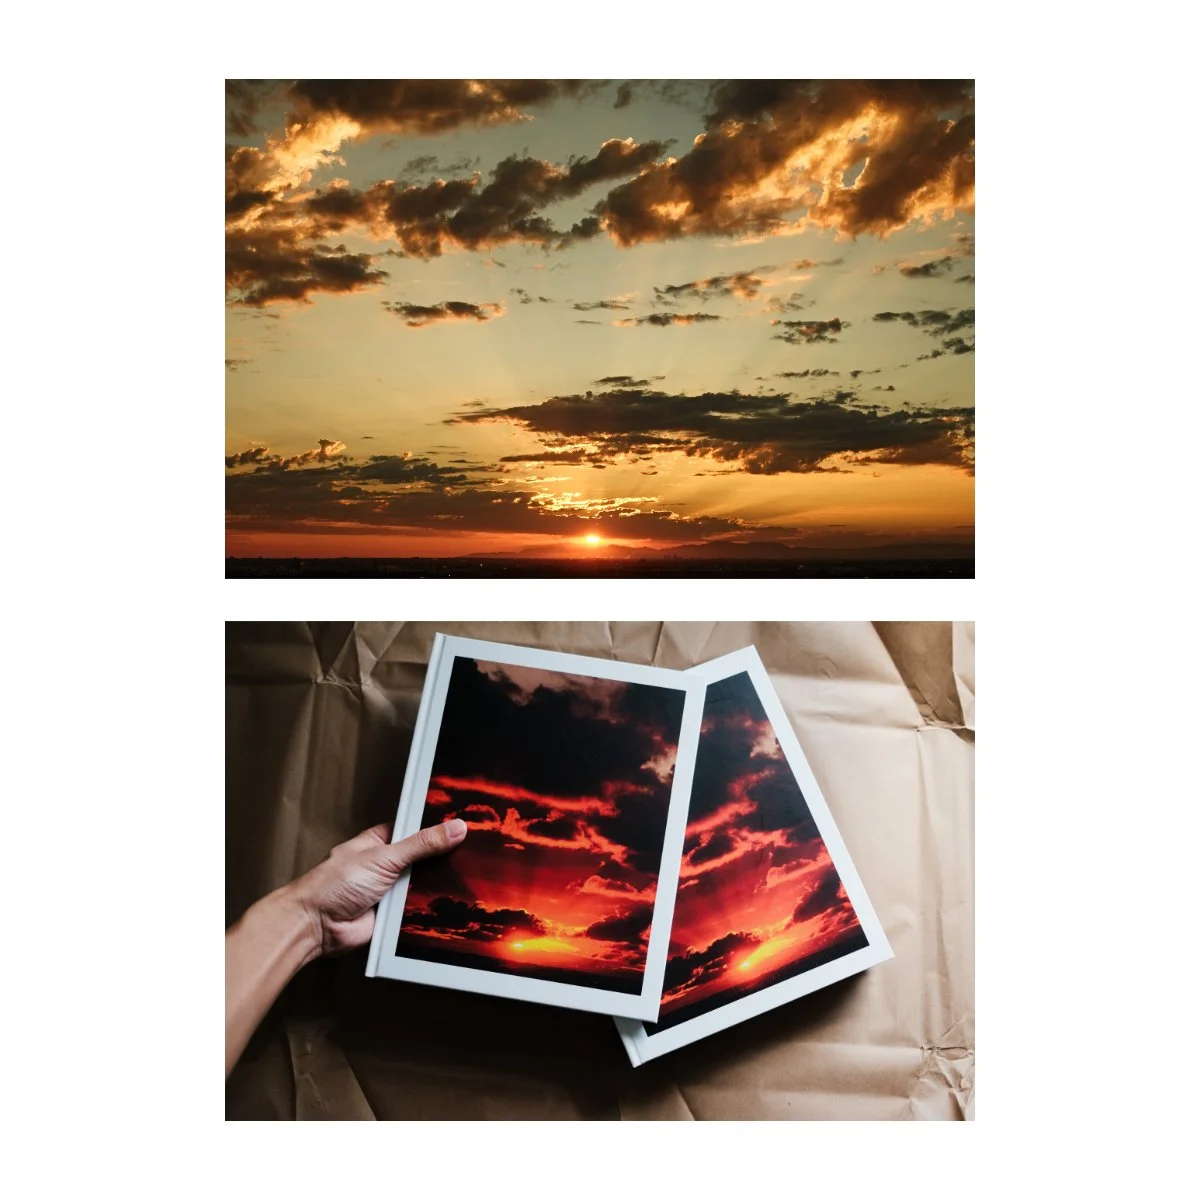
And I’ll snap a colorful sunset here or there of cloud formations and golden hour.
I expressed most of that feeling in “The Sinking Sun”, my last zine, so my sunset phase might actually be closing.
But the point is, each different version of photography I do has different qualities to them, and therefore different looks.
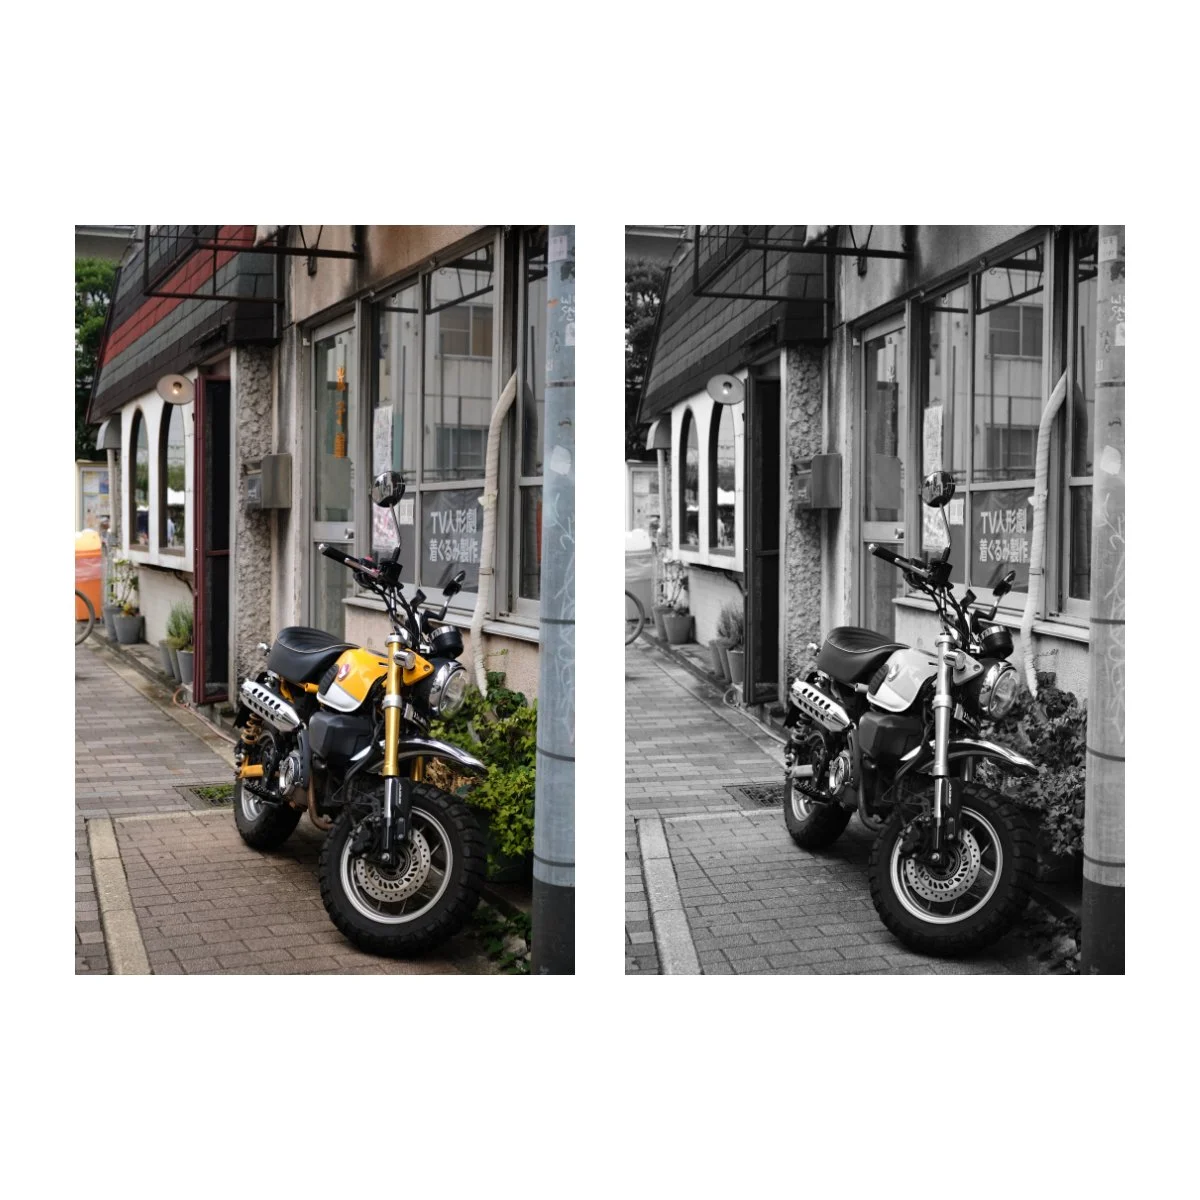
Most street scenes and documenting life with friends, I do in Classic Chrome, Classic Neg, or Acros because they give a stronger candid feel.
Wall art and sunsets, I’ll typically use something more vibrant and colorful like Velvia, so they stand out more.

These patterns and preferences, although they seem like my choice, are actually dictated by the photography I do - because if I did something different, I would shoot in a different look.
You’ll have to find your own link between the various film simulations and your photography, but understanding that that’s what you ought to be looking for is important.
Don’t just use a certain film simulation just because I or someone else said it’s good.
Find the one that’s best for what you do, and things will work out.

A Final Look, Sooner
Film simulations are cool because they give us different usable looks to play around with.
But at the end of the day, the higher purpose of them is to reach a certain desired look or aesthetic sooner.
That’s at least, one way I view them.

What does this mean exactly?
This means that once you’ve reached a certain level of understanding, film simulations become more than just a fun little filter.
Rather, they become a way to bridge the gap between a fully edited photo and a base image.
If you understand and utilize film simulations, you can adjust and tweak little things such that your SOOC JPEG is fully formed without having to edit - in theory, at least.
That way, if we were going to edit our photo to look a certain way anyways, we can save ourselves some time.

To spell it out, this means going into your camera settings and adjusting things like tone curves, white balance, clarity, etc to match your style and preferences.
This level of using film simulations, I’m honestly not quite there yet.
For the past few years I’ve focused on simply understanding the different looks and editing them in Lightroom or Capture One.
And trying to get it right SOOC seems much much harder.
But that I believe, is the next step.

Nowadays, I’m making small changes and tweaks to my custom film simulations, trying to see if I can “edit real time”.
I have no idea if it’s practical or will work right, but it’s a fun little experiment.
So far, my results are mixed.
Images won’t be spot on or exact to how I’d edit them later, obviously.
And camera processed jpegs at neutral settings still look different than the RAW file in Lightroom or Capture One with the same film sim.
But I just want to see how far I can take it.
Because if I get it right, it could either shorten my time in the editing phase, teach me more about color and tones, or just get me some new unique looks.
And I always have the base RAW file to edit off of, just in case.
So I’ll let you know in the future how it goes if it works.

All in all, if you want to understand and utilize film simulations better, what should you do?
First start by workshopping each one.
You can’t understand the qualities and differences between them until you’ve spent enough time shooting.
One thing that can help with this is to dedicate entire weeks, photo sessions, or trips to using just one simulation.
You can change it if you don’t like it, but doing this will give you a greater understanding of each one.
Second, make time to edit or review.
Creatives learn through experimentation and iteration, and feedback is essential in this.
If we don’t go through and review, we won’t understand the different looks and when best to use them.
Third, connect it to your photography.
Your preferences in looks will be inextricably linked to the photography you do.
So understanding film simulations isn’t about using what your favorite creator uses.
Rather, it’s about finding the ones that suit your photography best.
Finally, start tweaking your settings with a complete image in mind.
Tone curves, grain, color cast, etc.
Make little adjustments in the direction of a fully edited picture and you’ll find yourself not only understanding “visual looks” better and how to create the looks you want, but you’ll save time in the editing phase.
That’s how we understand and utilize film simulations to better our photography.
I hope you enjoyed or found this useful - if you did, please share this with a friend who also wants to learn about film simulations.
And if you want to build a solid foundation with photography, check out Photography Essentials - it’s free.
We also have new prints, limited merch, and photography zines.
And get ready - I have something new coming soon within the next month or so.
Thanks for reading, happy shooting.