How I Approach Camera Settings for Flexible Street and Travel Photography (2025)
Camera settings are not meant to be copied, but rather studied and understood.
Because it’s not the settings that gives us the well exposed photo, but our understanding of the day and situation we’re in.
And if we want to be flexible in our street or travel photography, it means learning and adapting to that.
That’s the point of my past article “Stop Copying Other Photographers’ Camera Settings”.
This is supplementary to that.
Today I’m going to share with you my approach to settings for street and travel photography.
But remember: don’t copy these settings, because they might not work for you in the same way they work for me.
Rather it’s the process I’m sharing with you, so you can take what’s useful, if it’s useful, and apply it to yours.
If you’re confused on why, I’d recommend reading that article afterwards - it’ll help you understand settings much better.
And if you’re a complete beginner and have no idea what I’m talking about, go to the exposure chapter in Photography Essentials - it’s free.
Let’s begin.
Understanding Your Photography
Photography is highly personal.
Meaning the type of photography and the way you do it is completely different from the photographer sitting next to you.
And the gap between genres like astrophotography and street photography is miles wide.
Because of this, it’s important to learn and understand your photography at a deeper level, or else you’ll find other people’s methods unsurprisingly not working for you.
In my opinion, that’s the difference between advanced and intermediate photographers - more about clarity and less about skill level.
The simplest example would be aperture.
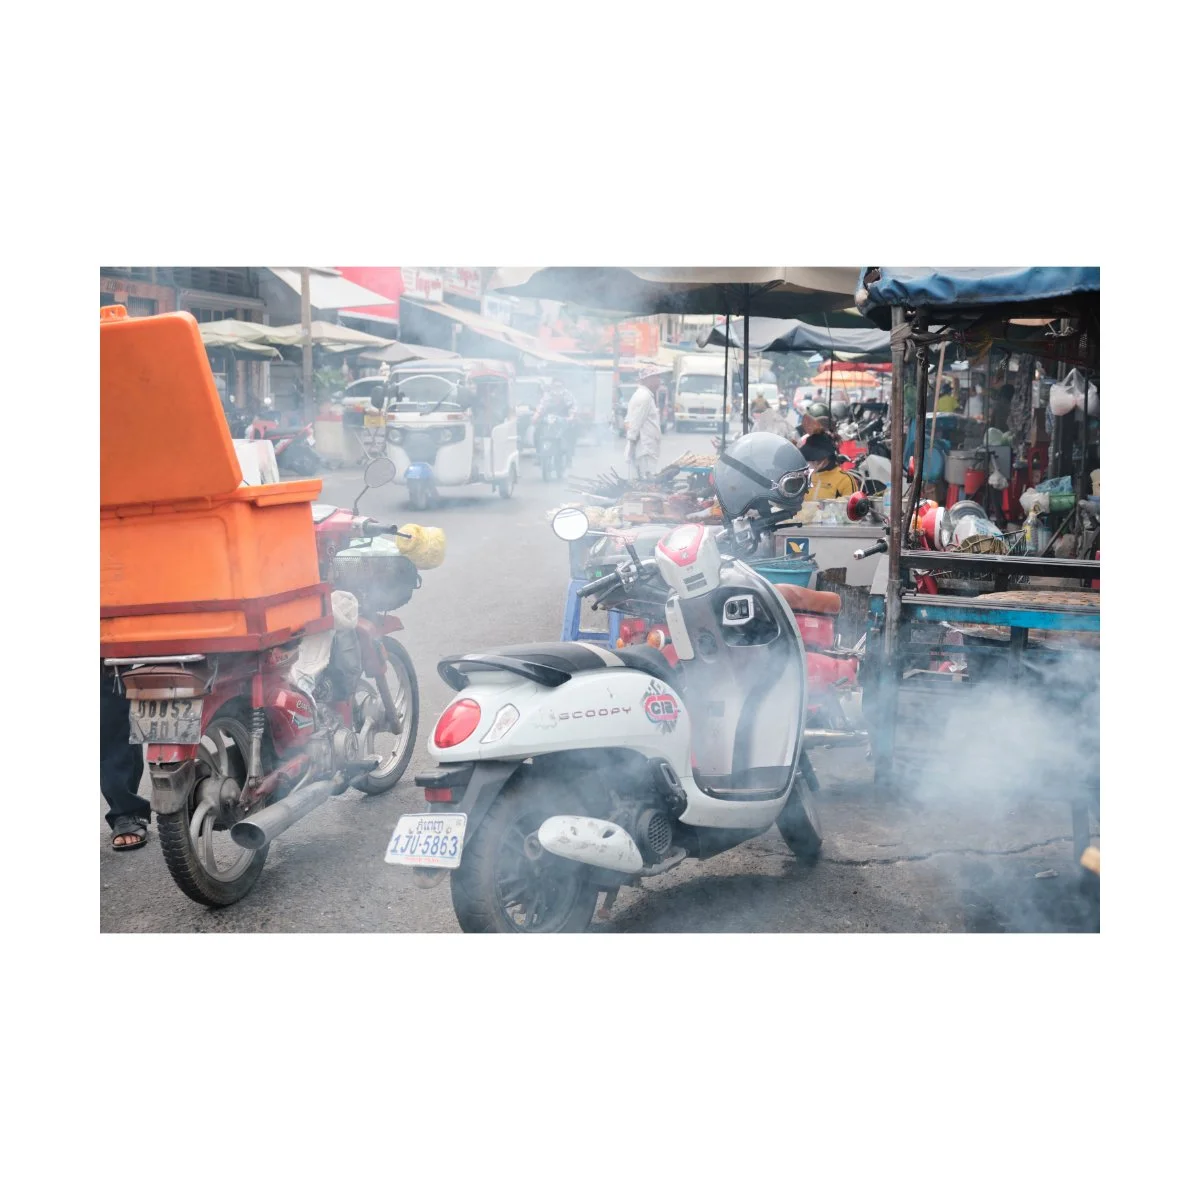
If you’re a street photographer, your preferred aperture might be wide open all day every day.
But if you’re a landscape photographer, at least f8-f11 is recommended to get enough stuff in focus.
Different goals require different settings and it’s not fair to give a blanket recommendation to others’, even within the same genre.
Rather we should focus on our understanding of the day and our own photography.
From there, the settings we shoot at will become clear.
This process of understanding can take a very short time or a very long time.
You might be the type of person who goes on this long philosophical journey of art, why you do it, what it means to you, and what you’re trying to express.
Or you could just be the guy who doesn’t give a f*ck and simply takes photos.
And there’s a million people in between, right?
Figuring that part out is personal, and I can’t do it for you.
But I can give you my perspective and where I’m at right now.
For me, photography began as sort of a simple documentation of my everyday life.
I first got into it when traveling to Korea many years ago, and had wanted to learn composition to improve my videography.
From then on, I never stopped taking pictures.
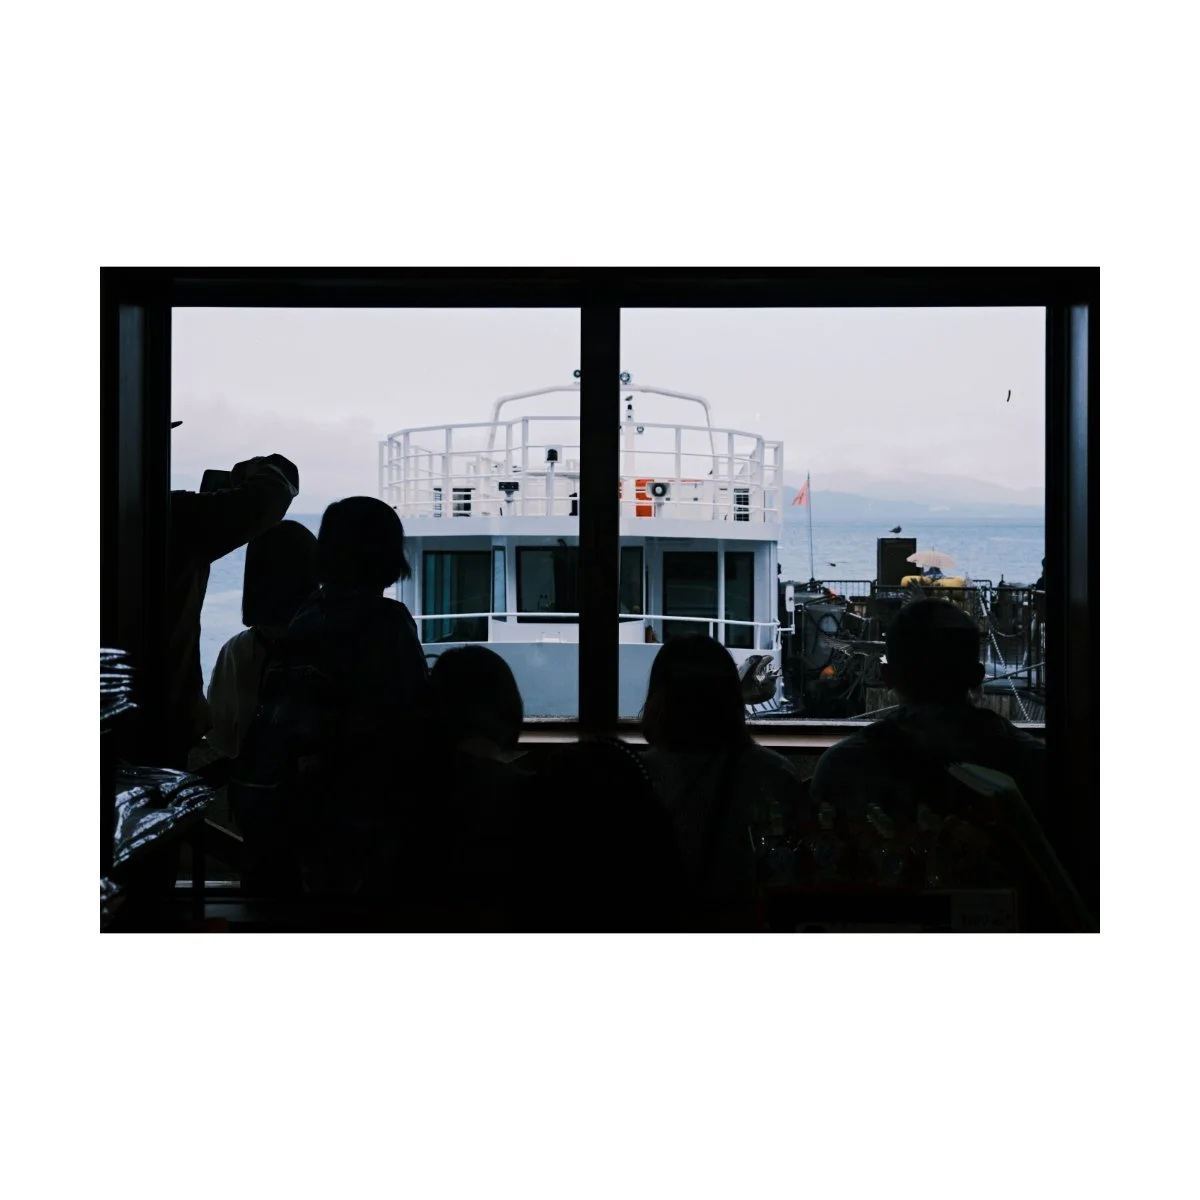
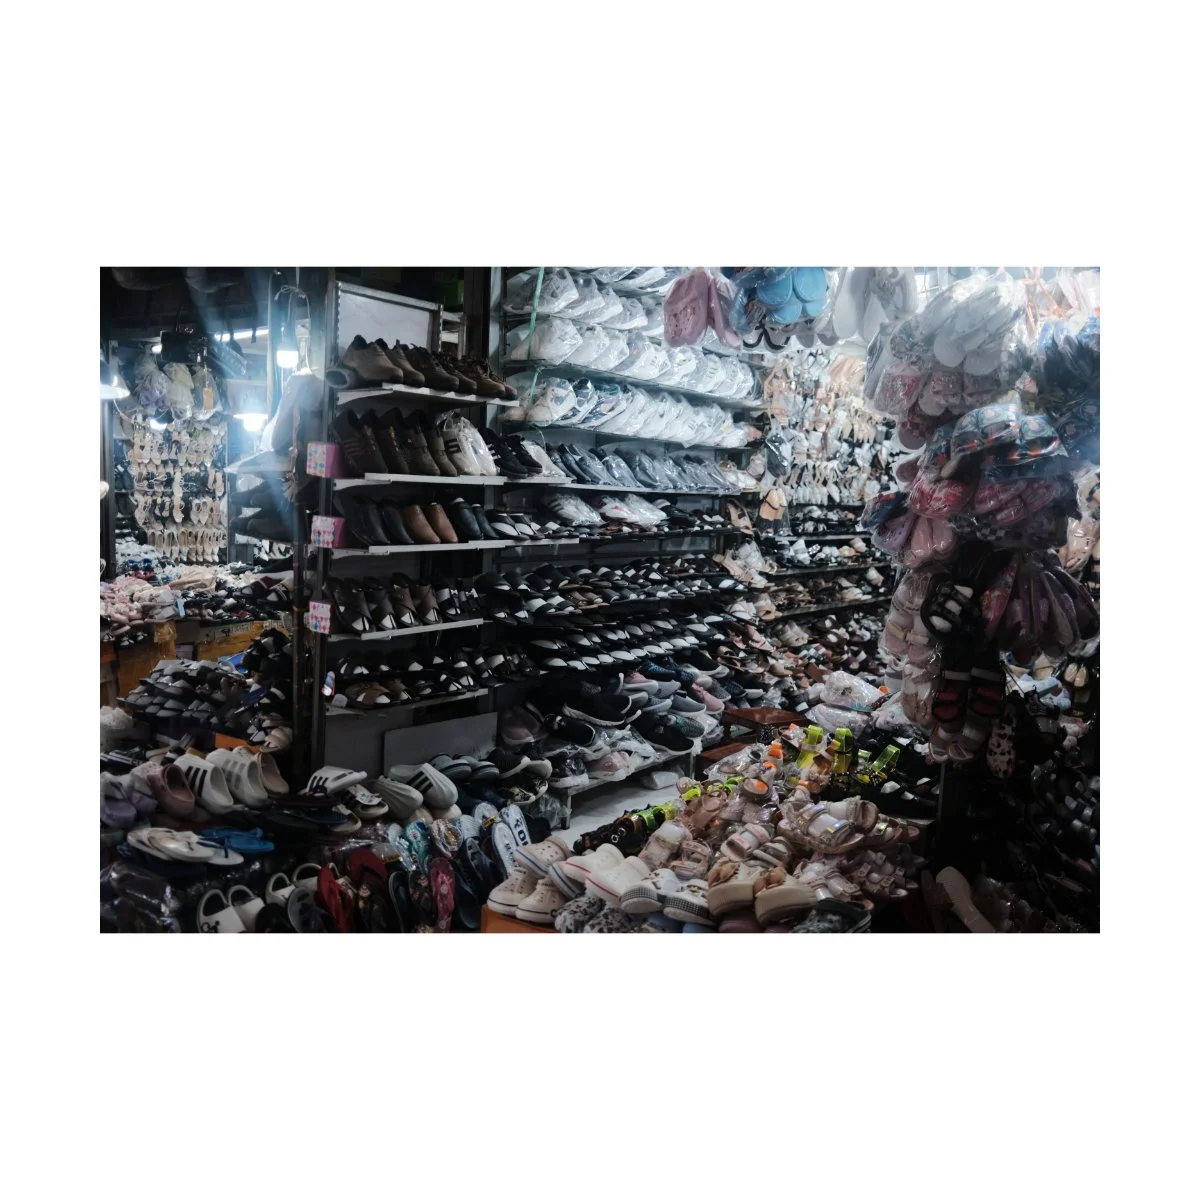
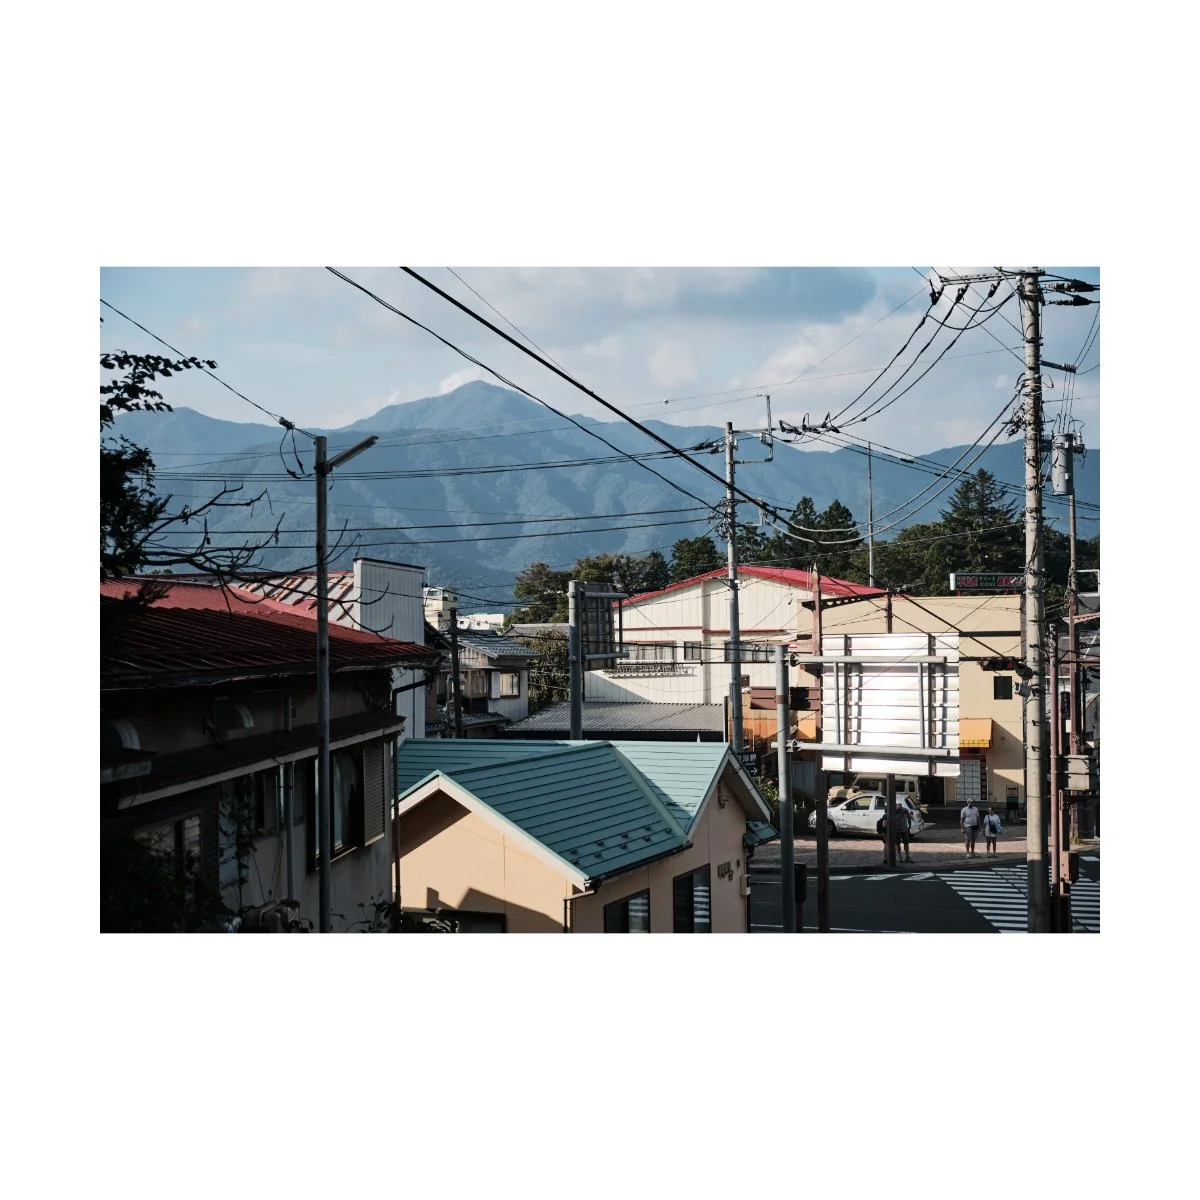
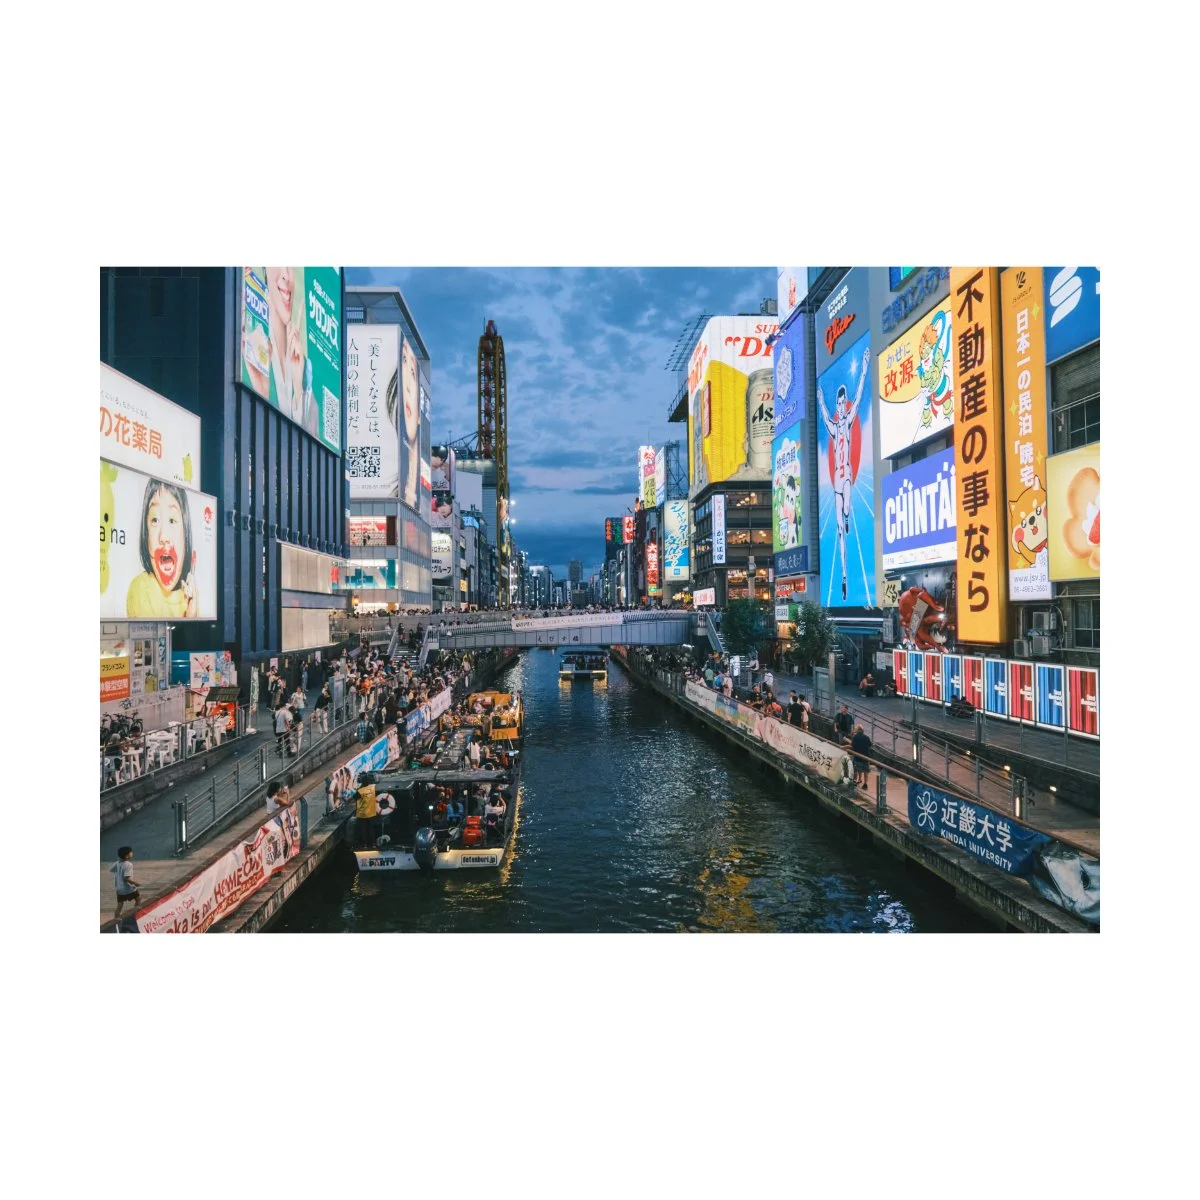
The stuff I took pictures of branched out from the friends and scenery around me to anything street, travel, and lifestyle oriented.
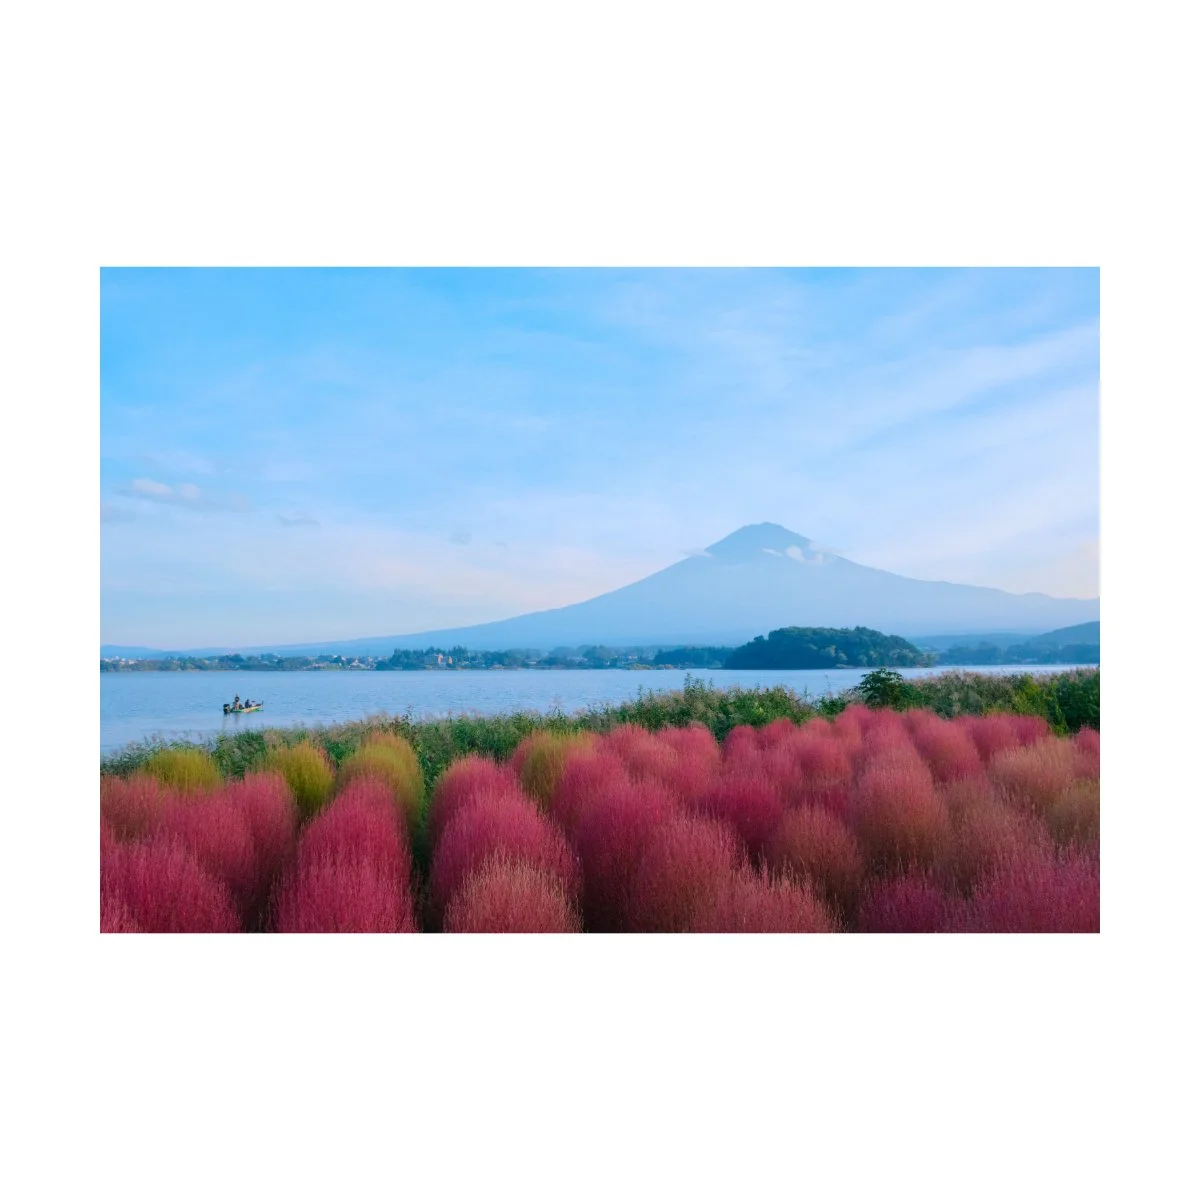
And I explored more artistic things suited for wall art like sunsets and abstract photography.
These genres dictate the settings I shoot at.
Because I like taking pictures of a variety of things, I can’t just shoot wide open all the time.
Some situations require me to raise my aperture, lower my shutter speed, whatever.
And because of this, I adopted camera settings and a style of shooting that many would find inconvenient.
That’s fully manual.
An “Inconvenient” Approach
Because I take photos of a variety of things, I’ve found that fully manual photography works best for me.
Some people find this arbitrary or inconvenient, and I get it.
Why would you shoot manual if you’re not shooting film?
Digital cameras are pretty good now and auto settings can nail exposure.
That’s not wrong per say, but I still think any photographer can benefit from manual photography.
It’s a good teacher for the exposure triangle and when you’re comfortable with it, it can be a powerful tool.
The reason being: it’ll allow you to adapt to any given situation.
You’ll not only understand what you’re adjusting, but why you’re adjusting it, and how you can get the shots you want in unideal conditions.
This, in my opinion, will give you the versatility, flexibility, and adaptability we talked about earlier.
Furthermore, you can fine tune little things that you know will ruin or break photos in the editing phase.
Most people won’t need that level of detail but it can be useful if you’re taking photography more seriously.
Because lighting conditions and slight variations in exposure can entirely alter how a photo looks.
I myself have had many images come out at a different color or tone as I initially saw them to be, because something was off in my exposure.
And it either took a lot longer in the editing phase or ended up as a photo that just couldn’t look right.
So fully manual isn’t for everyone, but I think many photographers can benefit from it.
If you’re allergic to the idea of it, just treat it as an exercise or workshop, and not a permanent thing.
Take a week or month exposing manually and see how it changes your photography.
It might be awkward or uncomfortable at first, and you’ll end up with a bunch of poorly exposed photos; but if you stick with it, I can almost assure that you’ll come out on the other side much more confident in your ability to expose.
You’ll be able to look outside your window and know what kind of photos you can expect to get.
You’ll develop the ability to change your settings to the right exposure without even double checking your screen.
And you’ll learn what setting is compensating for what in any given situation, which will allow you to understand the pros and cons of shooting at different settings.
If you take the time, learn and do this for long enough, exposure won’t be so tricky; rather it’ll be an intuitive part of the process and then you can just focus on framing and composition.
The more second nature exposure becomes, the easier photography gets.
A lot of photographers skip this phase because it’s easy to set things to auto.
But over time I’ve found it not only more effective, but more efficient.
That’s because I developed my own technique to make it simpler.
Today, I’ll share that with you.
Aperture Rest Stops
Manual photography is only scary when you don’t understand it.
But when you get comfortable with settings and your own style of photography, it becomes very efficient.
This is because you begin to see patterns in exposure and you’ll also learn what settings you prefer or default to.
Once you know the 3-5 most common settings you use, depending on the scenario, fully manual is just picking between them, not the 30+ different aperture settings.
Me personally, I like to change my iso and shutter speed first, and aperture last.
Some might call this aperture priority, but I treat it a bit differently.
I call this “Aperture Rest Stops”.
Maybe this is already a thing, maybe it has a better name out there, but this is just what I call it.
Aperture Rest Stops are the 2-3 aperture settings you use the most.
They are versatile such that you can apply them to most scenarios and give a safe haven for your exposure.
Meaning, I don’t have to worry about what exact aperture would be best for this picture.
I just have to pick through my 2-3 aperture rest stops and expose for that.
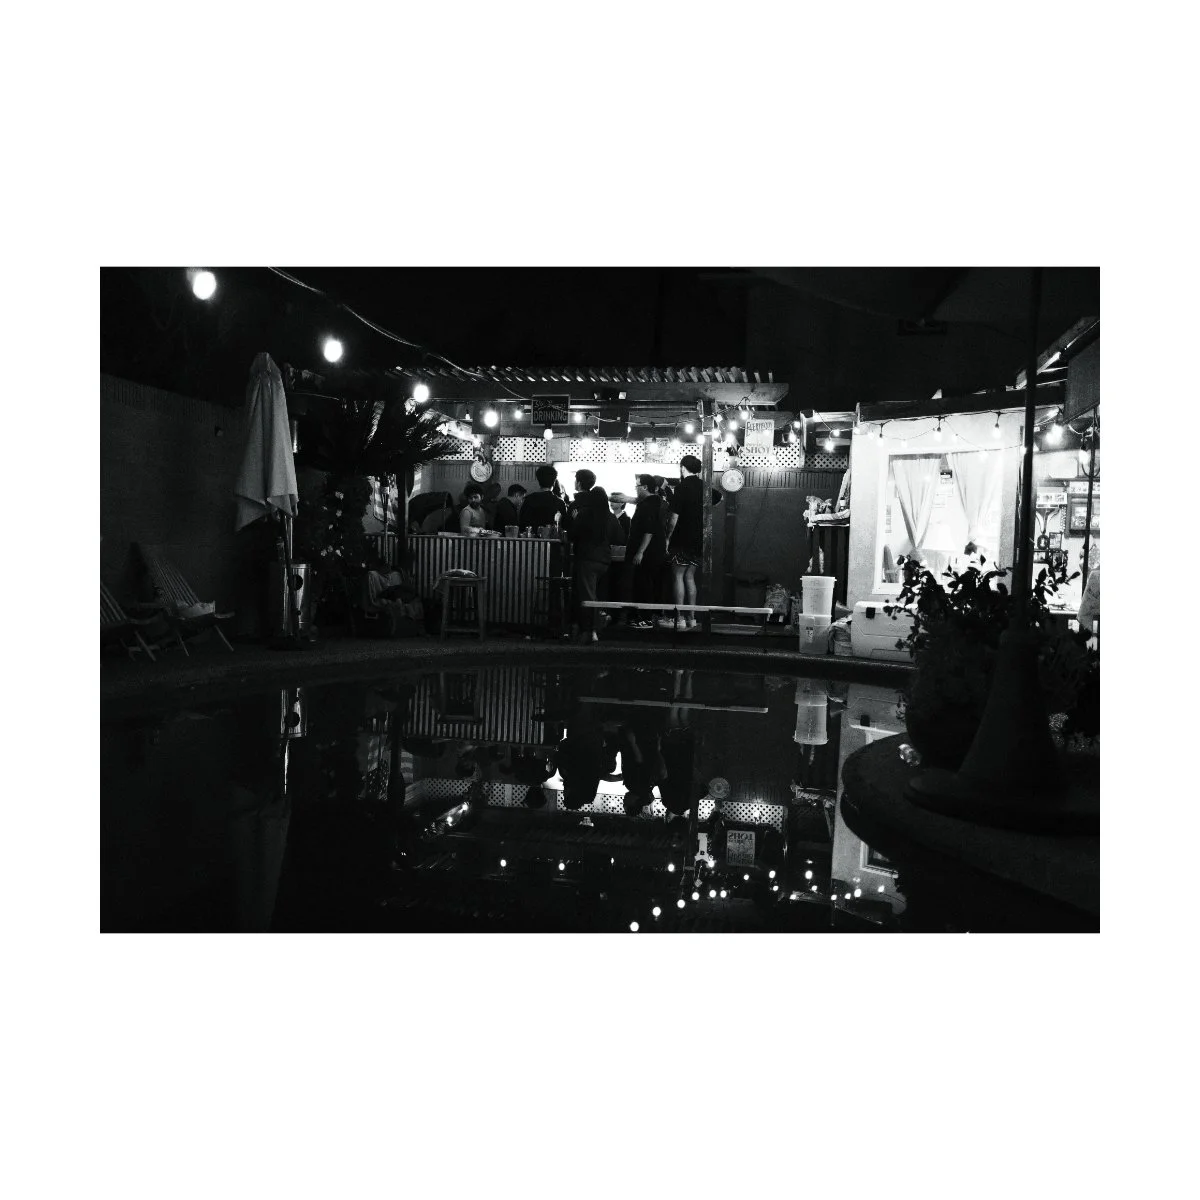
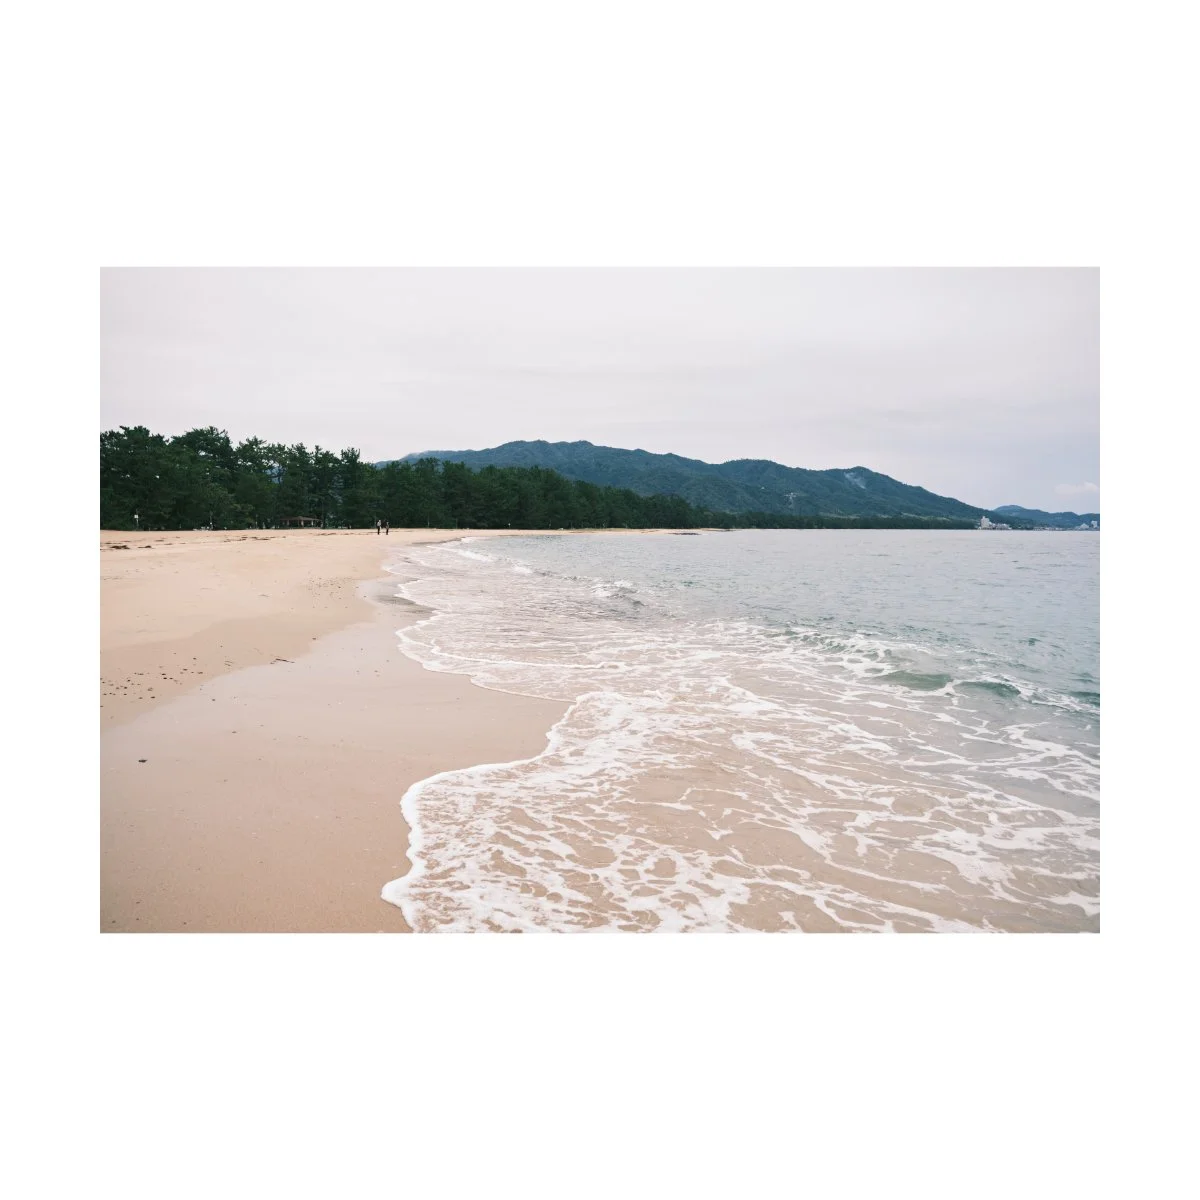
For example, my aperture rest stops are F2 (or wide open), F4, and F8.
F2, I’ll typically use for most street and everyday situations.
If I’m using a camera like the x100, I’ll keep it at f2 most of the times.
This gives me the right amount of separation when necessary, good low light performance, and I can just toggle the ND filter if it’s too bright out.
I also just like how my street photos look at f2.
F4 is my second aperture rest stop.
Typically I’ll use this aperture when I’m shooting with the 18-55, since that lens is a variable aperture and it’s a pain to adjust my exposure every time I zoom in or out.
So I just keep it at F4.
F4 is a great aperture because it’s versatile for most daytime scenarios.
I can take pictures more easily in bright sunlight because F4 is a little darker.
Nighttime shots can be a bit tough, but I’ll usually switch to the VI and shoot wide open for that.
F4 is also great because of it’s focus range.
Sometimes I’ll shoot at F2 on the VI and miss focus slightly and there’s a bit of bokeh where I didn’t want it to be.
This is less noticeable at F4 and means you can point and shoot at most things without thinking too hard.
And if you’re reaching blue hour on a photo session and need a bit more light in your shot, but don’t want to lose focus or bump iso (which adds noise), F4 is a reliable in-between.
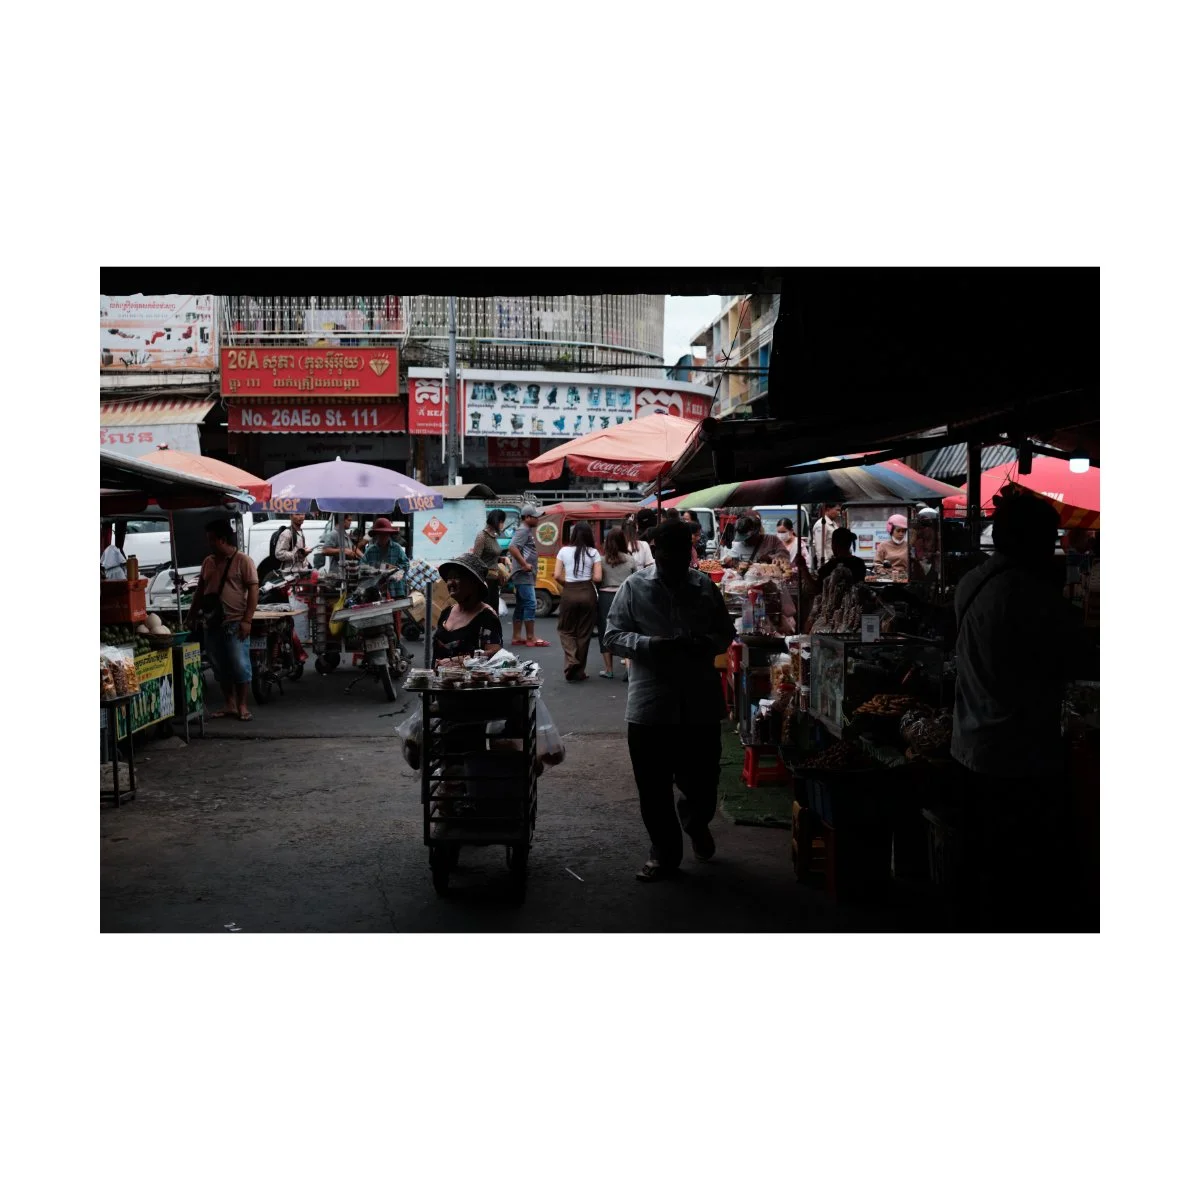
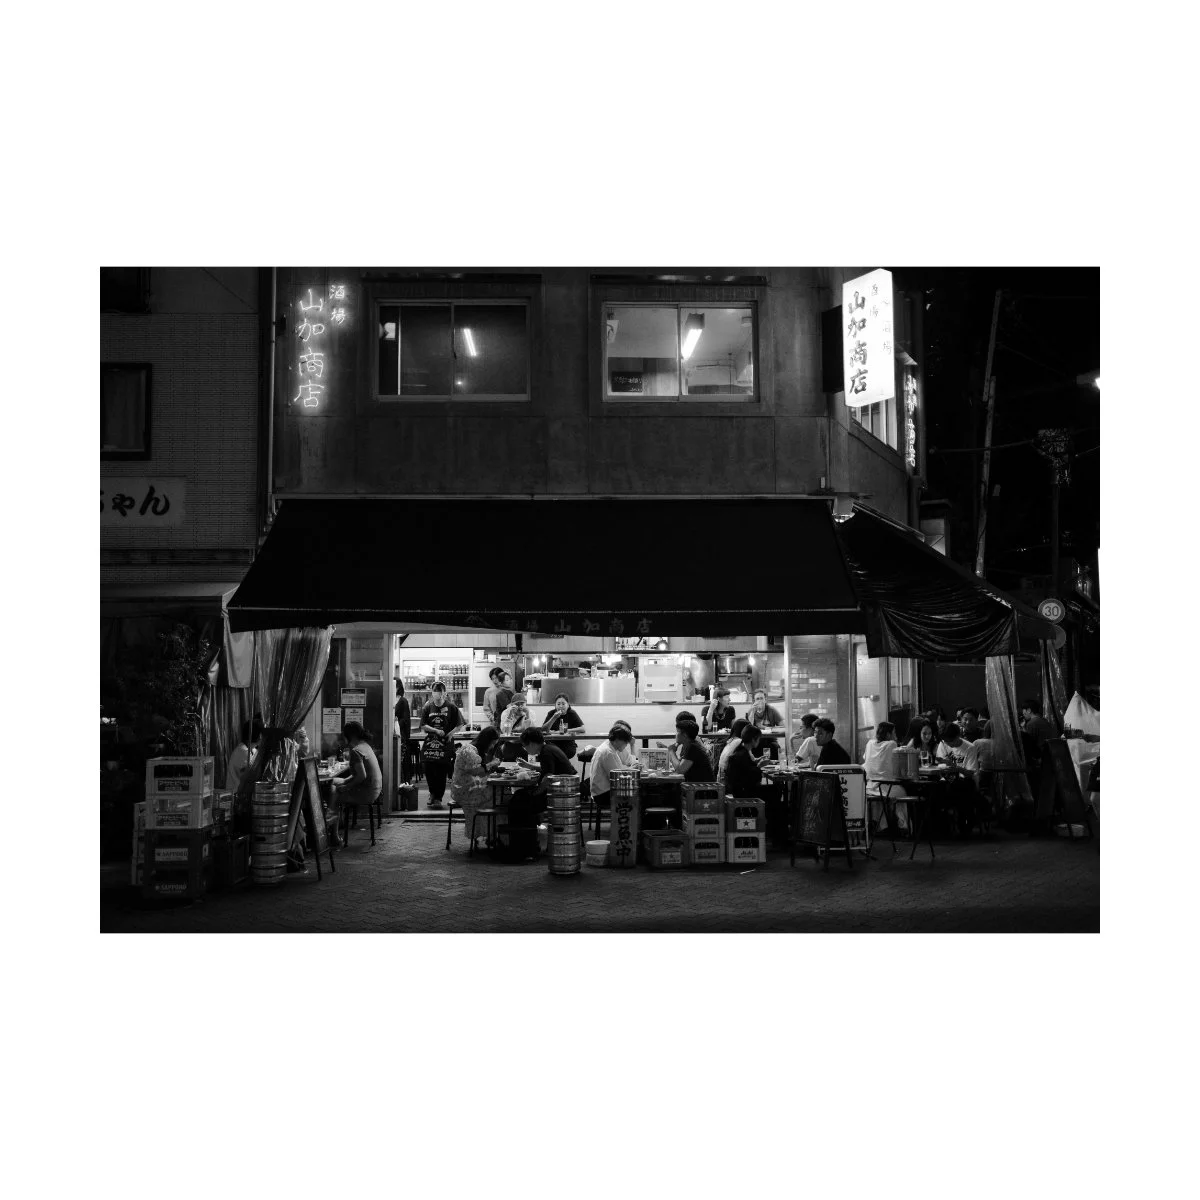
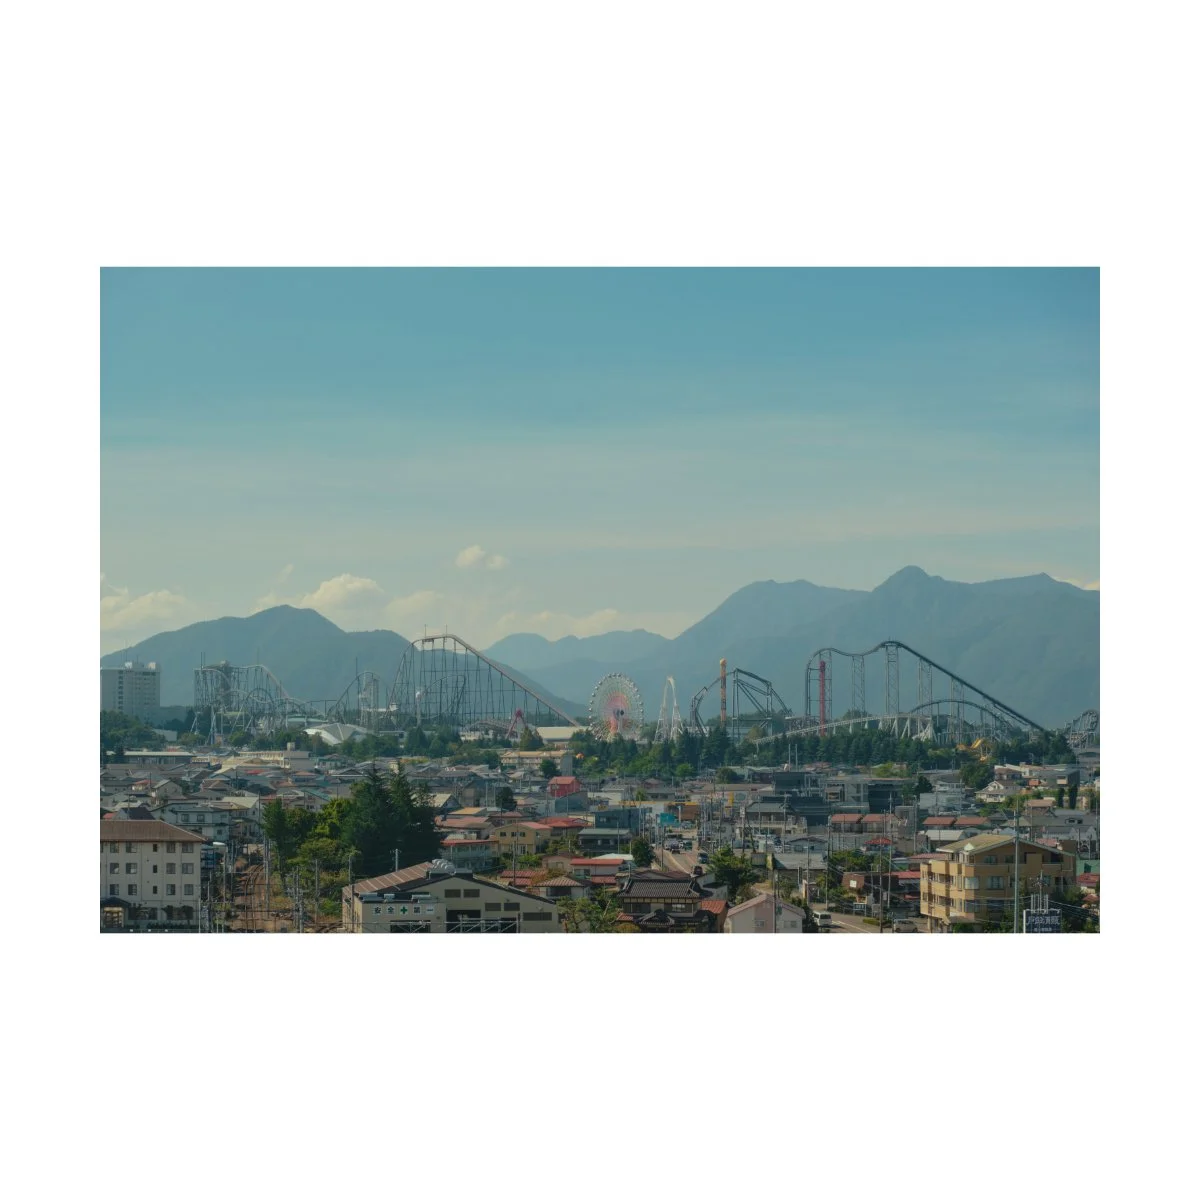
F8 is my third and last aperture rest stop.
I’ll pretty much only use this for landscapes at certain viewpoints in my travels.
This is because I want to ensure everything’s in focus and sharp.
F4 can work, but F8 is a safer bet, and I’ll usually go with that.
I’ll only use F8 when the lighting conditions are right, or the focus demands it, because I prefer the other two rest stops more.
So as you can tell, aperture rest stops are a preference thing.
They’ll vary based on the type of photography you do and your preferences for what looks best.
And you’ll have to create and pick your own aperture rest stops that suit your photography.
But you can see how useful they can be.
Instead of picking between all the different apertures, I only have to choose between 3.
And most of the times I already know what I have to shoot at within an instant, based on time of day or subject matter.
So I’ll switch my aperture to that, change iso and shutter speed if needed, and snap away.
It makes shooting manual much more simpler, efficient, and effective.
And I still get the benefits of finetuning my shot with a click or two if needed.
So let’s bring this full circle and make it make sense.
If you want a better, more flexible approach to camera settings, for street and travel photography, that will not only get you the right shots, but also help you learn, here’s what I recommend.
First start by understanding the type of photography you do.
Your specific genres, environments you’re in, and personal preferences will dictate the settings you shoot at.
And if you have a way of editing your photos a certain way, exposing for that will streamline your process.
This might take some time and fine tuning to figure out.
It’s not the ideal answer, but I think it’s the right one.
Next, practice manual exposure, even if you’re allergic to it.
You’ll not only learn the exposure triangle better, but you’ll learn what settings tend to work for you, and what don’t.
You’ll become much more comfortable taking pictures in unideal situations.
And it’ll make the next step, creating your own “rest stops”, that much easier.
“Aperture Rest Stops” has worked wonders for me, because it combines the efficiency and simplicity of aperture priority with the flexibility and versatility of fully manual.
I have 3 aperture rest stops, F2, F4, and F8, and use them depending on the shot.
Picking between 3 settings, rather than 22, is much easier.
And if you’re similar to me, and take photos of a lot of different things, it makes bouncing back and forth much more streamlined.
You can take and apply the same concept to shutter speed or iso if you tend to prioritize those.
Again, your photography will dictate those things.
But that’s the whole process for what I think is a better approach to camera settings.
Applying this to your photography should make settings make sense, and make well exposed photos easier to get.
If you found this helpful, please share this with a friend who’s also struggling with settings.
If you need something more foundational, check out Photography Essentials - there’s a whole chapter in there on exposure.
Also, it’s free.
Limited edition shirts, new prints, and photography zines are also available.
Thanks for reading.