Master This and Photography Becomes Effortless.
Many people overcomplicate photography.
They worry about camera gear this, lens that.
They think too deeply about trying to find the “best compositions” online.
They worry about presets, filters, and color grades because they think that other photographers have something or know something they don’t.
And they spend too much time thinking and fantasizing about photography instead of actually going outside and taking photos.
Now, you can probably tell, but I’m a huge proponent of telling people to go out and take pictures.
That’s because I believe that you can listen to me and other photographers waffle on about photography for hours and never get any better.
It’s something that feels like productive progress but is actually just productive procrastination.
However, if you actually want to improve your photography, spending an hour a day taking or editing photos will teach you 10x more than listening to me.
But don’t worry.
As much as I want to tell you to go outside and take more pictures, this article isn’t that.
Today I’m going to share with you the single most important concept that changed my photography.
It’s a very very simple framework that if you keep it in your back pocket can simplify your photography process and allow you to take good photos with just one razor.
So I’ll share this with you guys and then you can go out and take photos.
Lets get started.

The Negative Process
When I was first getting into photography, I had a hunch about what would lead me to take good photos.
Now it was just a hunch because I was a beginner and there was no legitimacy to my opinion.
Even now, I’d still consider myself an amateur, but you guys get the point.
But it wasn’t like this idea was just bullshit I pulled out of thin air.
It was founded on years and years of trial and error in improving other skills that weren’t photography related.
But these ideas worked in different disciplines, so I hypothesized it would work for photography as well.
To lead into it, let me ask a few questions to help you guys understand the concept.
Why does cropping work?
Cropping in photography is something that was discouraged by many photographers online.
Many will say it’s “cheating” or a bad habit to build.
I think there’s some truth to this, but I also think there’s a reason why it works and why cropping can often make our photos better.
Personally, I’m in the party of “If it works, it works.”
And I’ll take the approach that gets me the best end result.
Another question:
Why is street photography “easier” with a tighter focal length?
Many street photographers will recommend to begin practicing with a tighter focal length.
Despite popular street photography focal lengths being the 18mm (27 full frame) and 23mm (35 full frame), it’s commonly known that wider focal lengths are more challenging for beginners.
There’s a reason for this too.
What it boils down to is the amount of variables you’re playing with.
When you shoot with a wider lens you’re working with more stuff in your frame, much of which is unnecessary.
Similarly, when you crop in on an image, what you are doing is removing the stuff in your image that is unnecessary.
Extra subjects and variables that have no business being inside your picture can make your shot worse, not better.
Another example of this is shooting with a prime lens.
A prime lens is a great constraint to help you grow as a photographer because you are forced to move your feet instead of zooming in to compose your photos.
There is a common theme here.
Many photographers think photography is a game of addition, not subtraction.
They are using an additive or positive process instead of a subtractive or negative one.
When in reality, photography is a “negative” or “subtractive” craft.
If we want to take better photos, less is more.
If we want to take better photos, we must do so by removal, not addition.
The reason why many people’s photos suck is because they have all these conflicting elements interfering with the photo.
If you get rid of all that stuff your photos will improve.

Here’s another example.
The Story of Michelangelo
This is a popular story you’ve probably heard of before.
Michelangelo was a Renaissance artist - the very one who sculpted the famous statue David.
When asked how he carved the statue, he said something along the lines of:
"It's simple. I just remove everything that is not David."
The underlying presumption for this is that David already existed within the marble.

And as an artist, Michelangelo’s job was not to put things together to make something - although that’s often what it feels like we’re doing.
Rather it was to be a catalyst to allow what already exists to come to life.
The same exact principle applies to photography.
To take better photos, remove everything that is not the photo.
You see, photography is just pattern recognition.
When we photographers go out into the world we are not creating the world.
The world is whatever the world is and we are just observers looking for opportunities to capture the moment.
We are not manufacturing or creating the moment.
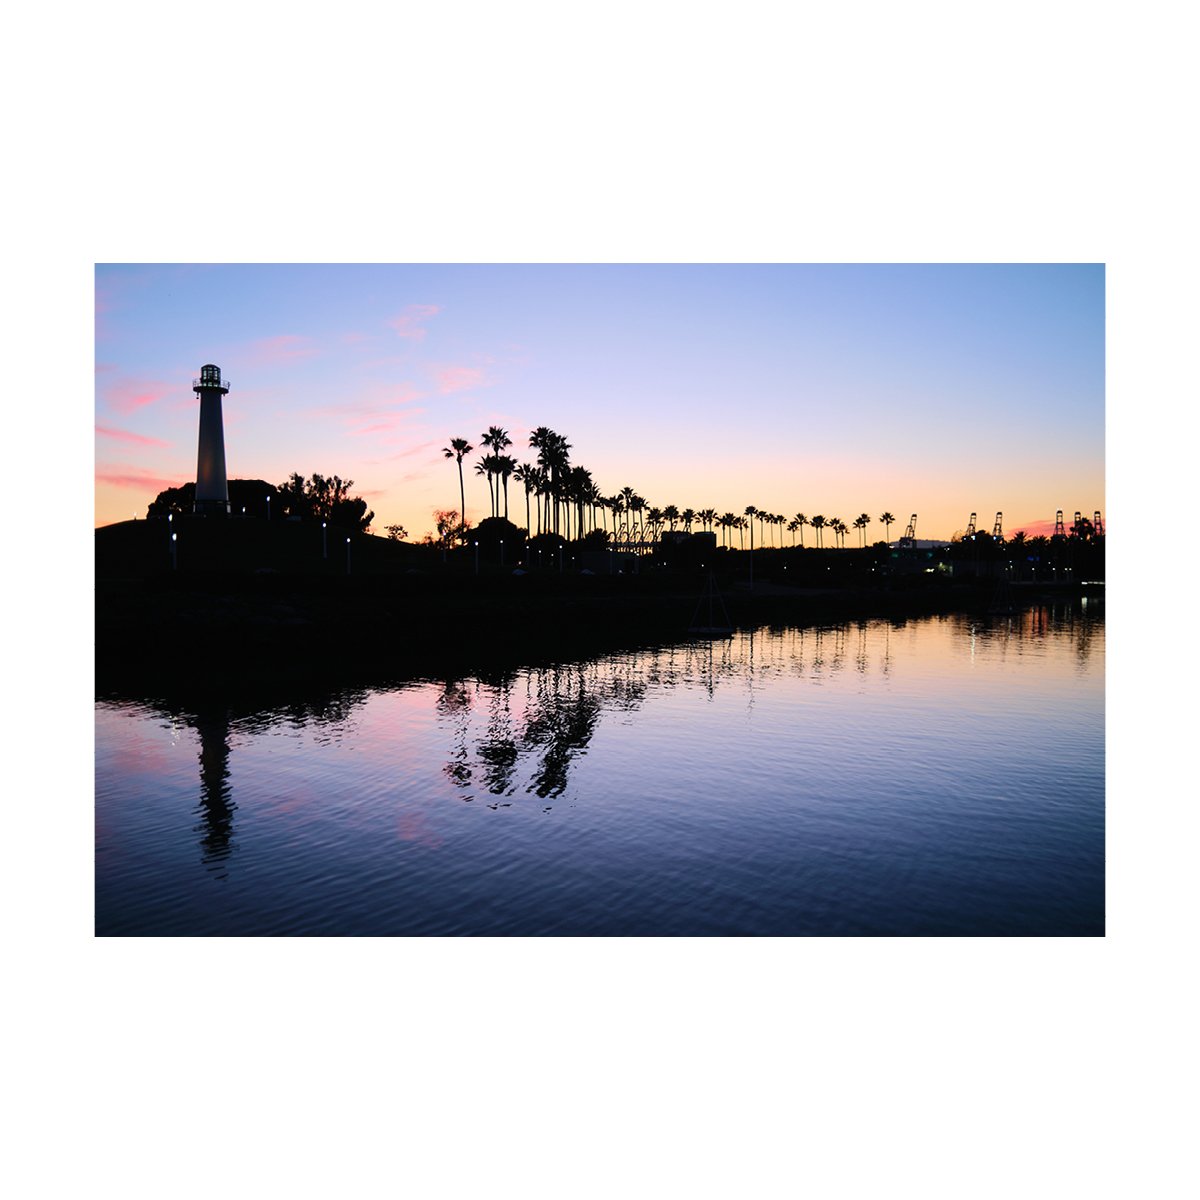
Of course I’m speaking about this in the context of street, landscape, and candid photography - not studio type work.
In this context, we are tempted to include every single little thing into the shot.
We are mystified by a beautiful sunset or something and we can’t delineate which parts are actually important for the shot.
In other words, our photos don’t need more bullshit, they need less.
So learn to ignore the elements that don’t matter.
Photography is subtraction, not addition.
Photography is negative not positive.
Ask yourself: what am I actually taking a picture of?
And then eliminate everything that is not that.
Make sense?
If you can remove any and everything that is not what you’re seeing in the moment your photos will come to life.
So that’s great Andre.
I get the idea now.
But what are some practical ways I can actually use this in my photography?

Frameworks for a Subtractive Process
If you want to apply a subtractive process to your photography, there is only one line you need to remember.
“Photography is not what you leave in, it’s what you leave out.”
This is a phrase I say to myself all the time when I’m both taking photos and editing photos.
It’s very useful if you’re trying to cut through the noise of “everything I think I should or have to do”.
Some other helpful frameworks are:
“Less is more”.
That’s a common one that is easy to remember, but holds a slightly different connotation.
You can also use a phrase called “via negativa” which means “negative way”.
Ask yourself: “How can I make this better via negativa?”
You can also think of in terms of subtraction.
“What can I remove from my frame that will make it better?”
“What can i eliminate that wont interfere with the photo?”
These are all useful practical ways to apply a negative process to your photography.
You can pick the one that suits you best, is easy for you to remember, or you connect with the most.
Personally, I like the first framework I mentioned.
It’s not only easy to remember but also instantly useful - and it applies to photography specifically.
So it’s quite simple:
To take better photos, try using a subtractive process rather than an additive one.
Think about removing everything that is not the photo before taking a picture or while photo editing.
Ask yourself questions like “what can I remove from my photo that will make it better?”
But don’t just take my word for it.
Go outside, apply the concept, and take better photos.
You’ll learn more from that than listening to me.
I hope this helped - if it did, please share this with a friend.
Also my new photography zine “The Sinking Sun” is finally out - order your copy while they’re still here.
Thanks for reading!